5. Physical installation
5.2 Installation of the Secondary co oling unit (the D MD Cooling E xpansion Module)
Overview
• Installation process of the secondary cooling unit expan sion m odule
• Installation process
• Preparing the installation of the ex pansion module
• Removal of the fan unit
• Assembly of the secondary cooling unit
• Installation of the fan un it
5.2.1 Installation process of the s econdary cooling unit expansion module
When to i nstall the expansion module?
The default cooling circuit of the Chiller only functions to pr ovide cooling for the laser circuits (R/G/B). H ow ev er, the DMD s in the
projector requ ire cooling as well. For this reason, one of the chillers used needs the secondary c ooling unit ex pansion module
installed to make this poss ible. But since all chillers are shipped as identical units, this module M U ST be installed on-site.
In a projector setup with two chillers, install the expans ion module in t he Chiller designated to c ool the R ed & Blue laser cooling
circuit.
In a projector setup with one chiller, that one c hiller must have the expansion module installed.
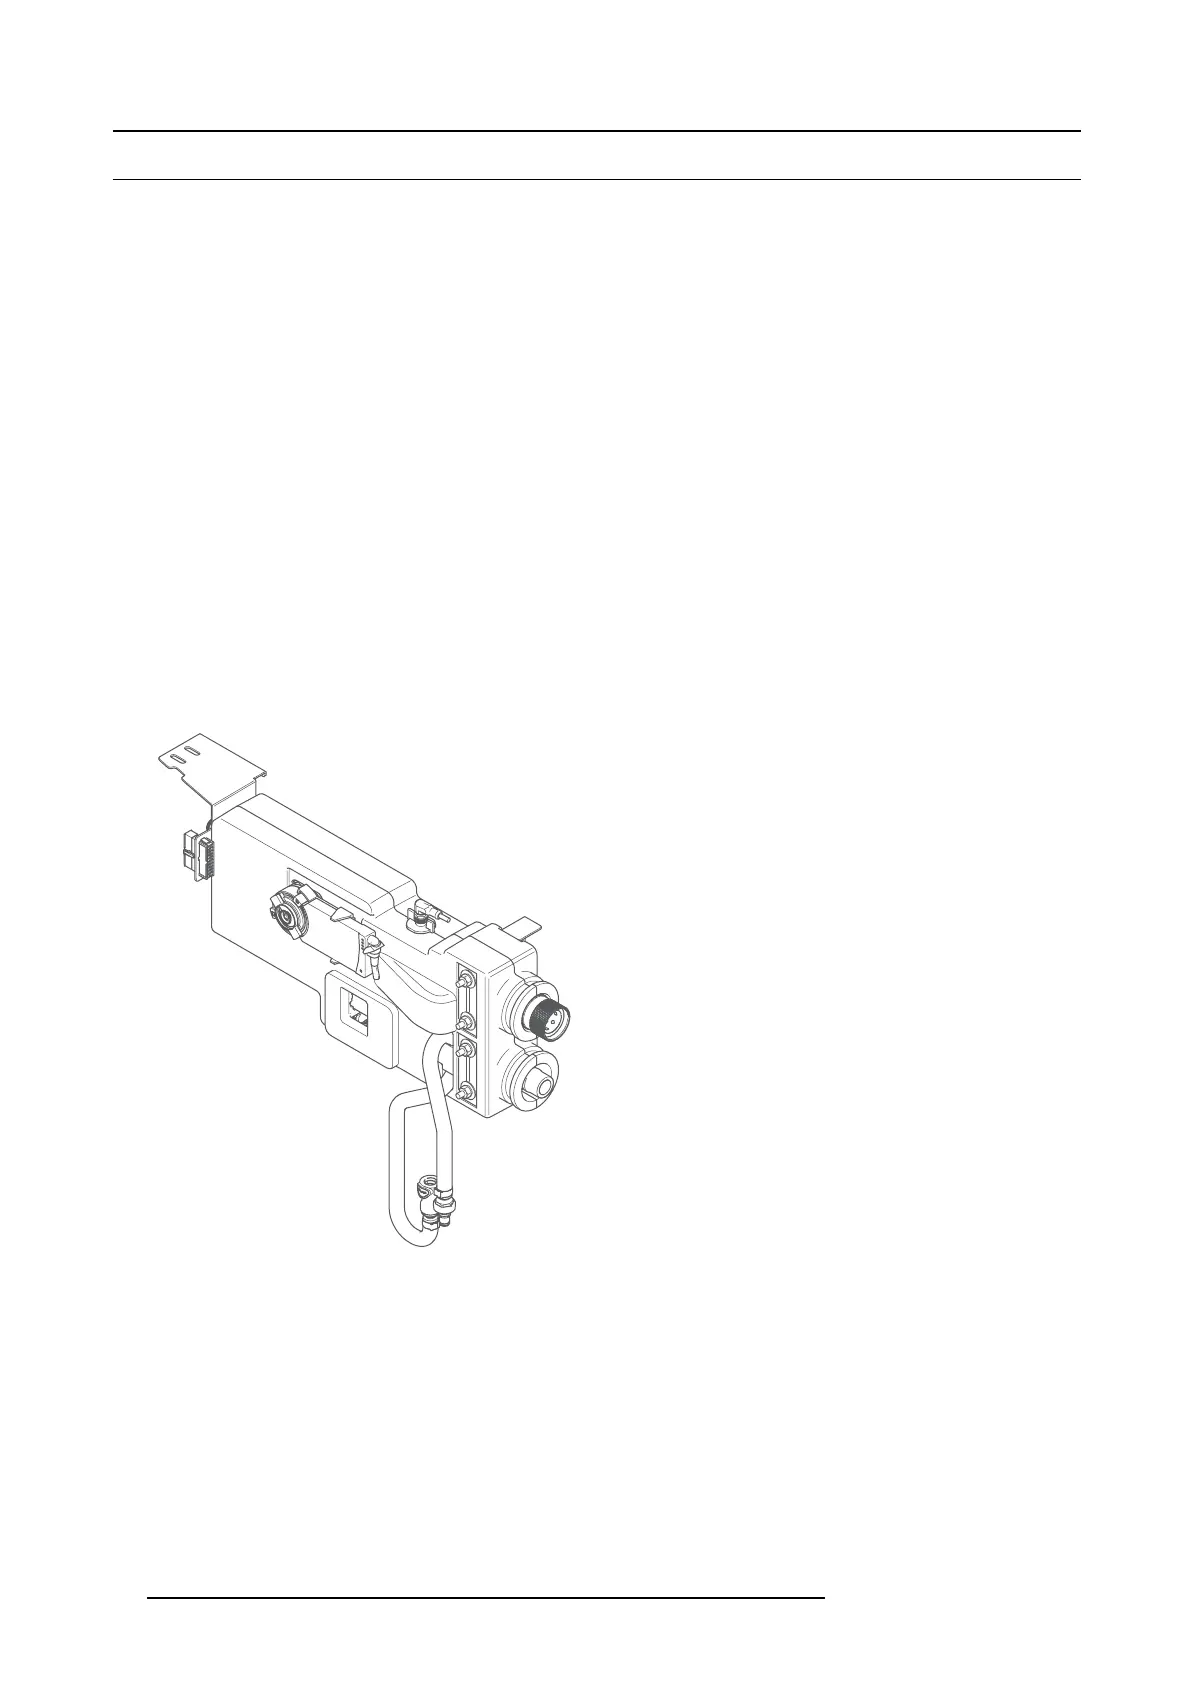
About the expansion module
The va lve coupling of this expansion unit is of the same type and size as the standard installed coupling on the chiller. H owev er,
the hoses of the DM D cooling which have to be connect with the c oupling of this expansion module has a smaller diameter than the
hoses for the Red, Green and B lue laser cooling.
Image 5-2
5.2.2 Installation process
How to install the expansion module
1. Prepare the installation. See "Preparing the installation of the expansion module", page 19.
2. Remov e the fan unit. See "Removal of the fan unit", page 1 9.
3. Mount the sec ondary cooling unit expansion module. S ee "Assemb ly of the s econdary cooling unit", page 20.
4. Install the fan unit. See "Installation of the fan unit", page 24 .
5. Install the cov ers again.
18
R5905866 ULC-30A 31/01/2018