39
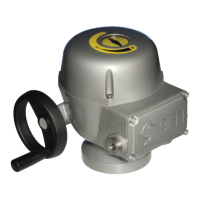
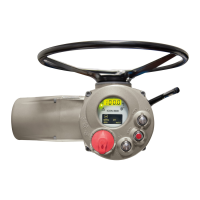
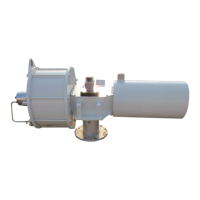
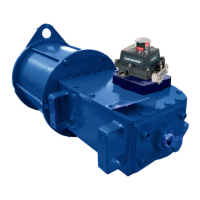
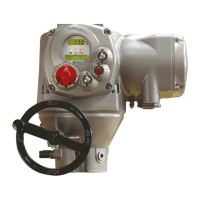
BIFFI F01-2000 ELECTRIC ACTUATOR
INSTRUCTION AND OPERATING MANUAL
10 VIEW ROUTINES
10�1 ACTUATOR SET-UP
The above menu allows to view the present
actuator configuration. No change can be made
to the present data. The following data can be
viewed (see table).
View procedure
• Move the local selector to OFF and then
simultaneously press OPEN and STOP. Select
the language according to the instructions
(see “Entering the view mode”). When the
message displayed is “VIEW MODE OK?”
press YES. Press YES to select the actuator
set-up menu.
• Press NO to scroll the list of available
routines and press YES to select.
• Press YES to answer at the prompt “view” or
“next” and to see the data.
10�2 NAMEPLATE
Use this menu to view the data identifying the
actuator. The data are entered in-house and
can only be changed by the manufacturer. The
following data may be viewed:
Routine Parameters
Stroke limits Close direction (CW, CCW), close limit type (torque or position), open limit type
(torque or position)
Torque set-up Closing torque limit %, opening torque limit %
ESD control ESD action, signal type, ESD priority
Remote controls Control type
Local controls Control type, LED’s color
Output relays Monitor relay conditions, ASi conditions, contact action
Positioner * Dead band, motion inhibit time, polarity, %min, %max (%min and %max are present
only if “position request R%” is from 4-20 mA input)
Fail Safe * Action, delay
Out 4-20 mA * Output signal (position or torque), polarity
Interlock Signal type in OP, signal type in CL
2-speed timer Close direction: status, start, stop, on time, off time
Open direction: status, start, stop, on time, off time
Bus * Node address, terminations, etc. depending on fieldbus type
Miscellaneous Time and date, torque mode, lithium battery, torque by pass %, valve jammed time
The routines with * can only be viewed if the relevant electronic cards are present. If the bus interface is
LonWorks, routine “BUS” changes to “FDI control”. Detailed descriptions of the above routines and their
parameters can be found in chapter 9.
- Serial number: max. 28 characters, univocal
identifier of the actuator by reference to
Biffi acknowledgment.
- Actuator type: max. 28 characters, describes
the type of actuator with reference to
Biffi catalog.
- Torque / Thrust: nominal torque or thrust of
actuator.
- Actuator speed: nominal speed of actuator.
- Power supply: nominal voltage and frequency
of actuator.
- Motor data: includes the following data
relevant to the electrical motor:
- Power type (3ph, 1ph, dc)
- Power rating, max. 99.9 kW
- In, max. 99.9 A
- Is, max. 99.9 A
- Icc, max 999.9 A
- Duty (S2/15 min, etc.)
- Poles (2, 4, etc.)
- Biffi name, max. 28 characters
- Gear ratio, max. 1000
- Test date: date of the in-house functional test
of actuator.
- Wiring diagram (WD): wiring diagram
number, max 28 characters.
- Enclosure: type of enclosure (Ex d, etc.),
max. 28 characters.
- Certificate: number of certificate,
max. 28 characters.
- Lubricant: type of lubricant,
max. 28 characters.
View procedure
• Move the local selector to OFF and then
simultaneously press OPEN and STOP. Select
the language according to the instructions
(see “Entering the view mode”). When the
message displayed is “VIEW MODE OK?”
press YES. Press NO to scroll the list of
available menus and press YES to select the
nameplate menu.
• Press YES to answer the prompt “view” or
“next” and see the data in the above list.
- Revision: HW revision of base card,
SW revision of H8 microprocessor,
SW revision of PIC microprocessor.
- Torque sensor: data relevant to the
relationship between motor torque and
speed. This set of data also includes the
factory torque limit setting, “Torque set CL”
and “Torque set OP”.
10�3 VALVE DATA
To identify the valve and its function in the
process the following data can be viewed:
- Tag name (max. 28 characters)
- Serial number (max. 28 characters)
- Manufacturer (max. 28 characters)
- Break OP torque (max. 28 characters)
- Break CL torque (max. 28 characters)
- Max stem thrust (max. 28 characters)
- Flange type (max. 28 characters)
The data should be entered by the valve
manufacturer or by the end user during set-up
operations.
View procedure
• Move the local selector to OFF and then
simultaneously press OPEN and STOP. Select
the language according to the instructions
(see “Entering the view mode”). When the
message displayed is “VIEW MODE OK?”
press YES. Press NO to scroll the list of
available menus and press YES to select the
valve data menu.
• Press YES to answer prompts “view” or “next”
and see the data in the above list.
 Loading...