24
© Copyright by BIFFI Italia. All rights reserved.
A !@#$ INTERNATIONAL LTD. COMPANY
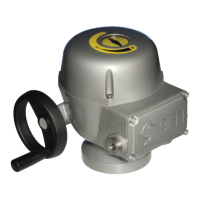
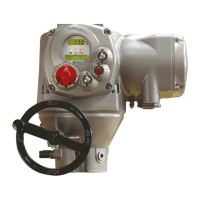
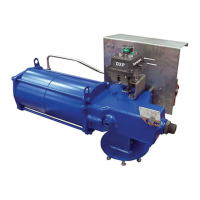
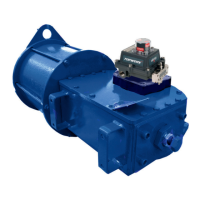
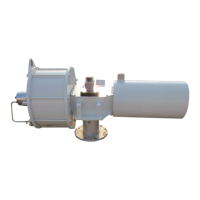
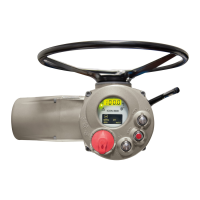
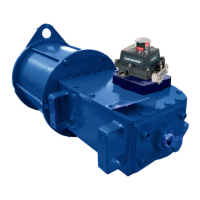
F02 Quarter-turn Electric Actuators
instruction and operating manual
6.2.3 CLOSE LIMIT SETTING
• Enter set up configuration: move switch SW3 to position ON (Setting function);
• Drive valve to the closed position using the handwheel;
• Move switch SW4 to position 0;
• Move switch SW6 to position 0;
• Confirm by pushing ENTER pushbutton SW5;
• When pushing SW5, the red led blinks for confirmation;
• Close limit is now set;
• Exit set up configuration (move switch SW3 to position 1) or proceed with the next
settings.
6.2.4 OPEN LIMIT SETTING
• Enter set up configuration: move switch SW3 to position ON (Setting function);
• Drive valve to open position by means of the handwheel;
• Move switch SW4 to position 1;
• Move switch SW6 to position 0;
• Confirm by pushing ENTER pushbutton SW5;
• When pushing SW5, the red led blinks for confirmation;
• Open limit is now set;
• Exit set up configuration (move switch SW3 to position 1) or proceed with the next
settings.
6.2.5 CLOSE LIMIT SWITCH SETTING (BY TORQUE OR POSITION)
Close limits type: by position or by torque. Use the following table to choose:
Valve type Close limit
Front seal butterfly valves Torque
Ball, butterfly, plug valves Position
• Enter set up configuration: move switch SW3 to position ON (Setting function);
• Move switch SW4 to position 2;
• Move switch SW6 to position: 1 if the actuator must stop by POSITION;
0 if the actuator must stop by TORQUE;
• Push ENTER pushbutton SW5 to confirm;
• When pushing SW5, the red led blinks for confirmation;
• Close limit switch setting is now completed;
• Exit set up configuration (move switch SW3 to position 1) or proceed with the next
settings.
6.2.6 OPEN LIMIT SWITCH SETTING (BY TORQUE OR POSITION)
Open limits type:
by position or by torque. Use the following table to choose:
Valve type Open limit
Front seal butterfly valves Position
Ball, butterfly, plug valves Position
• Enter set up configuration: move switch SW3 to position ON (Setting function);
• Move switch SW4 to position 3;
• Move switch SW6 to position: 1 if the actuator must stop by POSITION;
0 if the actuator must stop by TORQUE;
• Push ENTER pushbutton SW5 to confirm;