Using Blackmagic Media Express
36
DPX Capture
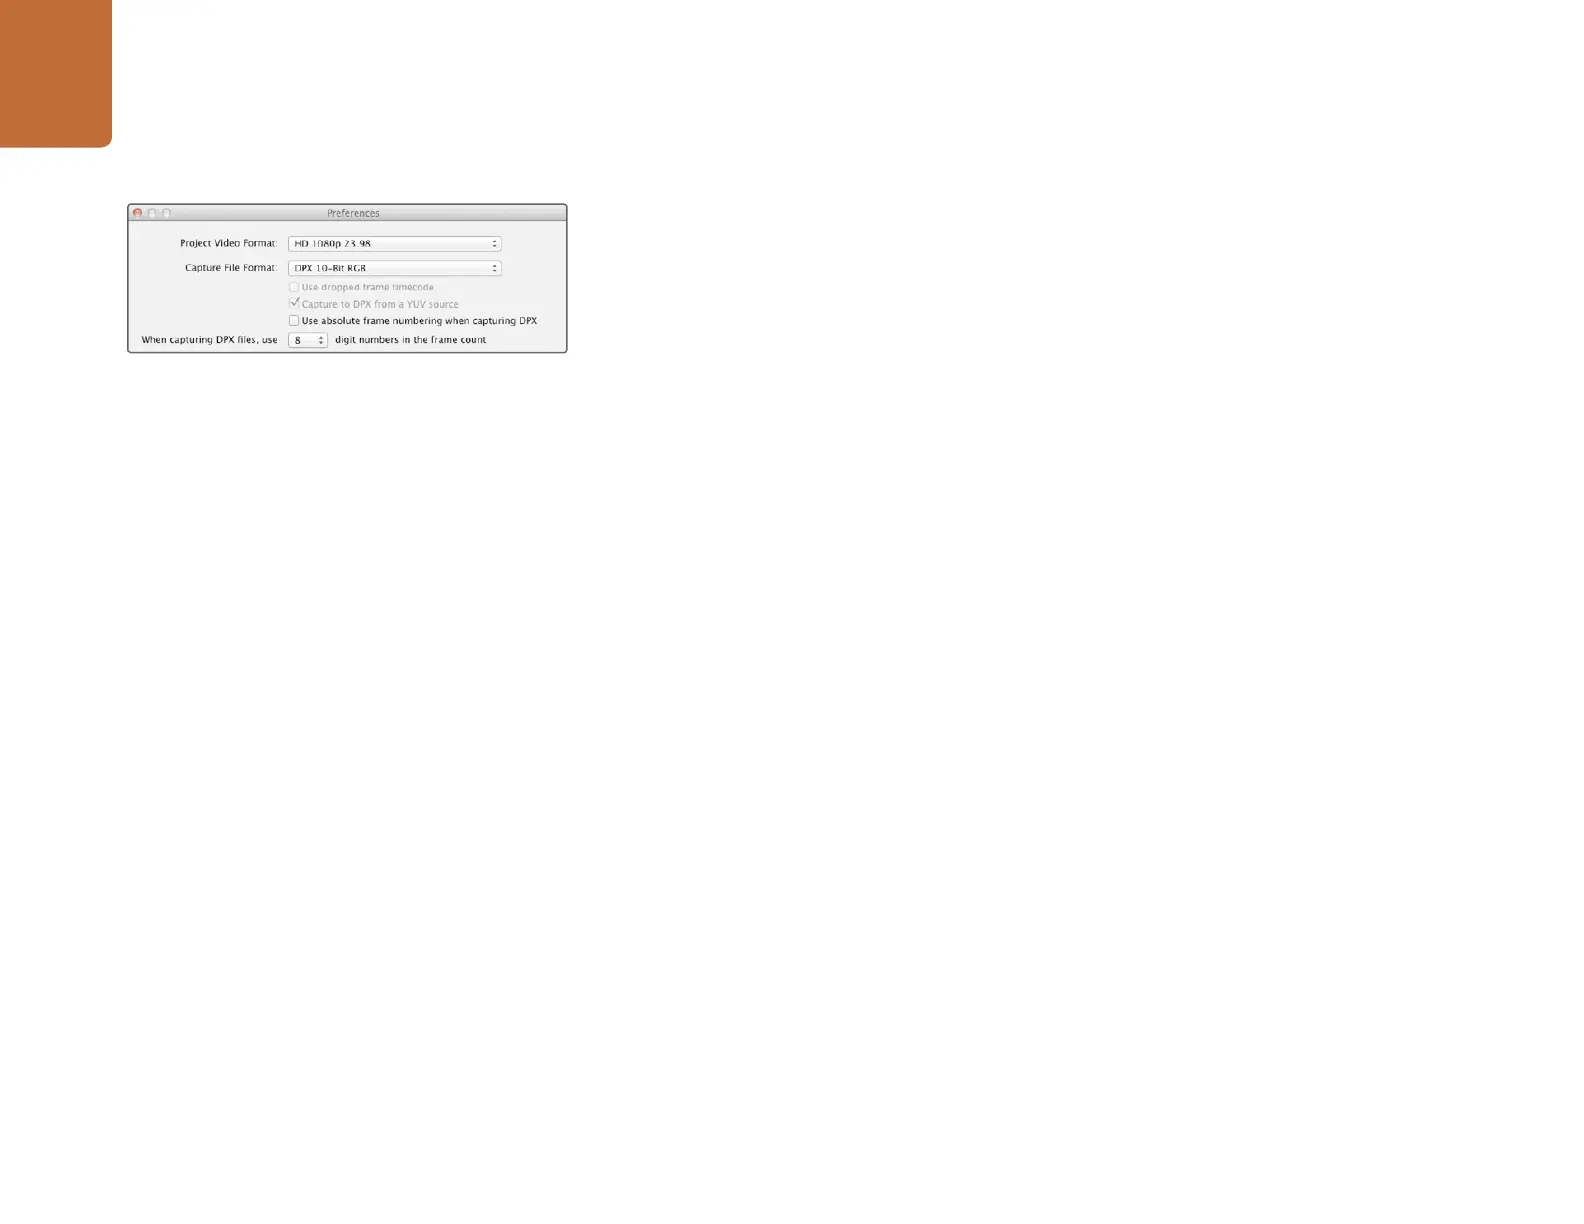
If you want to capture a DPX image sequence rather than a movie file, open the Media Express preferences
and set the Capture File Format to DPX 10 Bit RGB. You will need a fast disk array to cope with the
uncompressed, 10 Bit RGB format.
Step 1. Connect your video source to an input on HyperDeck Studio Pro.
Step 2. Check that HyperDeck Studio Pro is set to the input you have connected your source to.
e.g. SDI, HDMI or analog.
Step 3. Open Media Express and create a DPX project by setting the capture file format to DPX.
Step 4. Enter your description and logging information.
Step 5. Click the “Capture” button to start recording. To end capture, click the “Capture” button
again to automatically keep the clip. Alternatively, press esc if you want to be prompted to
delete or save the clip. The captured clips will be added to the Media List.
When the capture has been completed, a single thumbnail will appear in the Media List representing the
entire frame sequence. The sequence of DPX frames will be stored in its own folder in your disk storage.
Audio will be stored in a .wav file in the same folder.
By default, DPX captures are assumed to be from YUV sources. If you need to capture from an RGB
source, disable the "Capture to DPX from a YUV source" option in the preferences menu, otherwise
your DPX files will show weird pink and green colors.
If you want the DPX frame numbers to be based on the timecode of the captured video, rather than just
starting from zero, enable the option to "Use absolute frame numbering when capturing DPX".
If you aren't performing long DPX captures, you may wish to reduce the number of zeroes in the frame
numbers by changing the option "When capturing DPX files, use (2-8) digit numbers in the frame count".
DPX capture preferences