Getting Started
6
Plugging in Video Sources
HyperDeck Shuttle
Step 1. Power on the unit. If HyperDeck Shuttle does not power on, you may need to charge the
battery. Simply plug in the power adapter and turn HyperDeck Shuttle on. The battery will
continue to charge as long as the power adapter is connected. You can also power it from
an external camera battery as the connector supports an input range of 12V to 18V.
Step 2. Connect your SDI source to the DIN 1.0/2.3 miniature connector. You may need a BNC to
DIN 1.0/2.3 adapter cable for this. If your source is HDMI, connect a Type A HDMI cable
to the HDMI input. If you connect both SDI and HDMI, HyperDeck Shuttle will default to
recording from whichever input was connected first. We recommend having only SDI or HDMI
connected to each input as HyperDeck Shuttle will switch inputs if one is disconnected and
then reconnected.
HyperDeck Studio
Step 1. Power the unit by connecting an IEC power cord with a C13 connector. HyperDeck Studio's
built in international AC power supply supports 110-240V, 50/60 Hz.
Step 2. Connect SDI video sources, such as cameras, routers, switcher outputs or decks to the SDI
inputs. If your source is from HDMI, connect a Type A HDMI cable to the HDMI input.
Step 3. Press the INPUT button once while the stop button is illuminated. The Input button will
illuminate and you will be able to preview the video source on the LCD. If you don’t see the
video you want, press INPUT again to switch inputs.
HyperDeck Studio Pro
Step 1. Power the unit by connecting an IEC power cord with a C13 connector. HyperDeck Studio
Pro's built in international AC power supply supports 110-240V, 50/60 Hz.
Step 2. Connect SDI, HDMI or component sources to their respective inputs. If you are recording
Ultra HD 4K over SDI, the SDI inputs will automatically detect whether you are connecting
via single link 6G-SDI to Input A, dual link 3G-SDI or quad link HD-SDI.
Step 3. If connecting analog audio sources, you can use the XLR inputs for professional balanced
analog audio or the stereo RCA connectors for unbalanced analog audio from consumer
equipment. Connect analog timecode to the XLR timecode input.
Step 4. Press the INPUT button once while the stop button is illuminated. The Input button will
illuminate and you will be able to preview the video source on the LCD. If you don’t see the
video you want, press INPUT again to switch inputs.
HDMI IN HDMI OUT SDI IN SDI OUT
ETHERNET SD/HD/3GHD-SDI HDMI
IN OUT
REF INMON OUTOUT 2OUT 1LOOP OUTIN
REMOTE
IN
SD/HD/3G/6G-SDI IN
TIMECODE
IN OUT CH 1 CH 2 CH 1 CH 2
ANALOG AUDIO IN ANALOG AUDIO OUT
OUT
IN A
Y IN B-Y IN R-Y IN
R-Y OUT REF IN
L
R
STEREO IN
B-Y OUTY OUT
IN B IN C IN D
OUT A OUT B OUT C OUT D MON OUT
ETHERNET
HDMI
REMOTE ETHERNET SD/HD/3GHD-SDI HDMI
IN OUT
REF INMON OUTOUT 2OUT 1LOOP OUTIN
INPUT
DISP
SET
REM
JOG
REMOTE ETHERNET SD/HD/3GHD-SDI HDMI
IN OUT
REF INMON OUTOUT 2OUT 1LOOP OUTIN
INPUT
DISP
SET
REM
JOG
POWER REMOTE
IN
SD/HD/3G/6G-SDI IN TIMECODE
IN OUT CH 1 CH 2 CH 1 CH 2
ANALOG AUDIO IN ANALOG AUDIO OUT
OUT
IN A
Y IN B-Y IN R-Y IN R-Y OUT REF IN
L
R
STEREO IN
B-Y OUTY OUT
IN B IN C IN D OUT A OUT B OUT C OUT D MON OUT
ETHERNET
PUSH PUSH
HDMI
PUSH
SD/HD/3G/6G-SDI OUT
POWER REMOTE
IN
SD/HD/3G/6G-SDI IN TIMECODE
IN OUT CH 1 CH 2 CH 1 CH 2
ANALOG AUDIO IN ANALOG AUDIO OUT
OUT
IN A
Y IN B-Y IN R-Y IN R-Y OUT REF IN
L
R
STEREO IN
B-Y OUTY OUT
IN B IN C IN D OUT A OUT B OUT C OUT D MON OUT
ETHERNET
PUSH PUSH
HDMI
PUSH
SD/HD/3G/6G-SDI OUT
POWER REMOTE
IN
SD/HD/3G/6G-SDI IN TIMECODE
IN OUT CH 1 CH 2 CH 1 CH 2
ANALOG AUDIO IN ANALOG AUDIO OUT
OUT
IN A
Y IN B-Y IN R-Y IN R-Y OUT REF IN
L
R
STEREO IN
B-Y OUTY OUT
IN B IN C IN D OUT A OUT B OUT C OUT D MON OUT
ETHERNET
PUSH PUSH
HDMI
PUSH
SD/HD/3G/6G-SDI OUT
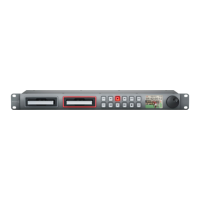
HyperDeck Shuttle HDMI and SDI inputs.
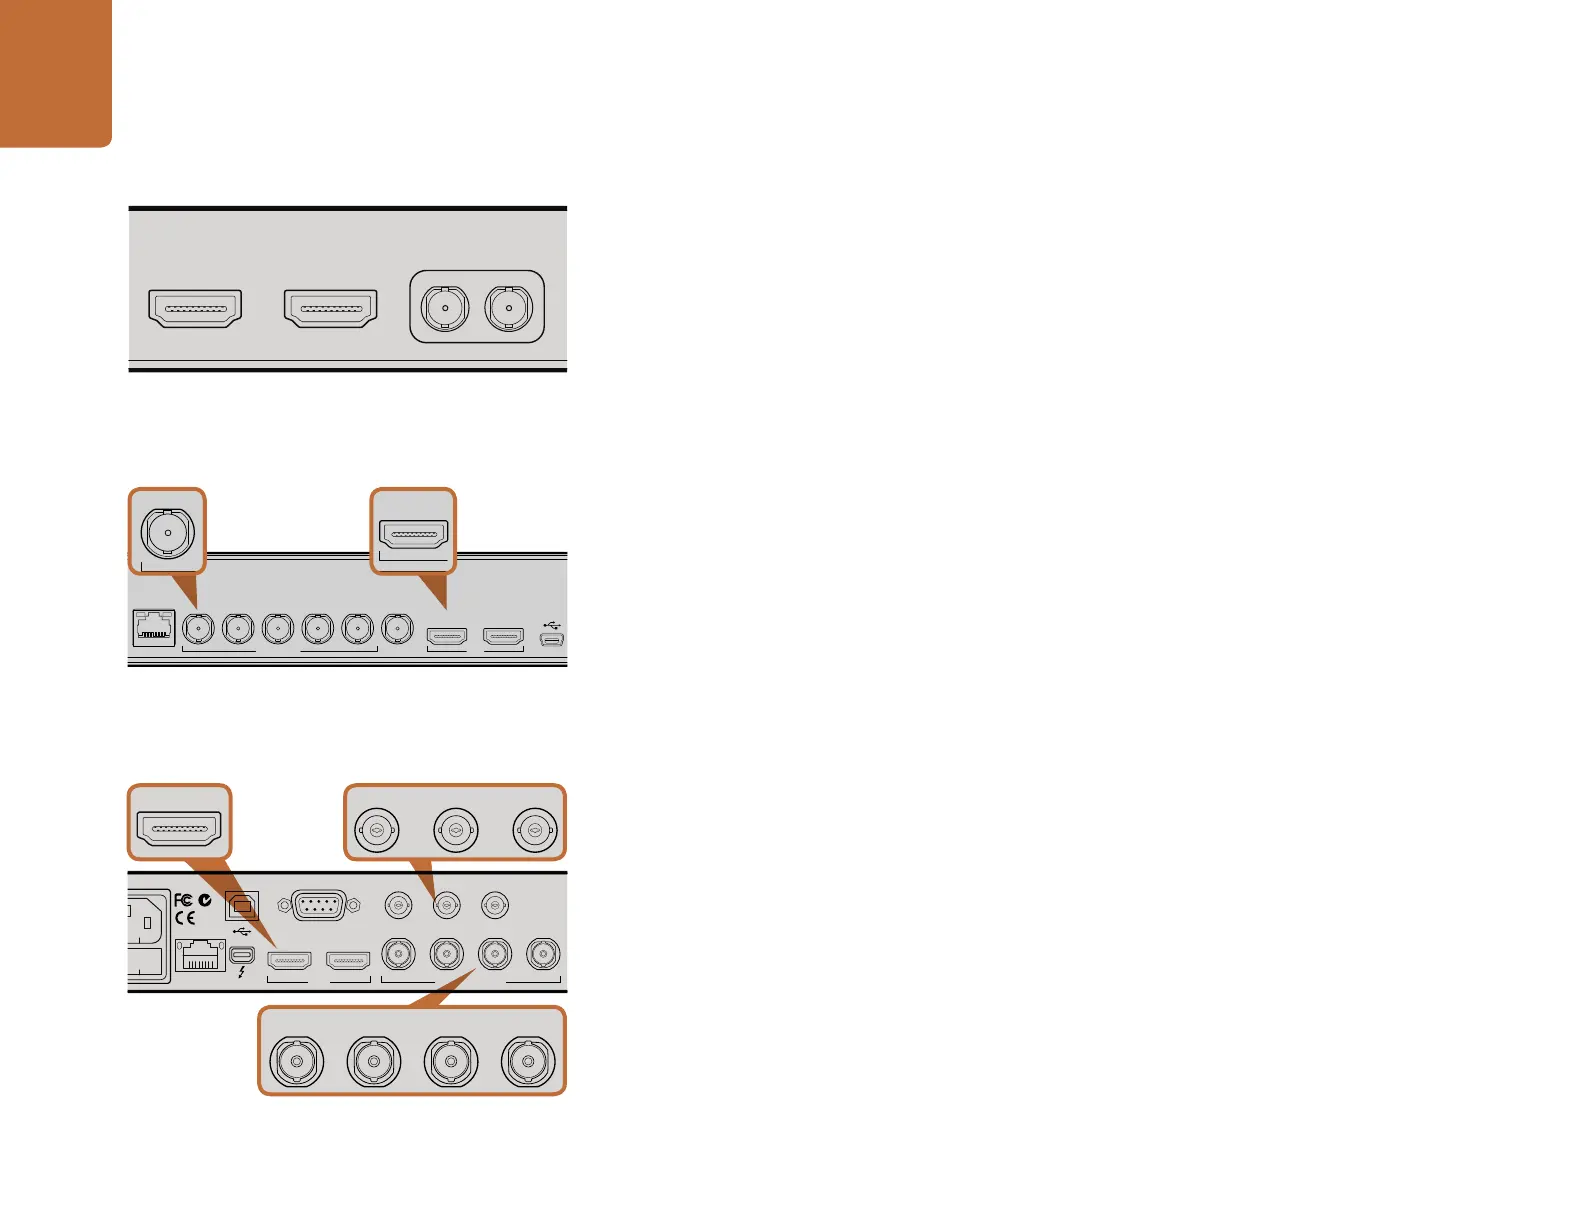
HyperDeck Studio SDI and HDMI inputs
HyperDeck Studio Pro HDMI, analog component
and SDI inputs.