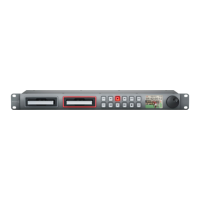
Using HyperDeck
12
HyperDeck Utility
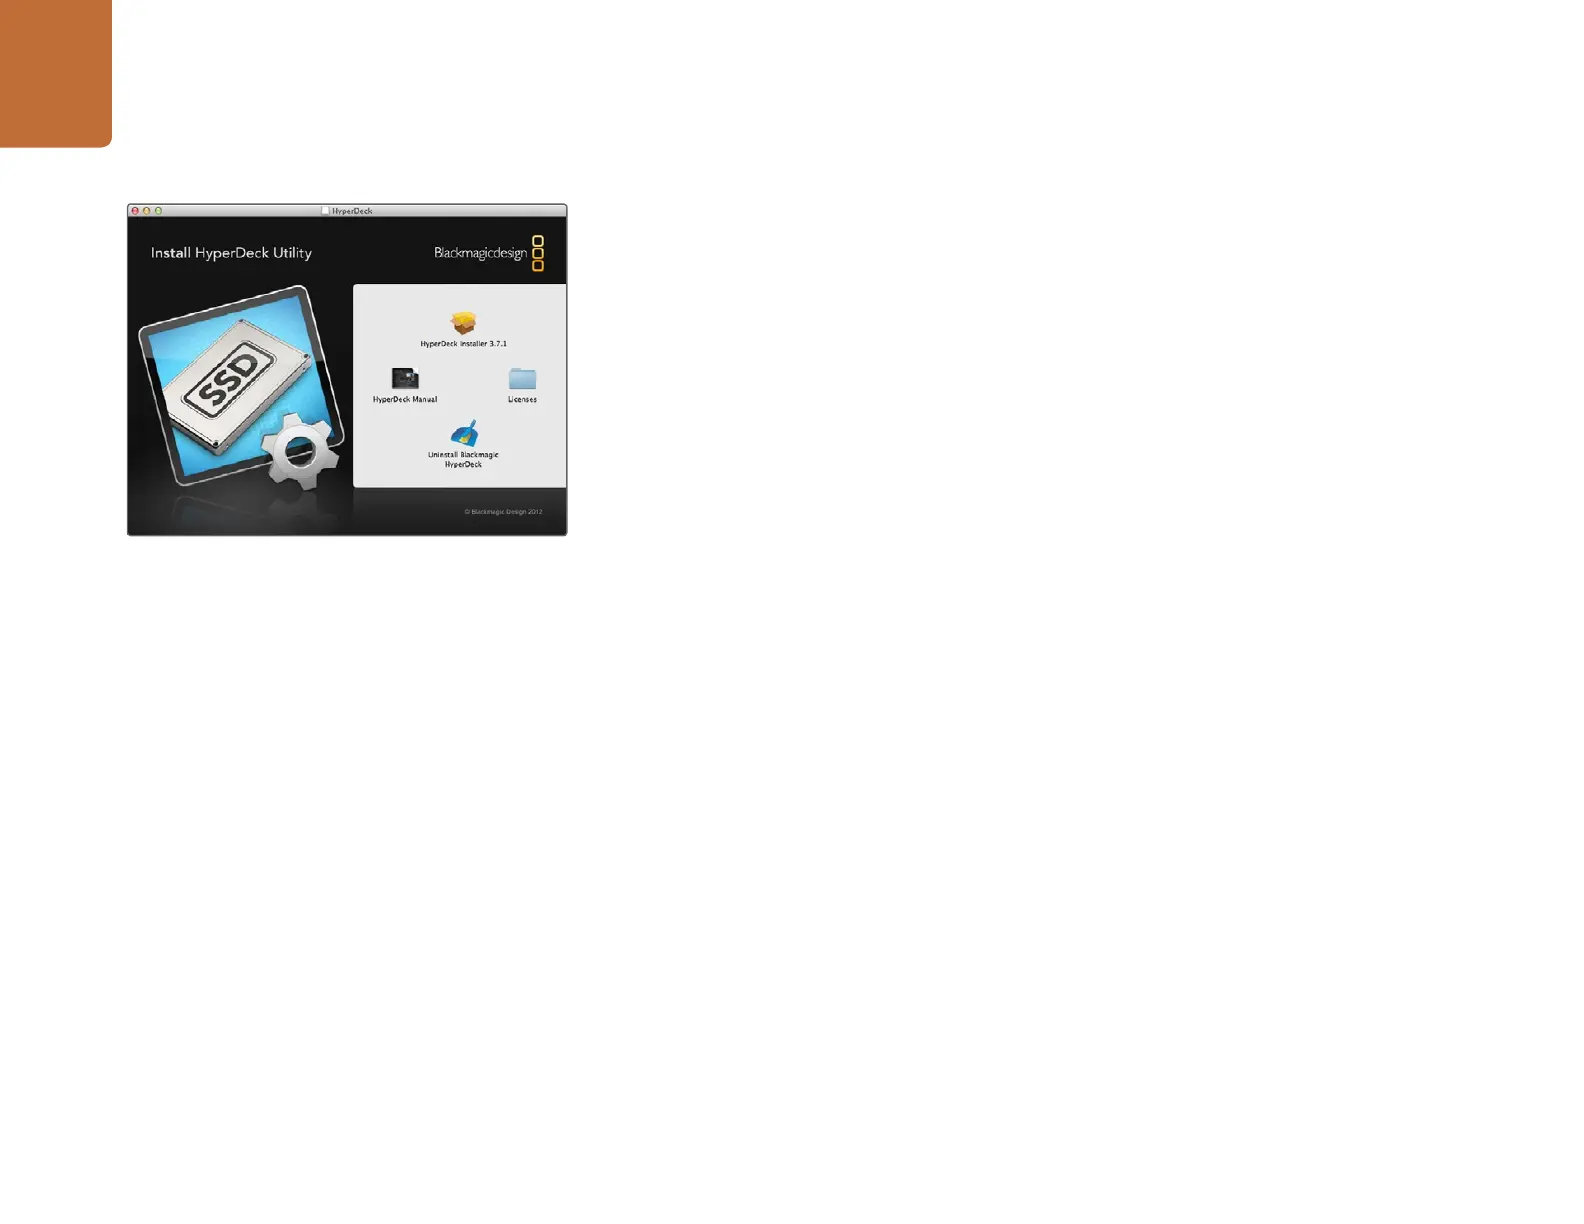
Blackmagic HyperDeck Utility is used to change settings and update the internal software in your
HyperDeck. In addition to installing HyperDeck Utility, uncompressed 10 bit codecs are installed for Mac
and Windows. The HyperDeck Installer software also installs Blackmagic System Preferences, which allow
your favorite video editing software to perform live capture from HyperDeck Studio Pro via Thunderbolt.
Blackmagic system preferences provide a central location so you don't need to configure the same
software settings in each video application that you use.
On Mac OS X, open the System Preferences and click the Blackmagic Design icon. When using HyperDeck
Studio Pro, settings are grayed out and the main use of the Blackmagic system preferences is to tell you
which version of Desktop Video software is installed for video capture via a Thunderbolt port.
When other Blackmagic video capture hardware is connected to your computer, additional settings
may be available.
How to Update Your HyperDeck Software on Mac OS X
Step 1. Download and unzip the HyperDeck Utility software.
Step 2. Open the resulting disk image and launch the HyperDeck Installer. Follow the onscreen
instructions.
Step 3. After installing the latest Blackmagic HyperDeck Utility, connect a USB cable from HyperDeck
to your computer.
Step 4. Launch Blackmagic HyperDeck Utility and follow any onscreen prompt to update the internal
software in your HyperDeck. If no prompt appears, the internal software is up to date and
there is nothing further you need to do.
How to Update Your HyperDeck Software on Windows
Step 1. Download and unzip the HyperDeck Utility software.
Step 2. You should see a HyperDeck Utility folder containing this manual and the HyperDeck Utility
installer. Double-click the installer and follow the onscreen prompts to complete the installation.
Step 3. After installing the latest Blackmagic HyperDeck Utility, connect a USB cable from HyperDeck
to your computer.
Step 4. Launch Blackmagic HyperDeck Utility and follow any onscreen prompt to update the internal
software in your HyperDeck. If no prompt appears, the internal software is up to date and
there is nothing further you need to do.