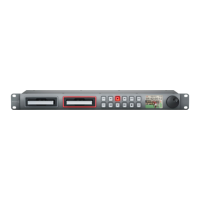
Using Your Favorite Editing Software
27
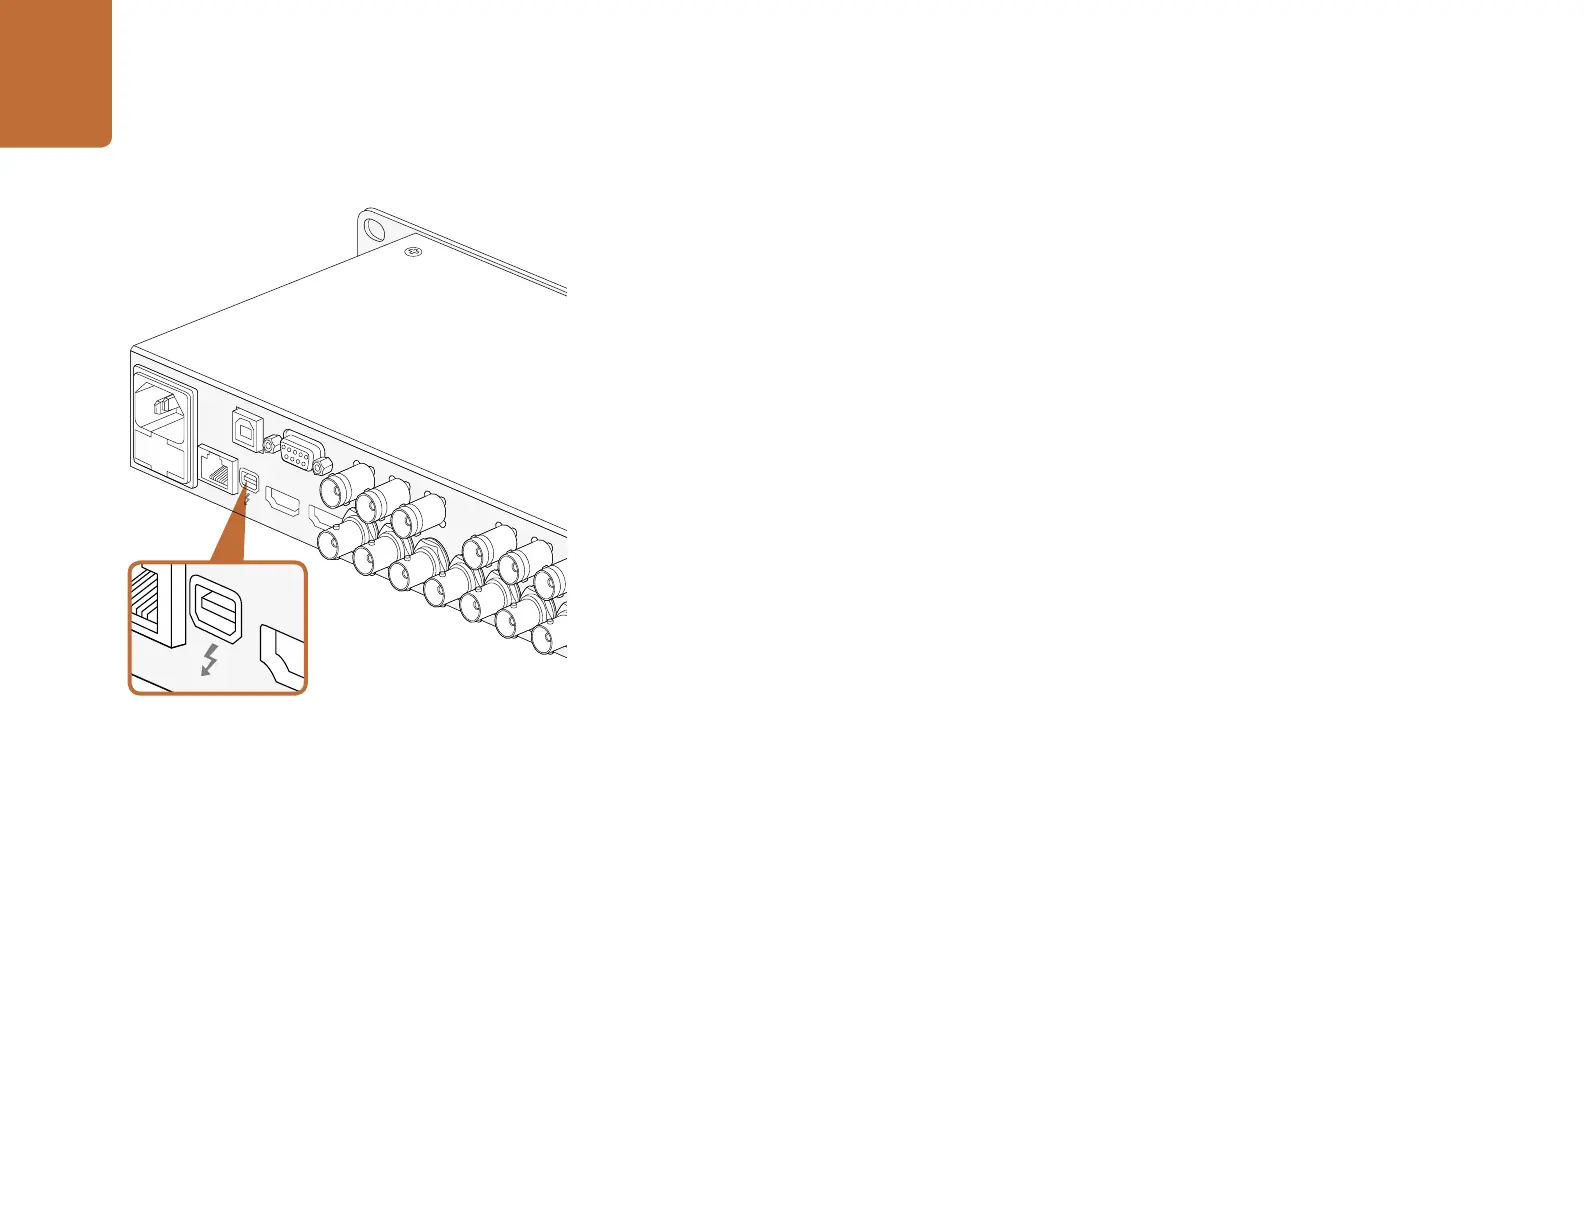
Capturing video via Thunderbolt
When connected to a computer with Thunderbolt technology, HyperDeck Studio Pro can be used as a
powerful capture solution for your editing workflow. Thunderbolt offers a blazingly fast 10 Gb/s connection,
which is enough bandwidth to handle the highest resolution video formats easily!
Capturing from SSD
If you want to dub a video that you've already recorded to SSD, you can capture via Thunderbolt using
the video software and codec of your choice.
Step 1. Connect HyperDeck Studio Pro via a Thunderbolt cable to your computer.
Step 2. Launch your video capture software, such as Media Express, Adobe Premiere Pro, Apple
Final Cut Pro 7or AVID Media Composer.
Step 3. Make sure your software is configured to capture the same format as your source.
e.g., 1080i/50, 720p/60.
Step 4. Press Play on HyperDeck Studio Pro. Video should appear on your computer screen within
a few seconds.
Step 5. Click the capture button in your video software.
Simultaneous Capture and Recording
You can also simultaneously capture via Thunderbolt while recording to a SSD. This might be useful
if you are recording a live event and are unsure if you have enough space on your SSDs to record
the whole event. Alternatively, you may want to record in two different codecs, such as ProRes and
DNxHD, simultaneously.
Step 1. Connect HyperDeck Studio Pro via a Thunderbolt cable to your computer.
Step 2. Launch your video capture software, such as Media Express, Adobe Premiere Pro, Apple
Final Cut Pro 7 or AVID Media Composer.
Step 3. Make sure your software is configured to capture the same format as your source.
e.g., 1080i/50, 720p/60.
Step 4. Press the INPUT button on HyperDeck Studio Pro to select the input from which you want to
record to SSD and capture to your computer.
Step 5. Press Record on HyperDeck Studio Pro and click the capture button in your video software.
You are now recording the same video input to both the SSD and to your computer.
Using Your Favorite Editing Software