Getting Started
8
Recording Video with HyperDeck Studio Models
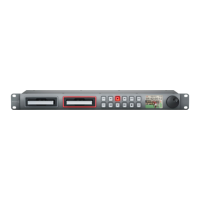
Step 1. Insert your formatted SSD into either SSD slot. The slot light will illuminate green as HyperDeck
reads the disk. When the slot light goes off, HyperDeck Studio is ready to record.
Step 2. Press the INPUT button once while the stop button is illuminated. The Input button will
illuminate and you will be able to preview the video source on the LCD before recording.
If you don’t see the video you want, press INPUT again to switch inputs.
Step 3. Press the record button to start recording to the SSD instantly. A looping red light on the
SSD slot indicates the SSD is recording. During recording, you can press and hold the record
button to switch recording from one SSD to the other instantly.
Step 4. Press the Stop button to finish your recording.
If the record button flashes, this means the disk is not fast enough and recording cannot keep up. We
recommend you change to a compressed recording format such as ProRes or DNxHD, or use a faster
recommended SSD for uncompressed or Ultra HD 4K recording.
Playing Video
The controls of HyperDeck work just like a CD player, so playing back clips is simple and instantaneous.
If you play back a video clip that has an associated .MCC file, the closed caption data will be played out
with the video via the SDI output of your HyperDeck.
Playing Video with HyperDeck Shuttle
Step 1. Press the Stop button once to stop recording.
Step 2. Press Stop again to switch HyperDeck Shuttle to playback mode.
Step 3. Press Play and you'll see your video on any displays connected to the SDI and HDMI outputs.
When a clip is playing, pressing Play again will loop it continuously.
Step 4. To skip to the next clip, press the next clip button on the shuttle controls. Press previous
clip once to go to the start of the current clip or press twice to skip back to the start of the
previous clip.
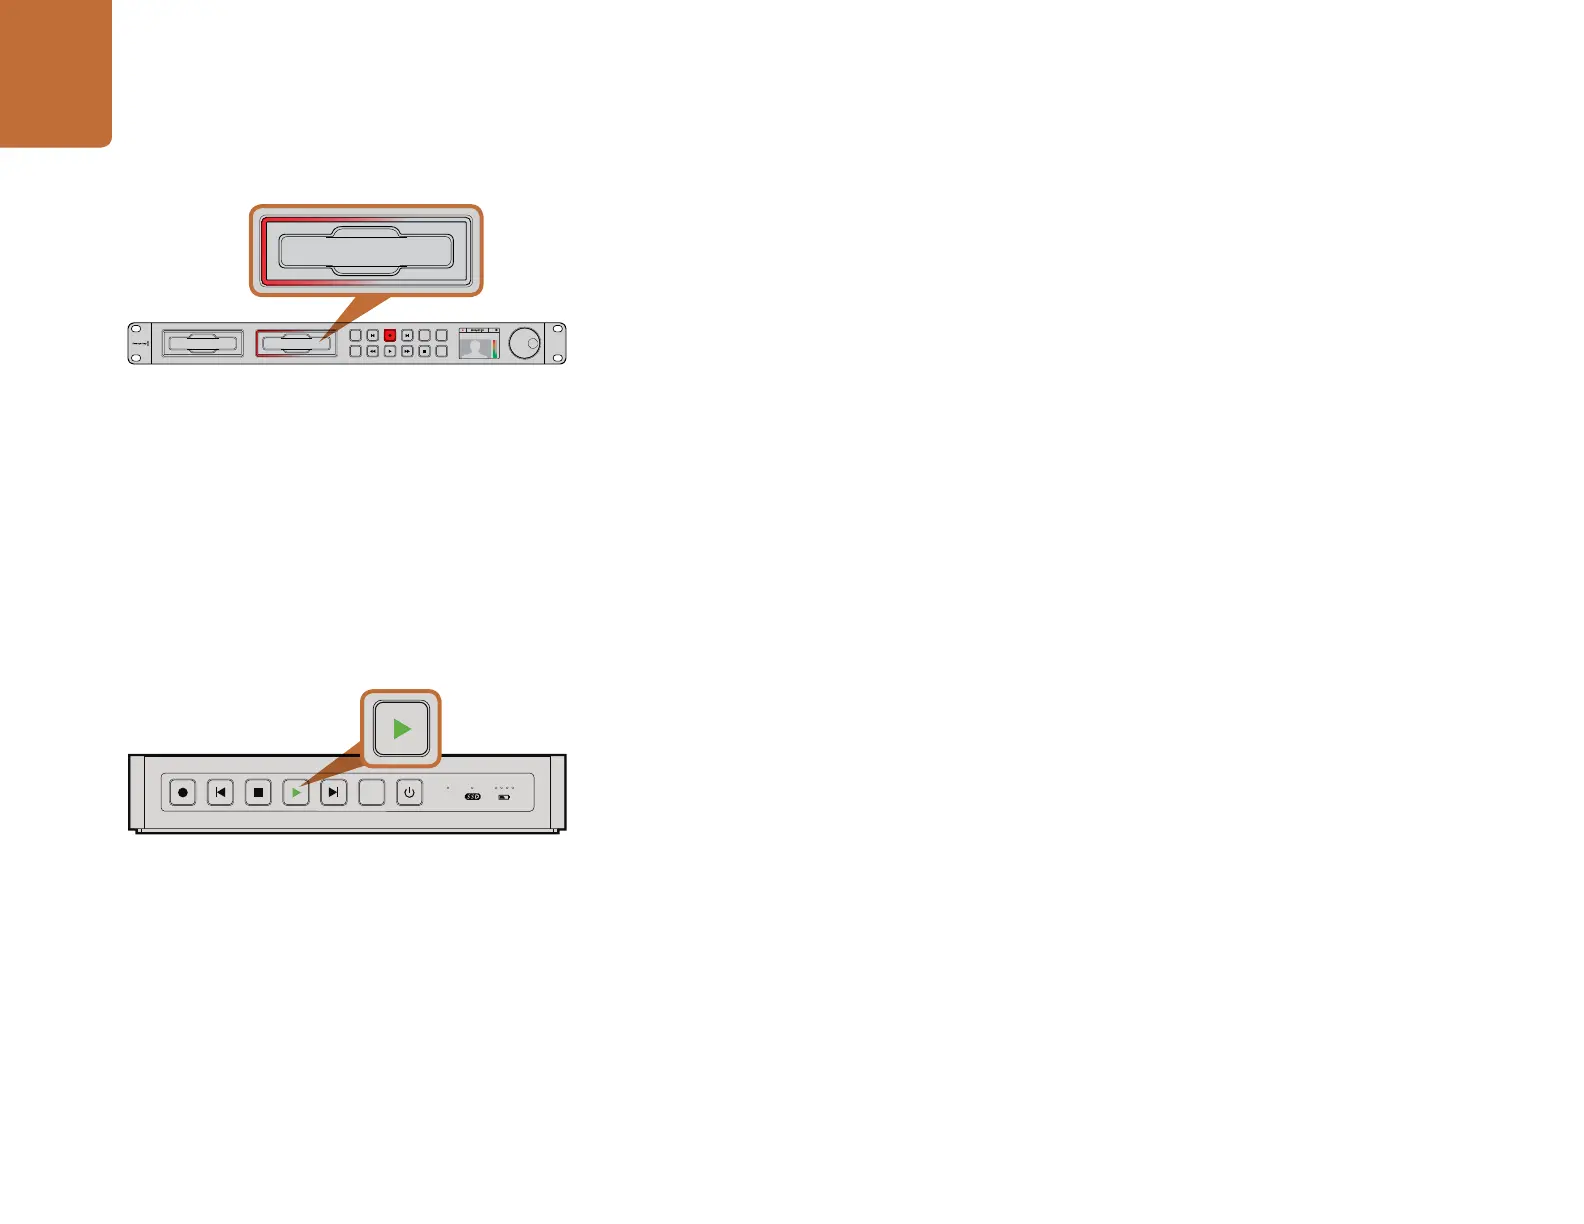
Playing Video with HyperDeck Studio models
Step 1. Press the Stop button once to stop recording.
Step 2. Press the play button once for instant playback and you'll see your video on any displays
connected to the SDI and HDMI outputs. When a clip is playing, pressing Play again will
loop it continuously.
SSD slots on HyperDeck Studio models have rotating LEDs to
show the unit is recording video.
INPUT
DISP
SET
REM
JOG
01:42:56:12
SSD
2
INPUT
DISP
SET
REM
JOG
01:42:56:12
SSD
2
DISP
VIDEO
The play button lights up green when HyperDeck Shuttle
is in playback mode.