You should see the below in the message window area.
12. With the printer powered off holding down the MENU and ON/OFF LINE buttons. Power up the printer and hold
buttons until printer shows FACTORY MENU. Change STRIP SELECTION to DOMESTIC. Use the DOMESTIC.
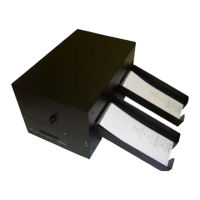
Pressing the BLANK STRIP button only will cause the below printout. Attach sample to test sheet.
13. Click on the FAA Test Tickets button and go to the FAA2016 folder found in the firmware directory. Send the
FAA_Tower20.txt file to the printer. Twenty tickets will printout. The cut position and text alignment should be
similar on all tickets. Attach one ticket to the check sheet.
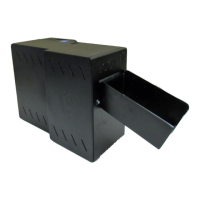
14. With the printer offline. Pressing the ON/OFF LINE & BLANK STRIP buttons simultaneously will cause the below
printout. Attach sample to test sheet.
15. Put the printer back online. Sending the FAA_BoxTower.prn file will cause the below printout which should have
similar alignment. Attach sample to test sheet.
16. Once the printer has passed the above then move forward with assigning the serial number via the RS422 serial
port.
a. Click on the FAA to FGL Mode button.
b. Click on Load Serial Number button and load the serial number the way you normally do.
17. Power the printer off. Connect the Ethernet cable to the printer. Power the printer back up
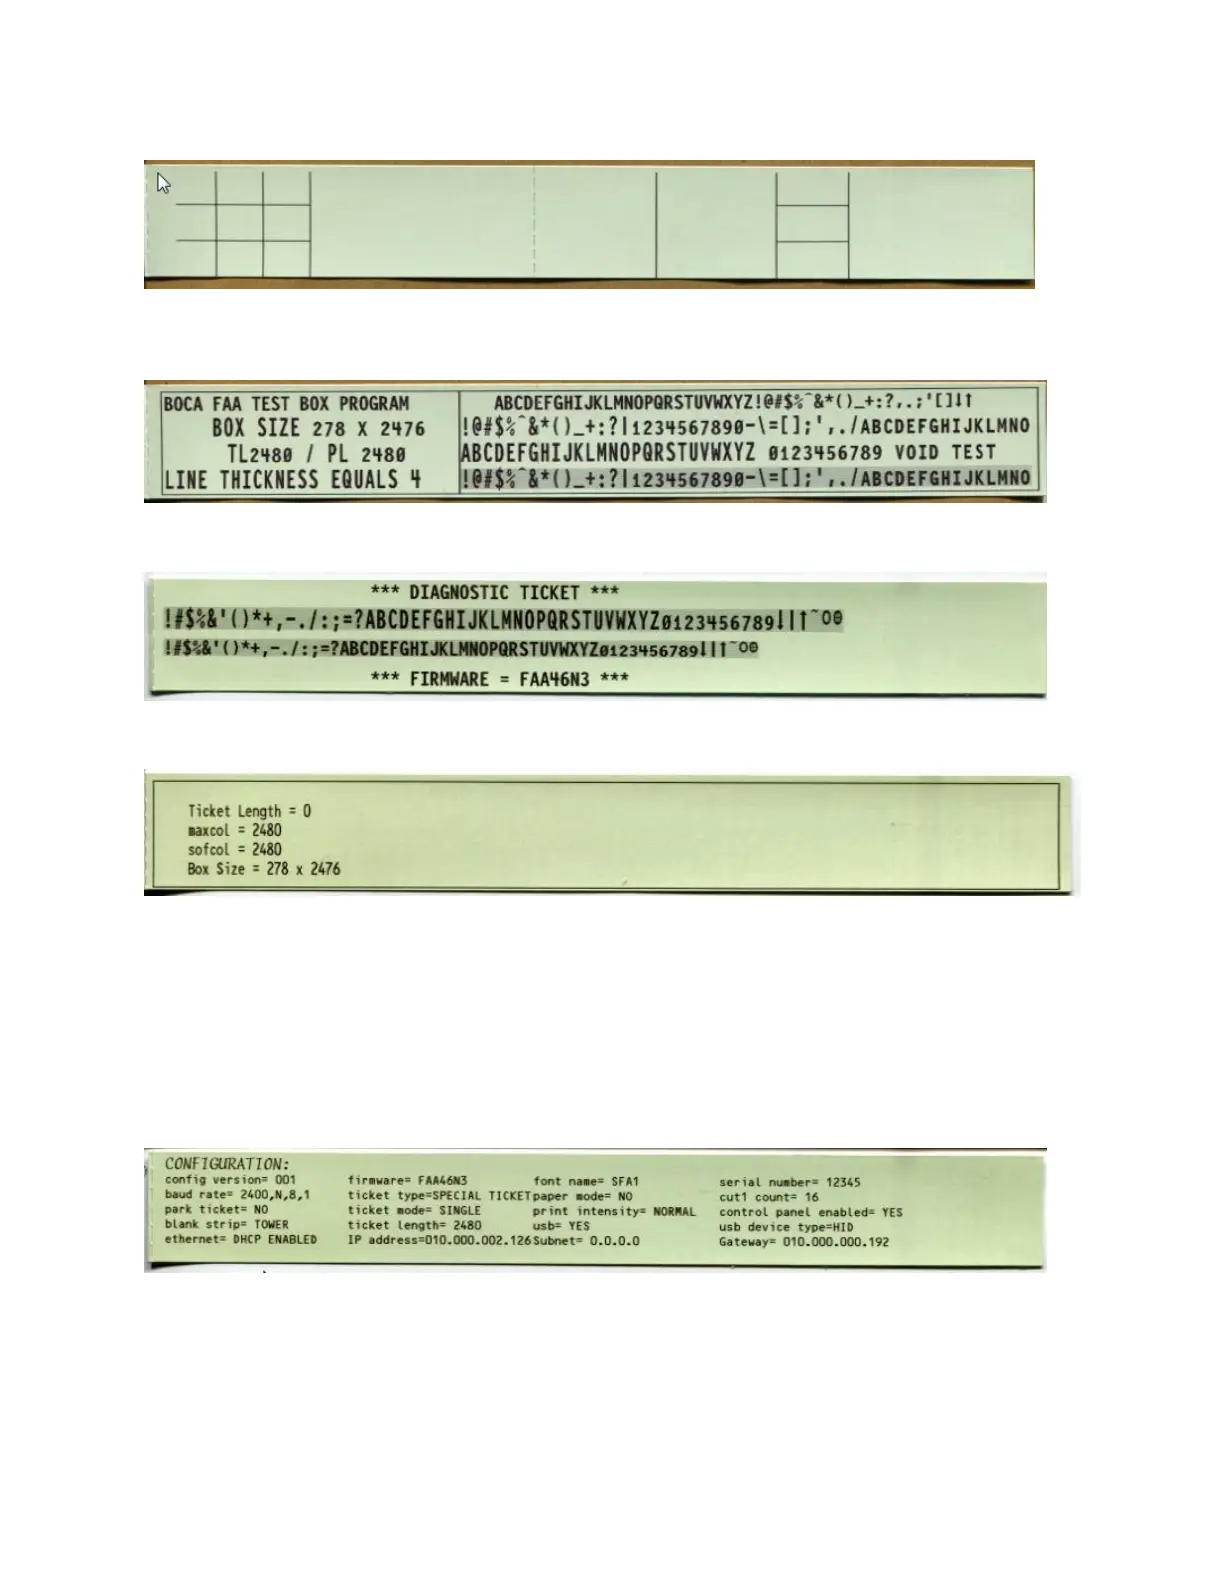
18. Wait about one minute after the printer has powered up. Take the printer offline. Hold down the ON/OFF LINE
button and then press the MENU button. A configuration ticket wills printout that will show the IP address. Attach
this one ticket to the test sheet.
19. Put the printer back online. Connect to the IP address as you normally would.
20. Once connected run the same print test you did in step # 15 to confirm the printer prints a ticket.
21. Turn the blue dial on the control panel fully clockwise so the LCD back lit display is fully illuminated.
22. You have now completed testing the printer.
 Loading...