8.2 Cut Opto Removal/Replacement
Please make sure the printer is powered off and unplugged from the AC source.
1. Remove the print head mounting plate from the printer. See section 7.1.1.
2. Loosen the four 3/16” hex head screws that holds the extended paper guide cover in place and
slide the cover off.
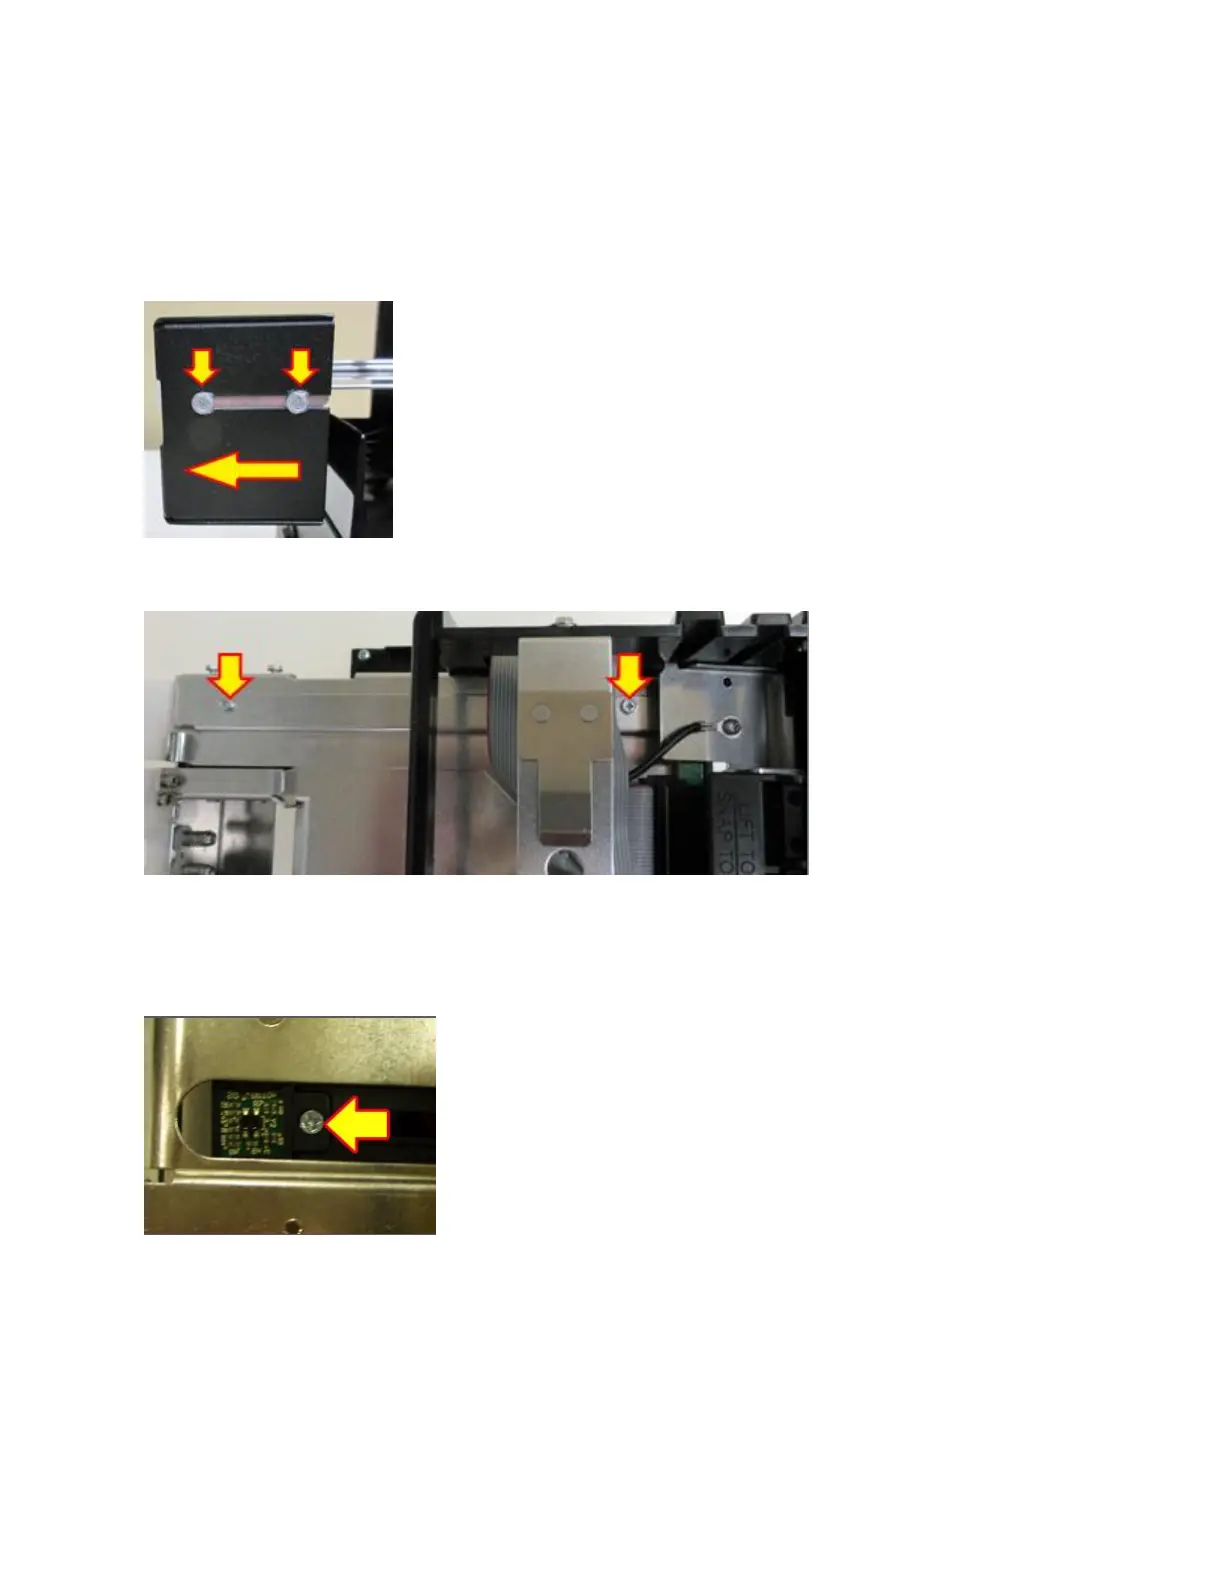
3. Remove the two 3/16” hex head screws that hold the upper paper guide upper rail in place.
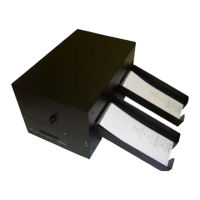
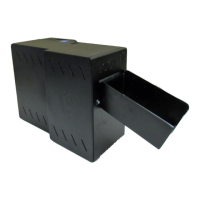
4. Remove the Phillips head screw that holds the cut opto onto the mounting bracket. Unplug the
connector from the opto.
5. Plug the connector into the new replacement opto and install it back onto the mounting
bracket.
6. Install the upper rail back in place.
7. Install the extended paper guide cover back in place.
8. The printer is ready to be put back into service.