1 689 979 467 2012-10-10| Robert Bosch GmbH
Maintenance | EPS 100 | 25EPS 100 | 25 | 25 en
6. Maintenance
6.1 Changing the pressure gauge
When a pressure gauge is changed, the damage level
on the EPS 100 alters. This is due to the manufacturing
or design differences between the pressure gauge
manufacturers.
To be able to change the pressure gauge, a
reference gauge and volume meter (calibration set
1688130194) are required to measure the defined
damage level.
Items 2 and 6 of the Maintenance Schedule must be
respected when changing the pressure gauge.
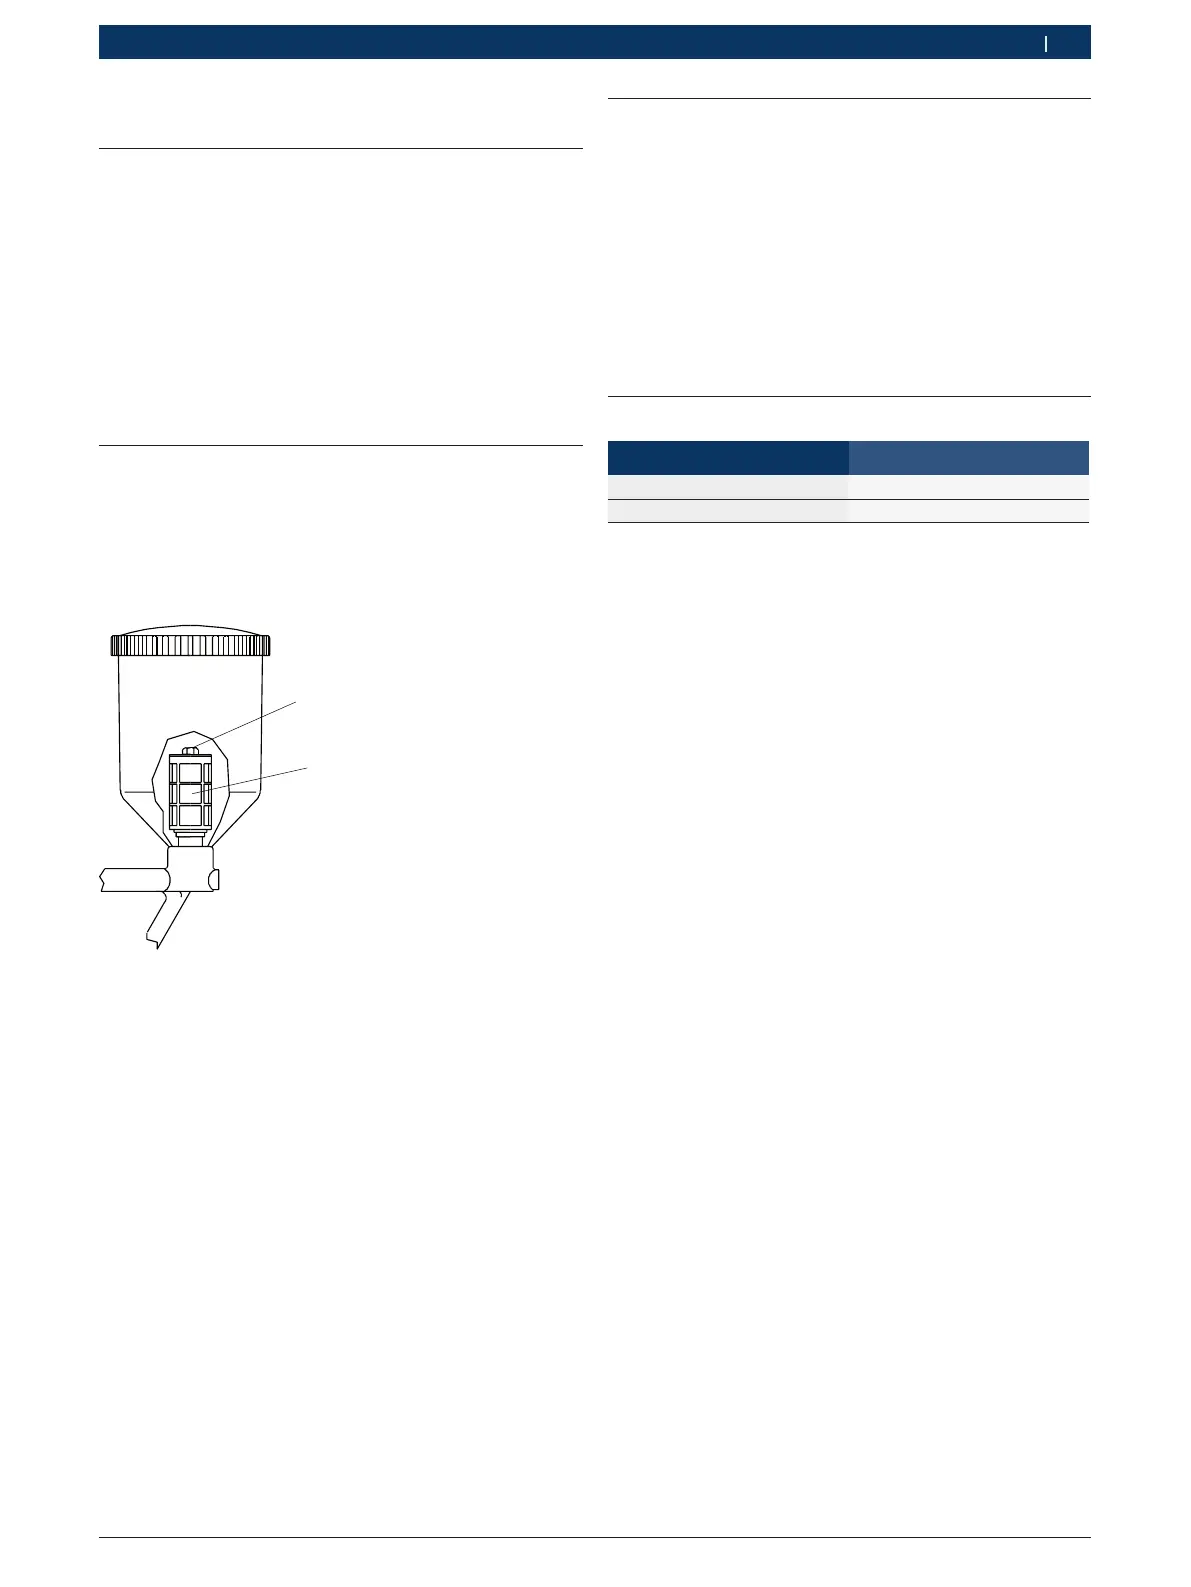
6.2 Changing the filter
The filter insert in the oil tank must be replaced
regularly. After filling with the new test oil the inside
of the nozzle tester has to be tested by operating the
lever. When doing so spray into the extractor device
without the nozzle and holder assembly.
1
2
458759-3
Fig. 3: Replacing the filter insert (<)
1 Hexagon bolt
2 Filter insert
We recommend that you hand in the nozzle tester at re-
gular intervals (1 to 2 years) to your local Bosch Service
to check the measuring accuracy.
6.3 Bleeding
To ensure complete bleeding, the EPS 100 must be
flushed through with a minimum of 10 pump lever
movements (full path) when a nozzle and holder is
attached.
It is important that all air is flushed out or dissolved in
the test oil.
To make sure that all air is dissolved in the test oil, the
system must be pressurized to 100 bar for at least 1 hour.
If during a test, the hydraulic system is opened at any
point, the entire bleed operation must be repeated.
6.4 Spare and wearing parts
Description Order Number
Oil tank (plastic) 1685400014
Filter insert
<)
1687431018
<)
Wearing part
 Loading...