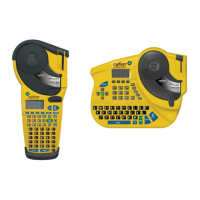
Chapter 5 Creating Labels Using the General ID Menu
This chapter provides information for creating, formatting and printing labels using the General ID
Menu, including information on changing font sizes and bold status. It also provides instructions for
adding symbols and international characters to a label.
Creating a Basic Label
Follow these steps to create and print a basic label. For details and information on advanced features,
refer to the chapters that follow in this manual.
Note: See the IDXPERT
TM
Handheld Labeler Sample Label Tutorial for step-by-step
instructions on creating a variety of labels.
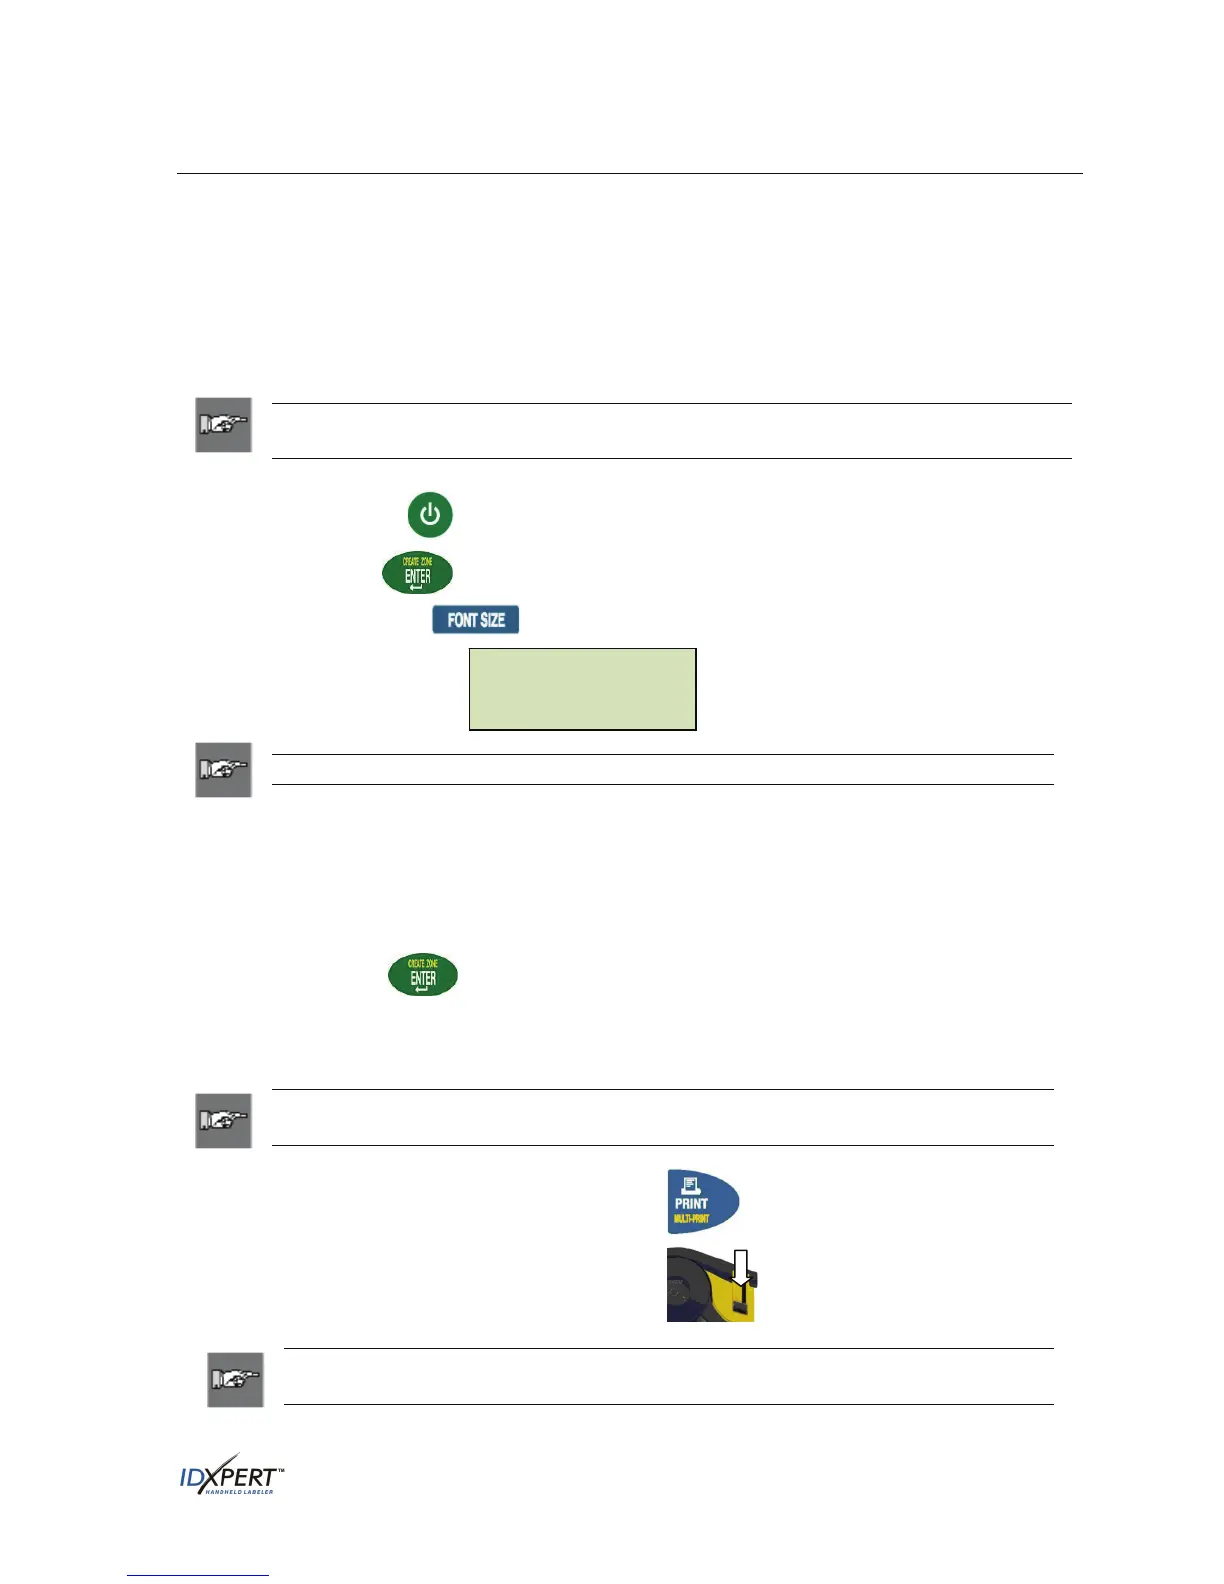
Step 1. Press POWER.
Press ENTER to select the General ID Menu (highlighted by default).
Step 2.
Step 3. Press
FONT SIZE.
The display screen shows the
current font size, bold status,
and auto size status.
Note: See Appendix C—Font Size Chart to view available font sizes.
Step 4.
Step 5.
Step 6.
Step 7.
Use the up/down arrow softkeys, or the arrows on
your keypad to select a font size.
[▲] [▼]
Press the
BOLD softkey to toggle bold ON or OFF.
Press the
AUTO softkey to toggle auto sizing ON or OFF.
Press
ENTER.
Step 8. Type desired text and/or characters.
Press
ENTER to add additional lines of text and/or characters.
Note: You may also select from a list of symbols to include on your label.
See Appendix D—Symbol Library to view selection.
Step 9. Press PRINT. For multiple copies, press
FUNCTION + PRINT/MULTI-PRINT.
Step 10. Pull the cutter lever down to cut the label.
Note: If you press
FUNCTION + CLEAR/ESC while creating labels using the General
ID Menu, the following options appear on the display screen:
FONT: 10 pt
Bold: OFF
Auto Size: OFF
User Manual 15