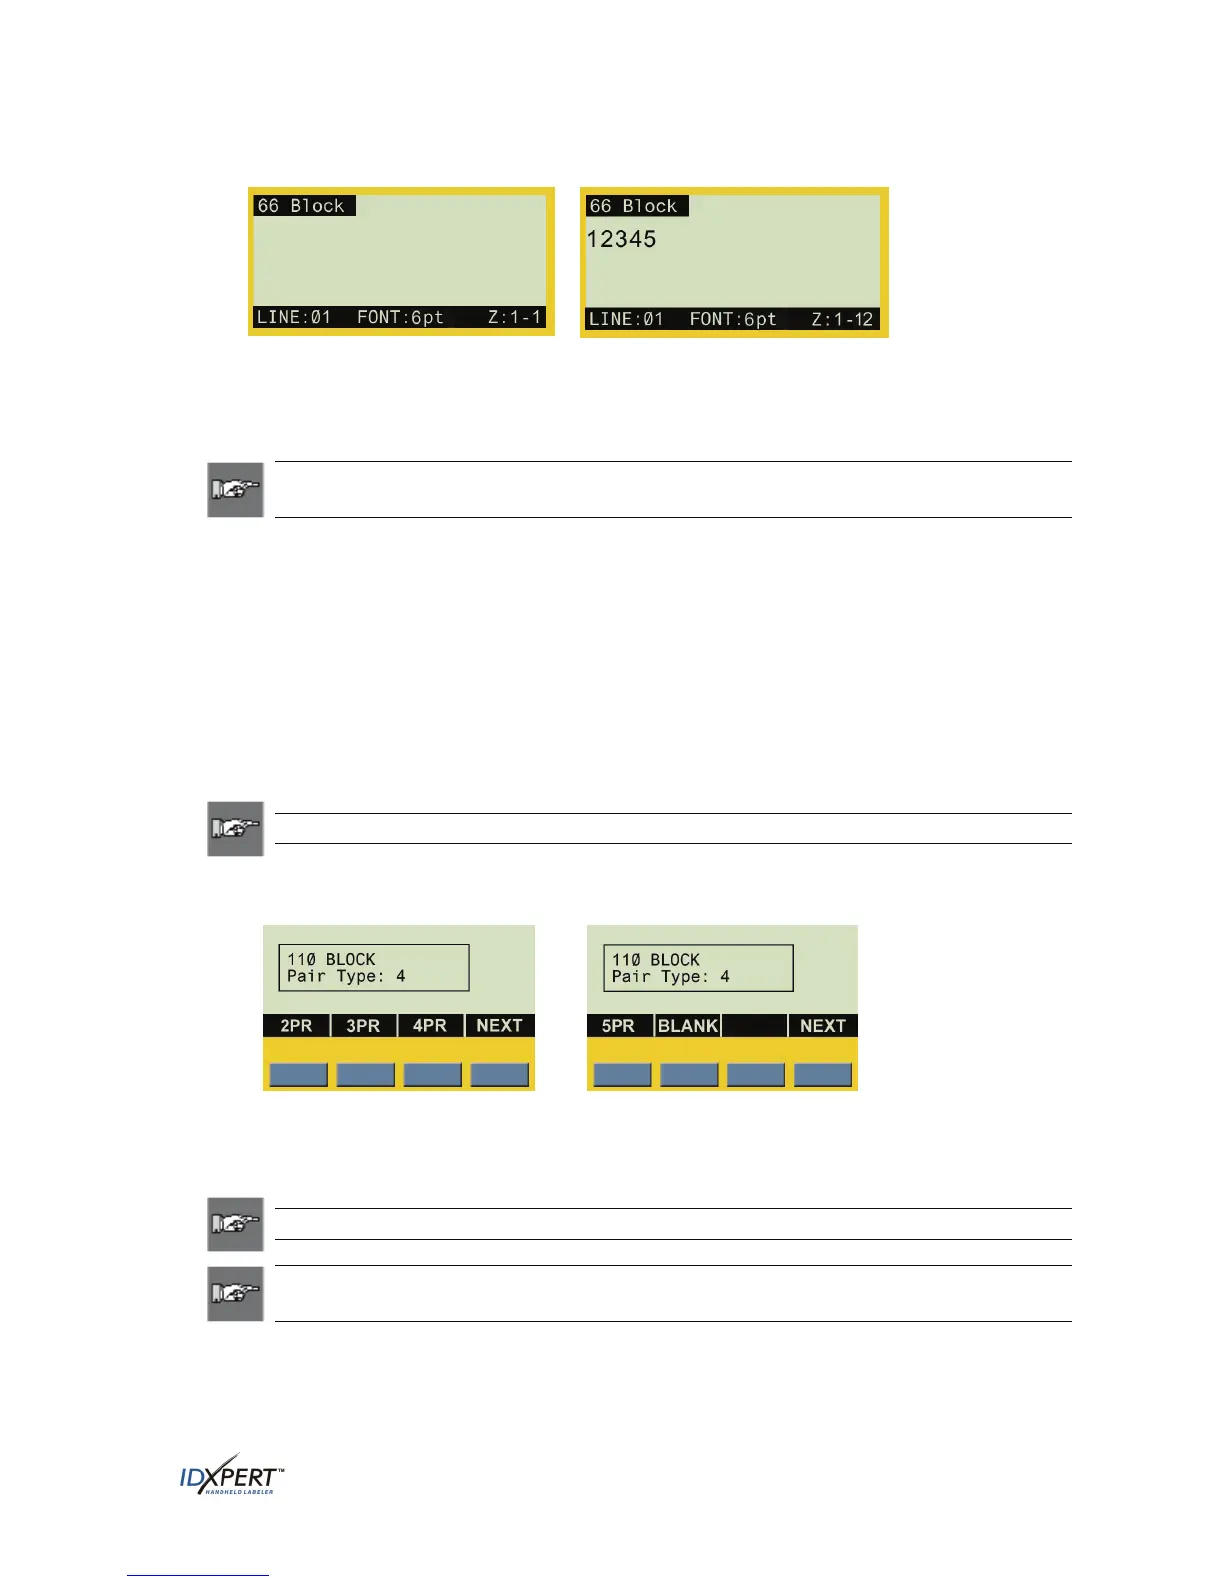
66-Block display screen examples:
Display screen before text/zones
entered
Display screen showing 12-zone label
with the first of 12 zones displayed
110-Block Labels
Note: See
DataComm & T-Block Menu Selections for a list of the high-level DataComm
& T-Block Menu selections, their default values, and the corresponding softkeys.
This example outlines the functionality required to create a 110-Block label using the DataComm
& T-Block menu. 110-Block labels print based on user-selected pair configuration.
This example assumes use of a dedicated 110-Block part (width = .475").
To create a 110-Block label:
Step 1. Insert a dedicated part (.475" x continuous in B412 and B422). The printer reads the
smart-cell settings and automatically displays the screen allowing you to choose between
the General ID Menu and DataComm & T-Block Menu. Upon selecting the DataComm
& T-Block Menu, the following datacomm menu options appear above the softkeys:
P-PNL, T-BLK, DESI, 110BLK, 66BLK, BIX.
Note: To escape to the General ID Menu screen press
FUNCTION + CLEAR/ESC.
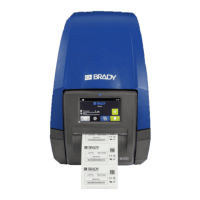
Step 2. Press NEXT, then the 110-BLK softkey. The default 110-block information automatically
appears on the display screen as shown below (pressing
NEXT advances menu options):
Step 3. To set or accept the pair configuration (
2PR, 3PR, 4PR, or 5PR), do one of the following:
• Press the
ENTER key to accept the default (4PR), or
• Press another pair configuration softkey and press
ENTER.
Note: For instruction on using the BLANK selection, see
Blank Pair Type on page 30.
Note: See also
Horizontal Serialization on page 31 and Backbone Serialization on
page 32.
User Manual 27