Chapter 8 Advanced Features
This chapter provides information on creating and printing continuous labels (both automatic and
fixed length), zones on labels, general serialized labels, and barcode labels.
Continuous Media
The printer’s continuous setting allows you to create labels for a variety of applications including
pipe markers, terminal blocks, and patch panels.
To work with continuous media:
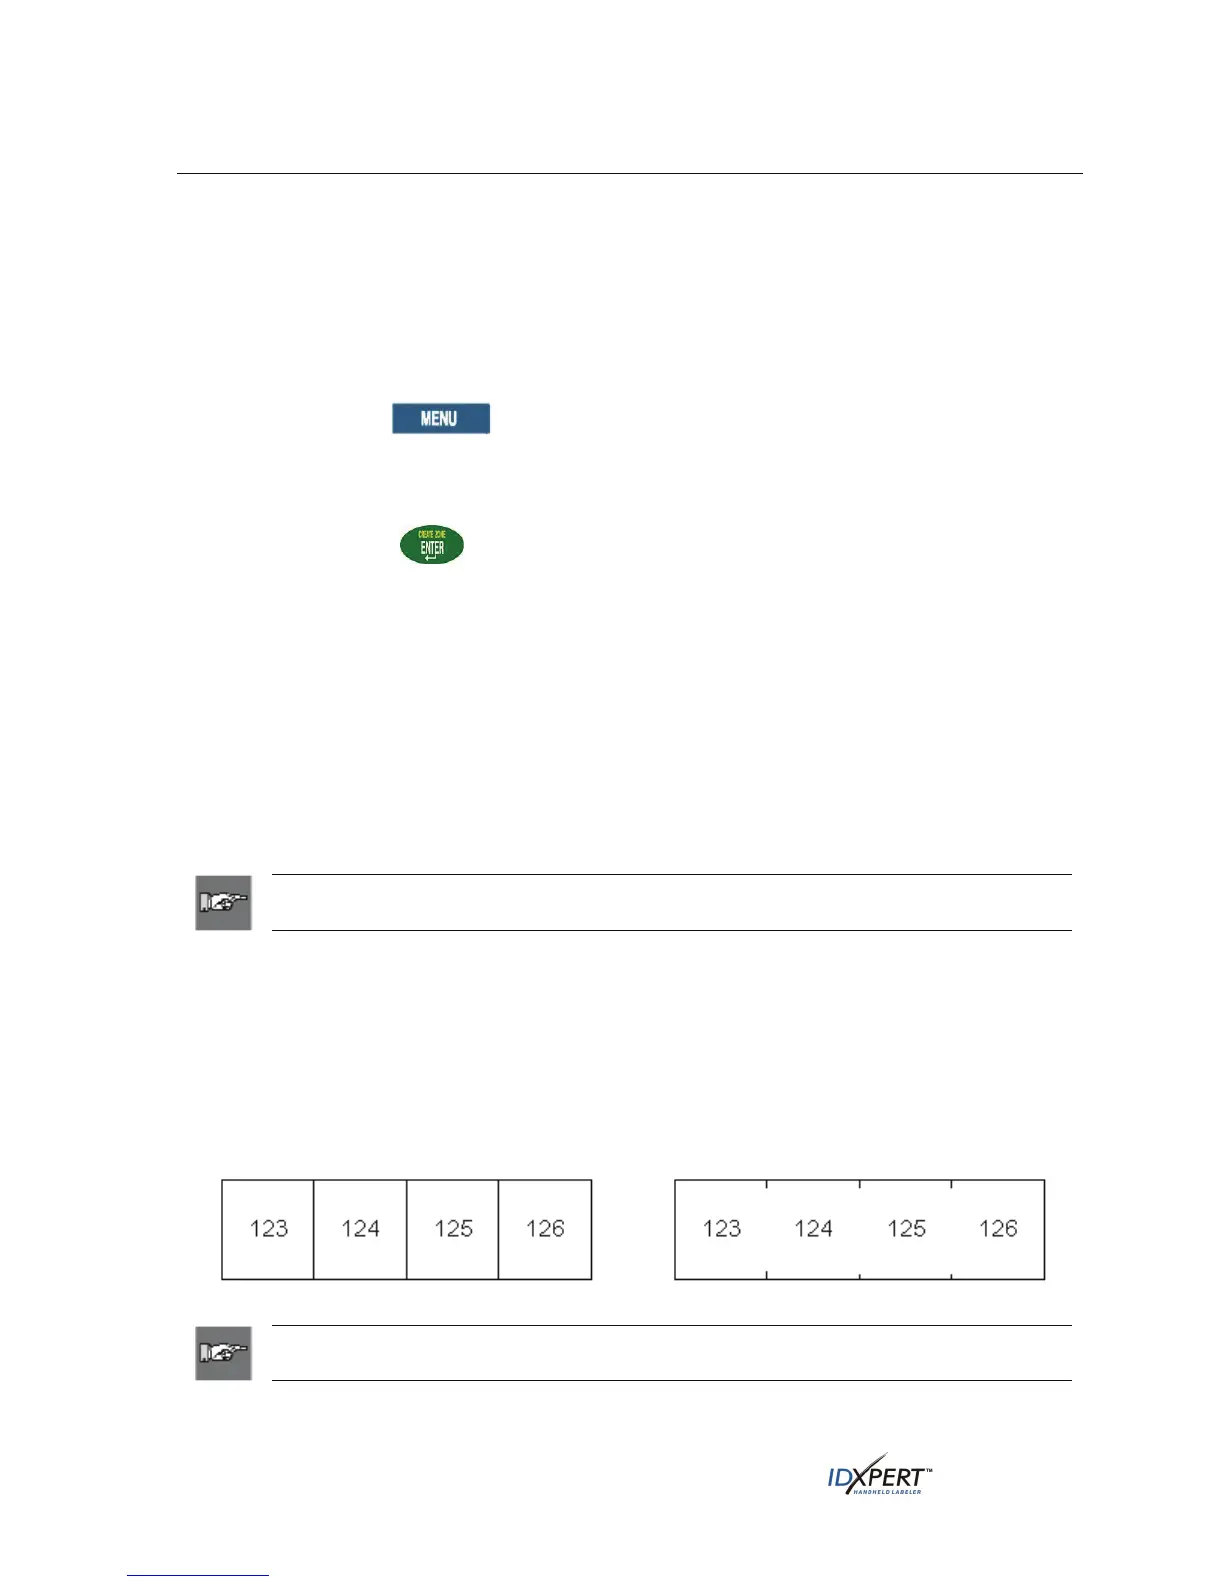
Press MENU. Step 1.
Press
CONT.
Step 2.
Step 3.
Step 4.
Press
AUTO, LEN, or SEP.
Press
ENTER.
Auto
Auto is the default. When Auto is chosen, the characters entered determine the length of the
continuous label up to a maximum of 75 characters or 19 in. (482mm), whichever is reached first.
Font size and size of characters selected affect the maximum number of characters you can enter.
Length
The printer allows you to specify a fixed length for your continuous label.
When you turn Auto off, you must select a length.
• To select a length, press LEN. The display screen allows you to type in a fixed length:
Min. =.2", (5mm) Max. = 19" (482mm).
Note: To set a fixed length in inches, type two places after the decimal point. For
example, to set a fixed length of .2”, type 20. You do not need to type the decimal point.
Separator
In addition, you may select a separator type.
• To select a separator, press SEP, then press NONE, TIC, or LINE. The default value is NONE in
General ID Menu mode.
Separator Examples:
Line Separation
Tic Separation
Note: Press
FEED after printing to advance any fixed length continuous label
to the cut position.
38 User Manual