147
13
Pressure Testing Cooling System
1. Remove radiator cap and make sure coolant
is at correct level.
NOTE: Coolant level must be no more than 25 mm
(1 in.) below bottom of filler neck.
2. Install cooling system pressure tester on
radiator and pressurize system to 0.75 Bar
(11 psi).
NOTE: System must maintain pressure during test
.
3. Check the following for any signs of leaking:
• Hoses and connections (also check hoses
for excessive bulging).
• Radiator
• Water Pump
• Intake manifold and by-pass hose.
• Freeze plugs (cylinder block and cylinder
head)
4. If system does not maintain pressure and no
leaks are evident externally, check for an
internal leak such as a blown head gasket,
warped cylinder head or cylinder block.
Change Coolant
NOTE: Coolant should be changed once a year.
Change coolant with engine cold.
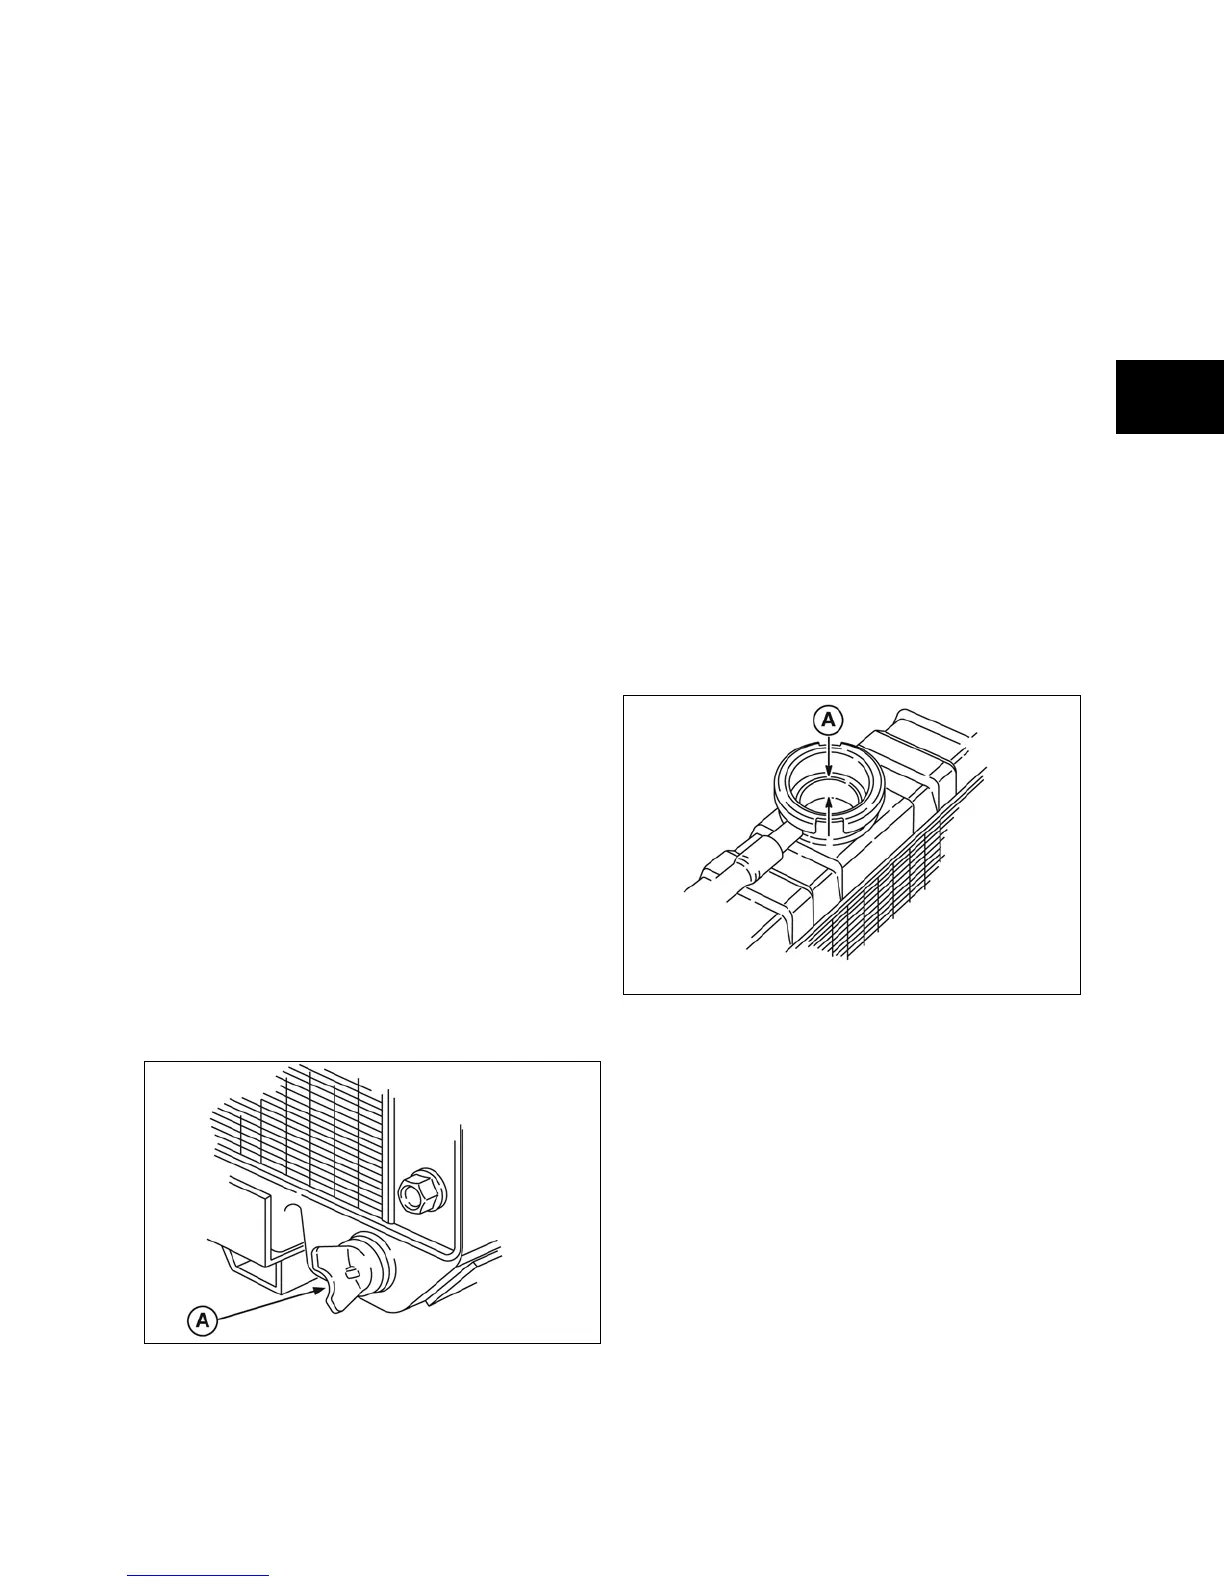
1. Remove radiator cap. Remove radiator drain
plug (A, Figure 1) and drain the system.
Figure 1
2. Tighten drain plug.
NOTE: Follow state or federal laws regarding the
proper procedure for disposing of antifreeze.
Test Radiator Cap
1. Ensure that the rubber seal on the radiator
cap is not damaged or distorted. Rubber
seals must be clean and free of debris to
seal properly.
2. Install radiator cap on pressure tester and
pressurize the cap.
• Specification: 1.03 ~ 0.75 Bar (15 ~ 11
psi). Recommended pressure cap
capacity is 0.9 Bar (13 psi).
3. Replace cap if not within specifications.
4. Fill radiator with 50% solution of phosphate
free antifreeze.
5. Start and run engine until thermostat opens
(when coolant lever drops, thermostat is
open).
6. Check coolant level in radiator (A, Figure 2)
and add coolant as required.
Figure 2
7. Install radiator cap.
Remove Thermostat - Engine Cold
1. Drain engine coolant.
2. Remove screws and coolant outlet housing
(A, Figure 3).
3. Remove locating screw (B) and thermostat
(C).
4. Remove all traces of gasket material.
 Loading...