BTech DMR-6X2 CodePlug Programming Guide
V-1.00/1.00
Page 23 of 30
© 2017/8 Trygve Svärd KD0PNQ
2.5 FIRMWARE UPDATES
If you have the Firmware Update Software (described in section 4.0 below) installed on
your computer, this is a direct way to access this firmware.
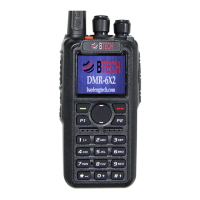
2.6 START-UP SCREEN BOOT IMAGE CHANGE
The TOOL menu in the CPS has an option to replace the Boot Image displayed.
2.7 DEFAULT CHANNEL INFORMATION
This TOOL Menu accesses the first channel of your list of channels.
2.8 EXPORT DATA CONVERSION FILE
This function is used to export the codeplug to a format .dcf which can be read by the
Contact Manager described in section 6.0 below where it can then be fully manipulated.
2.9 MODEL INFO
The Model pull-down menu shows the 11 possible
frequency range options for the radio. Changes can
only be done by the manufacturer.
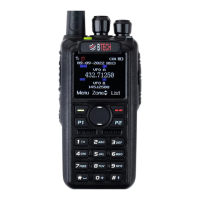
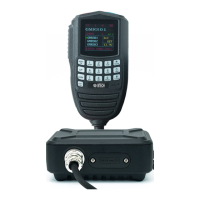
3.0 RADIO LCD DISPLAY
On the top row of the LED display the following
• Open Image – accepts JPG images from
your photos or files (size not critical as
software will re-size)
• Open Bin – opens a .bin image file
• Save Bin – saves the image you opened to
a .bin file
• Read – read your loaded image file from the
radio (if you loaded one)
• Write – write your new image file to the radio