BÜCHI Labortechnik AG Cleaning and servicing | 7
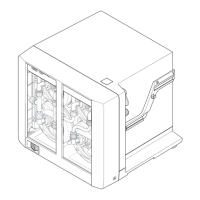
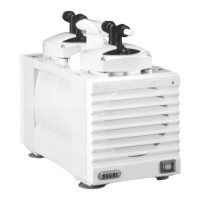
Operation Manual Vacuum Pump V-600 45/65
Removing connecting component between right-hand pump head and pump
intake connection
Tools required:
Torx key Tx10
u Unscrew the fixing screws (3) for the elbow connector (2) on the pump head.
u Unscrew and pull back the GL14 union nut on the connection for the pump outlet
(9).
u Remove the entire connecting component together with elbow connector.
Removing connecting component between left and right-hand pump heads
Tools required:
Torx key Tx10
u Unscrew the fixing screws (3) of the elbow connectors (2) on the left-hand pump
heads and the elbow connector on the right-hand upper pump head.
u Remove the three elbow connectors including the entire connecting component.
Removing connecting tube between the two right-hand pump heads
Tools required:
Torx key Tx10
u Unscrew the fixing screws (3) from the two elbow connectors (2).
u Remove the two elbow connectors together with the connecting tube.
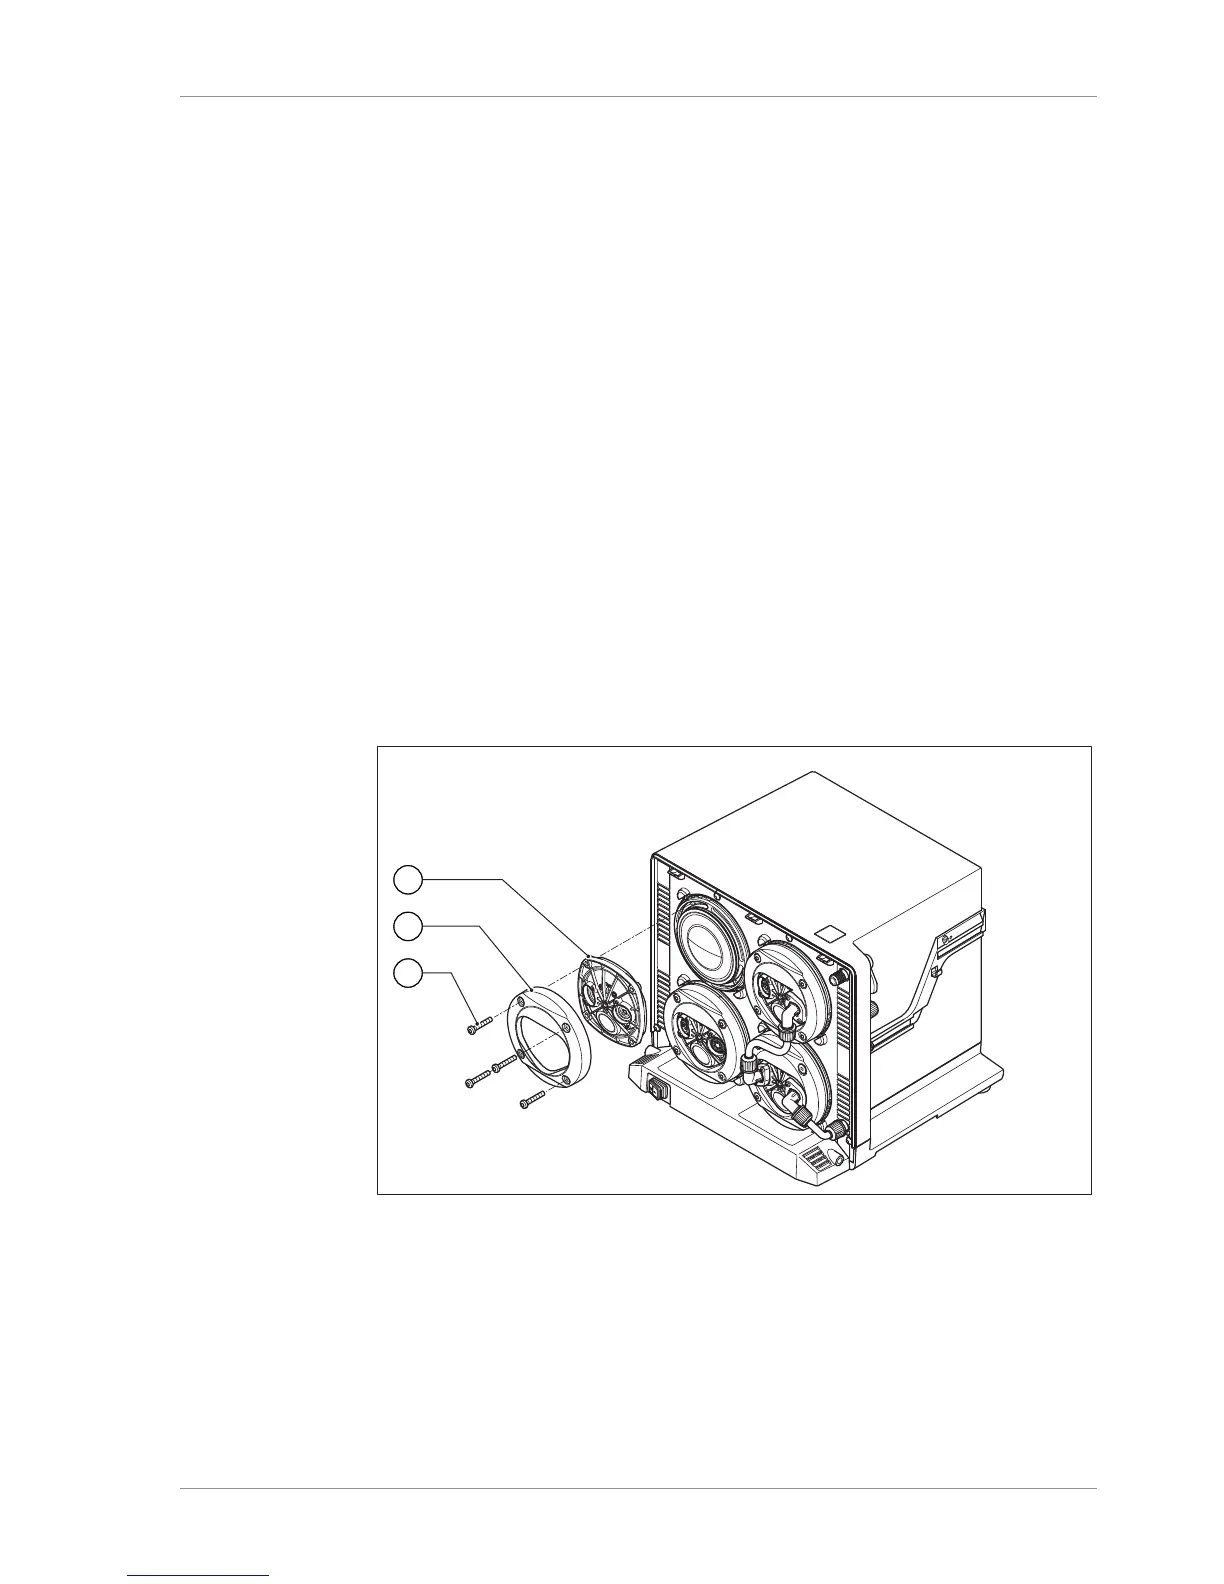
Step 2: dismantling pump head
Fig.26: Pump heads and diaphragms of V-600
1 Pump head 3 Torx-head screws
2 Fixing ring
Tools required:
Torx key Tx25
u Using a Torx key, unscrew the four Torx-head screws (3).
u Remove the fixing ring (2) and pump head (1).