Chapter1 Setup
LinkStation User Manual 6
1
Connect the LinkStation with an Ethernet cable and the included AC adapter. Plug the power
cord into a surge protector or power outlet. Connect the Ethernet cable to a router, hub, or
switch on your network. The Ethernet cable will “click” and lock in place when inserted properly.
LinkStation
2
Move the Power Mode Switch on the back of the LinkStation to the ON
position.
Note: Do not set the Power Mode Switch to AUTO at this time. After
the initial installation is complete, then the Auto Power Mode
may be used.
3
Wait until the power LED stops blinking and glows a steady blue.
4
Insert the Utility CD in your computer’s CD drive. LinkNavigator will launch.
Click [Begin Installation]. The wizard will guide you through installation.
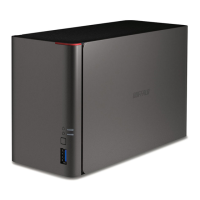
LinkNavigator Setup (LS-WVL, LS-WXL)
ໃʳʽʡ
If LinkNavigator does not launch automatically, open the
Utility CD and double-click [LSNavi.exe].
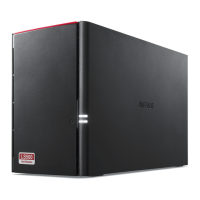
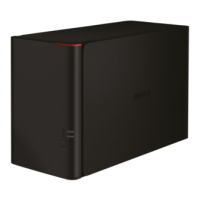
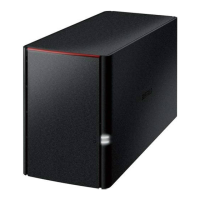
This example shows a LS-WVL LinkStation. Your screen
may be slightly dierent.
Power LED
Network
(Router or Hub)