Using your LinkStation
LinkStation User Manual 24
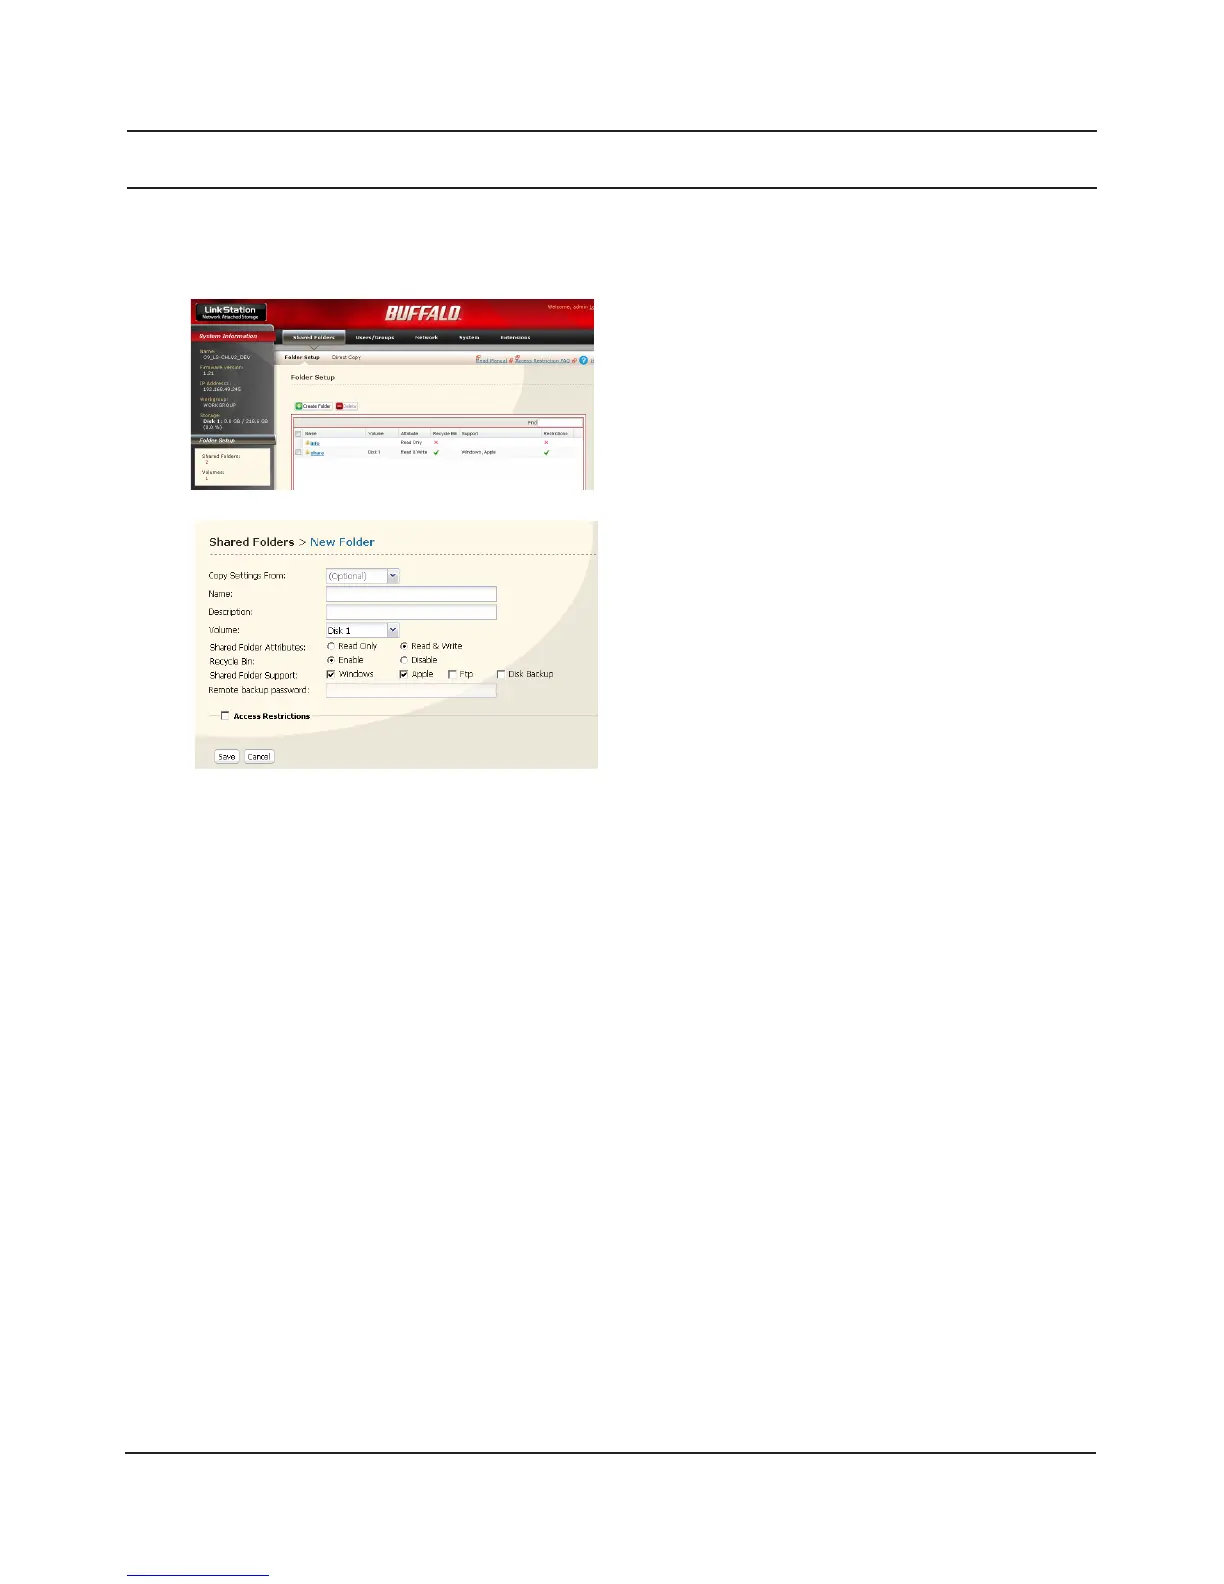
1 Enter desired characteristics for the new share.
Note: If you would like to copy the settings of an
existing folder, select a source folder from
the [Copy Settings From] dropdown.
2 Click [Save].
2
You have created a new share.
Adding shared folders
By default, the LinkStation includes one shared folder “share”. You may add additional folders as
follows.
1
To protect your data from accidental deletion, you may enable a [Recycle Bin] for the share (not
available for Apple and FTP connections). Deleted data in a shared folder will be temporarily moved
to the [Recycle Bin] folder. To recover deleted data, open the [Recycle Bin] folder and move les.
Read-Only shares cannot be modied or deleted. To make a Read-Only share, select [Read Only] in
the [Shared Folder] screen and click [Save].
Notes:
• By default, [shared Folder Attributes] is congured as [Read & Write].
• A shared folder set to [Read Only] cannot be written by any users or groups, even if they have
read and write permissions. Read-Only folders are read-only for all users.
• Read Only shares are described as [Read Only] in the shared folder description.
1 In the Web Admin interface, click [Shared
Folders] - [Folder Setup].
2 Click [Create Folder].