15
NICE - MIRIAM - CRISTAL - PRETTY - KRISS - MARY - TECNA - EVO
EN
10.5 ELECTRIC CONNECTION
Warning: the appliance must be installed by an authorized technician!
• The electric connection occurs through a cable with plug put in an electric socket which is able to support
charge and tension specic of every model, as described in the technical datas table (see FEATURES page
34).
• The plug must be easily accessible when the appliance is installed.
The cable must not get in touch with the fume exhaust pipe and nor with every other part
of the stove.
• Please further assure you that your network is endowed with an efcient earth connection: if it does not exist
or if it is not efcient, please endow you with one in compliance with the law.
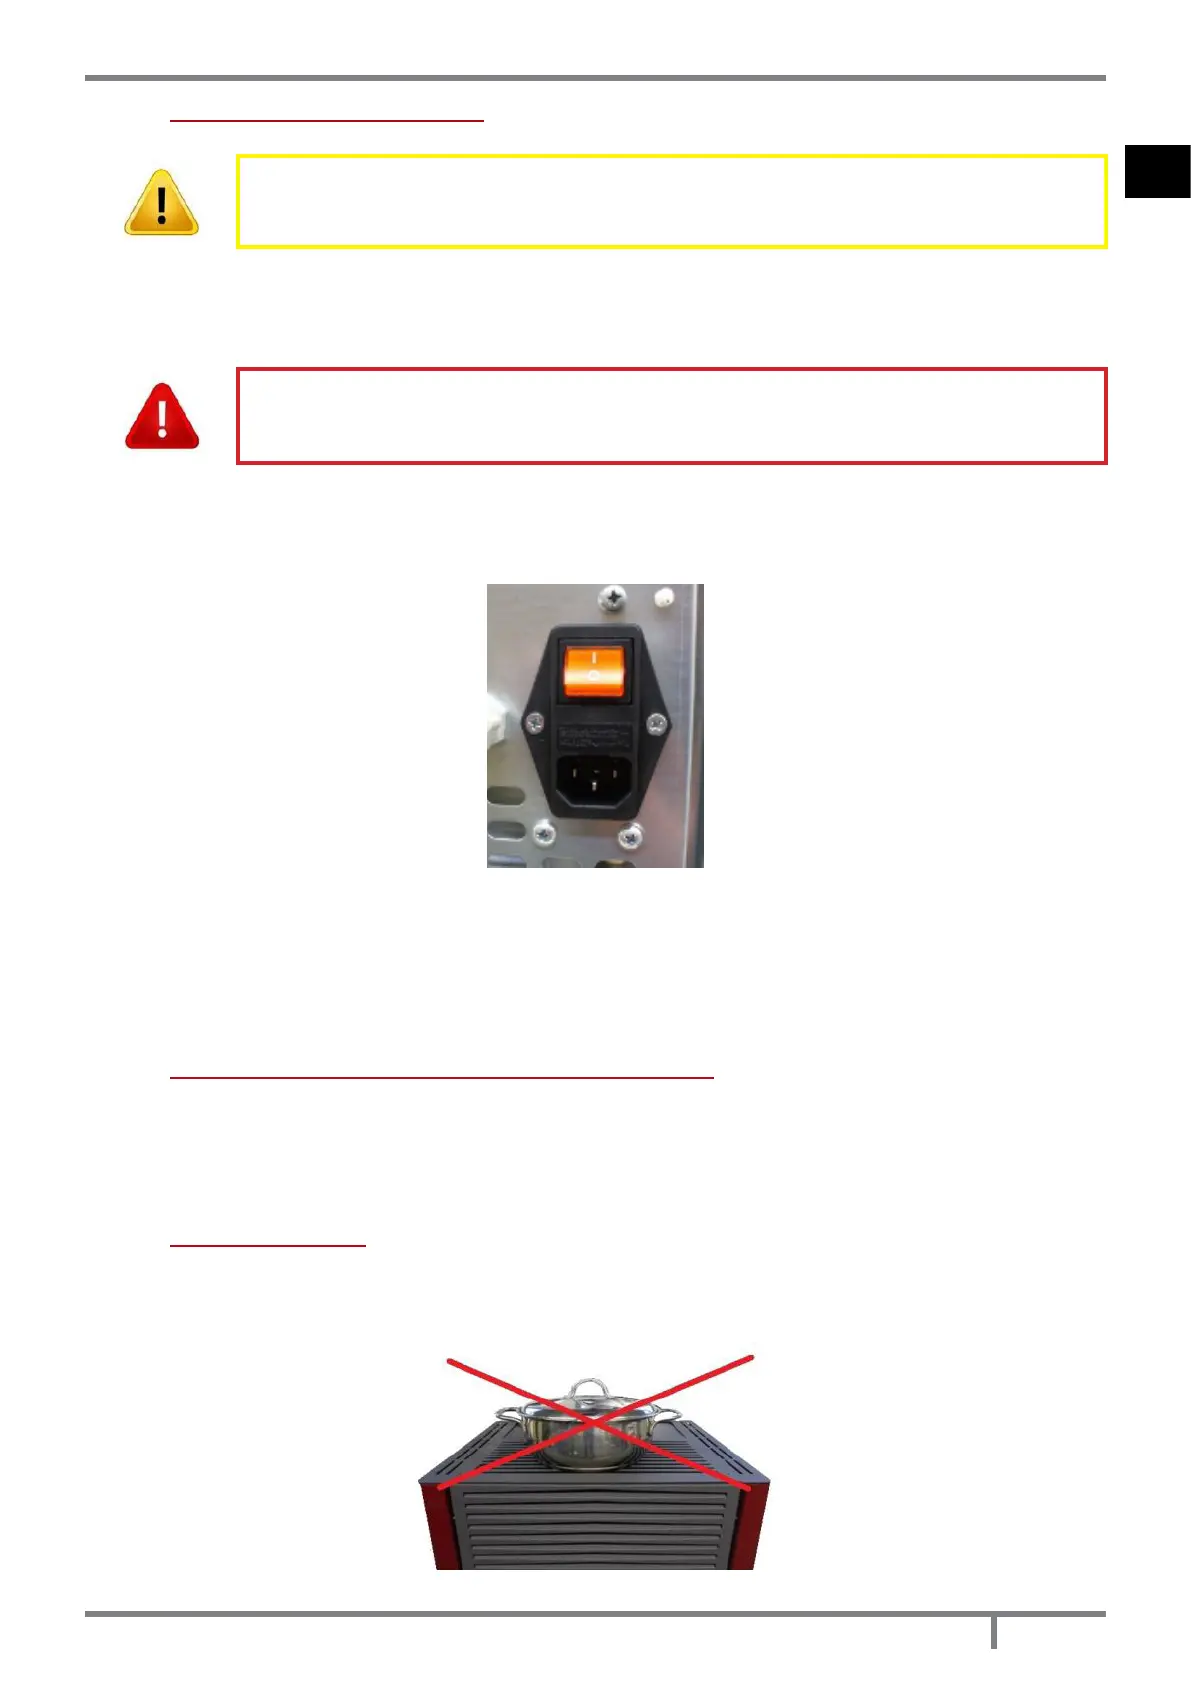
• Connect the supply cable rst on the back of the stove (see Fig. 18 page 15) and then at a wall electric
socket.
Fig. 18 - Electric socket with master switch
• The master switch O/I (see Fig. 18 page 15) is to open only to switch the stove on, otherwise it is advisable
to keep it off.
• Do not use extension cables.
• If the feeder cable is damaged, it must be replaced by an authorized technician.
• When the stove is not going to be used for a long period of time, it advisable to remove the plug from the
socket on the wall.
10.6 CONNECTION TO THE EXTERNAL THERMOSTAT
The stove works through a thermostat probe placed in its inner. If you desire, the stove can be connected to an
external room thermostat. This operation must be executed by an authorized technician.
• External thermostat: set up a temperature which is round 7°C.
• External chronothermostat: set up a temperature which is round 7°C and desable the chrono functions from
the menu 03-01.
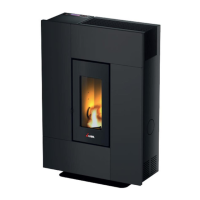
10.7 VENTILATION
• The stove is endowed with a ventilation system.
• The air blown from fans keeps the appliance at a low temperature range in order to avoid high stresses to the
materials which make it up.
Fig. 19 - Do not cover air slits