Chapter 3
3-41
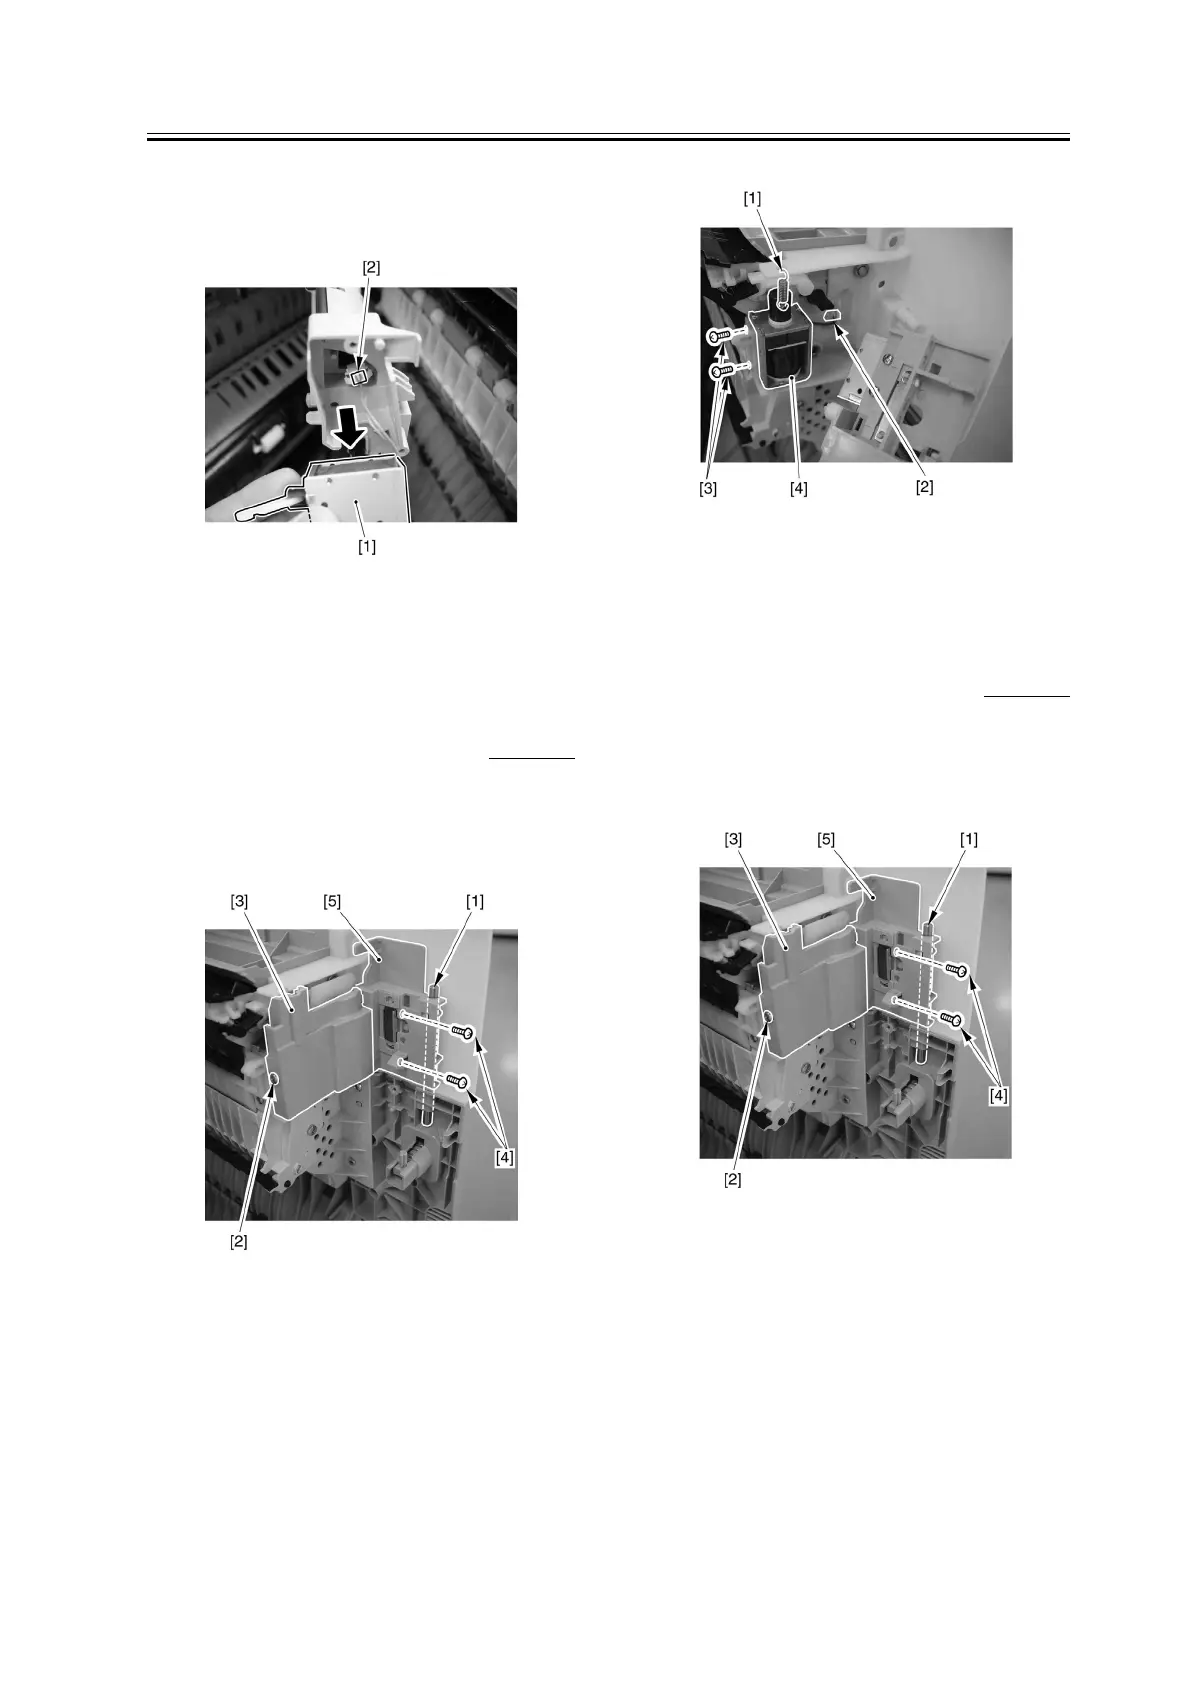
3) Pull out the solenoid [1], and disconnect the
connector [2]; then, detach the solenoid [1].
F-3-184
3.4.7 Delivery Solenoid 2
3.4.7.1 Removing the No. 2
Delivery Solenoid
0007-6234
1) Open the right door, and remove the joint pin [1].
2) Loosen the screw [2], and detach the cover [3].
Remove the 2 screws [4], and detach the cover [5].
F-3-185
3) Remove the spring [1], disconnect the connector
[2], and remove the 2 screws [3]; then, detach the No.
2 delivery solenoid [4].
F-3-186
3.4.8 Delivery Solenoid 3
3.4.8.1 Removing the No. 3
Delivery Solenoid
0007-6235
1) Open the right door, and remove the joint pin [1].
2) Loosen the screw [2], and detach the cover [3].
Remove the 2 screws [4], and detach the cover [5].
F-3-187