58
Using the Self-Timer
The self-timer can be used when recording still images or movies.
1. Set the camcorder to a recording mode ( or ).
When recording movies set the camcorder to record pause.
2. Press the MENU button.
3. Using the omni selector ( , ) select the [CAMERA SETUP] menu
and then select the [SELF TIMER] option.
4. Set ( ) it to [ON] and press ( ) to save the setting.
5. Press the MENU button to close the menu.
“ ” appears.
When recording a still image:
6. Press the PHOTO button, first halfway to activate the autofocus and
then fully to record the still image.
The camcorder will record the still image after a 10-second countdown (2 seconds
when using the wireless controller). The countdown appears on the screen.
When recording a movie:
6. Press the start/stop button.
The camcorder starts recording after a 10-second countdown (2 seconds when using
the wireless controller). The countdown appears on the screen.
To cancel the self-timer, set the [SELF TIMER] option in the [CAMERA SETUP]
menu to [OFF]. Once the countdown has begun, you can also press the start/
stop button (when recording movies) or the PHOTO button (when recording still
images) to cancel the self-timer.
The self-timer will be canceled if you turn off the camcorder.
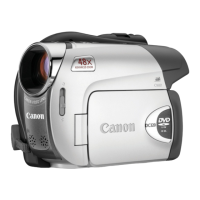
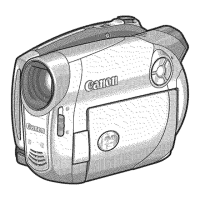
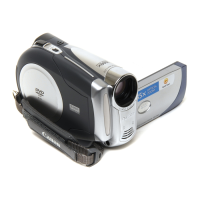
MENU
(79)
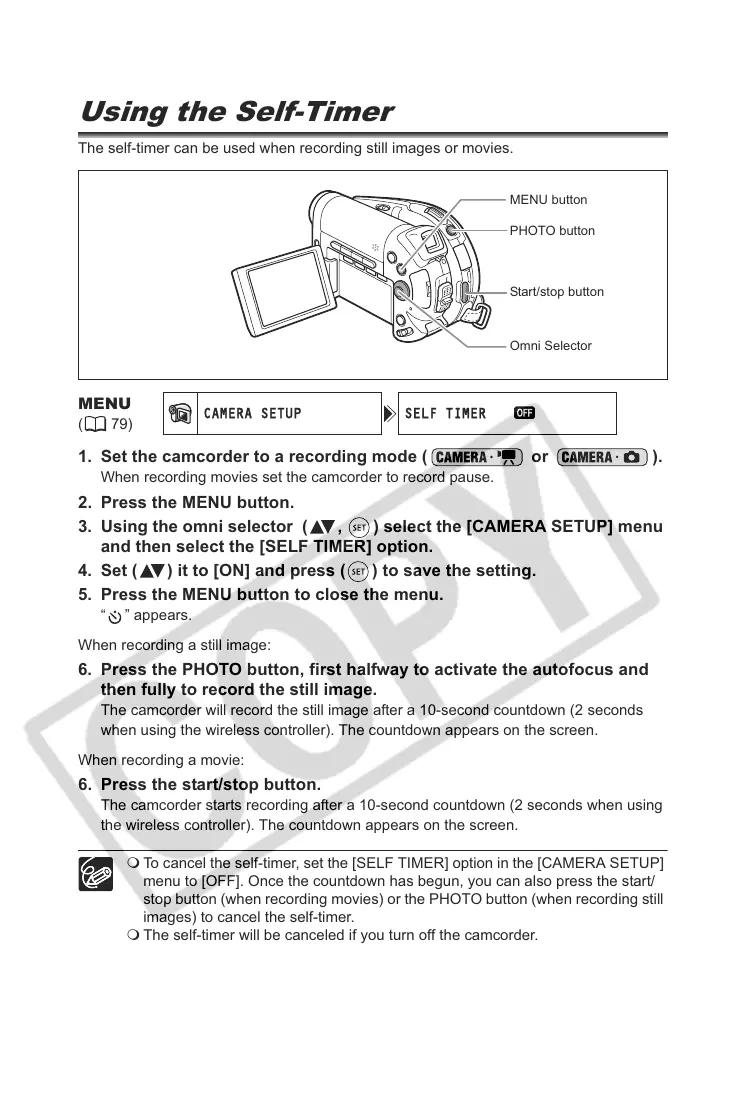
PHOTO button
Omni Selector
MENU button
Start/stop button