66
Continuous Shooting and Exposure
Bracketing
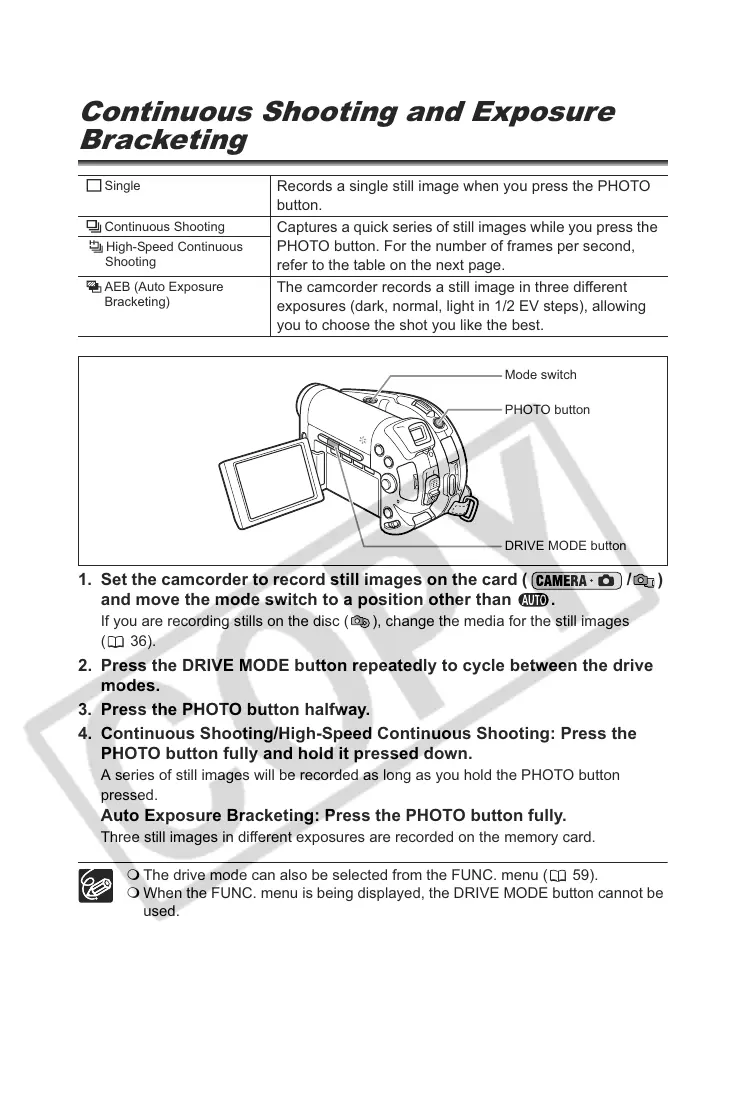
1. Set the camcorder to record still images on the card ( / )
and move the mode switch to a position other than .
If you are recording stills on the disc ( ), change the media for the still images
(36).
2. Press the DRIVE MODE button repeatedly to cycle between the drive
modes.
3. Press the PHOTO button halfway.
4. Continuous Shooting/High-Speed Continuous Shooting: Press the
PHOTO button fully and hold it pressed down.
A series of still images will be recorded as long as you hold the PHOTO button
pressed.
Auto Exposure Bracketing: Press the PHOTO button fully.
Three still images in different exposures are recorded on the memory card.
The drive mode can also be selected from the FUNC. menu ( 59).
When the FUNC. menu is being displayed, the DRIVE MODE button cannot be
used.
Single
Records a single still image when you press the PHOTO
button.
Continuous Shooting
Captures a quick series of still images while you press the
PHOTO button. For the number of frames per second,
refer to the table on the next page.
High-Speed Continuous
Shooting
AEB (Auto Exposure
Bracketing)
The camcorder records a still image in three different
exposures (dark, normal, light in 1/2 EV steps), allowing
you to choose the shot you like the best.
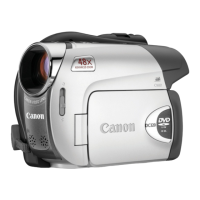
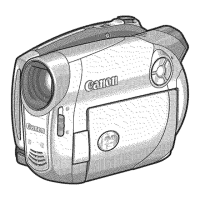
PHOTO button
DRIVE MODE button
Mode switch