LASER CLASS 730i/720i/710 Chapter 5: Appendix
5-79
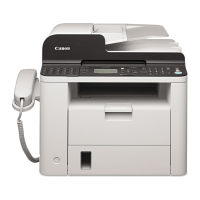
(7) Connect the 10-pin cable included with the Printer Kit III to the connector J205 of the
power supply unit.
(8) Attach the cable clip included with the Printer Kit III to upper inside the shield case to
fix the 10-pin cable.
(9) Put the core included with the Printer Kit III through the cable.
Figure 5-90 Preparation for Installation 4
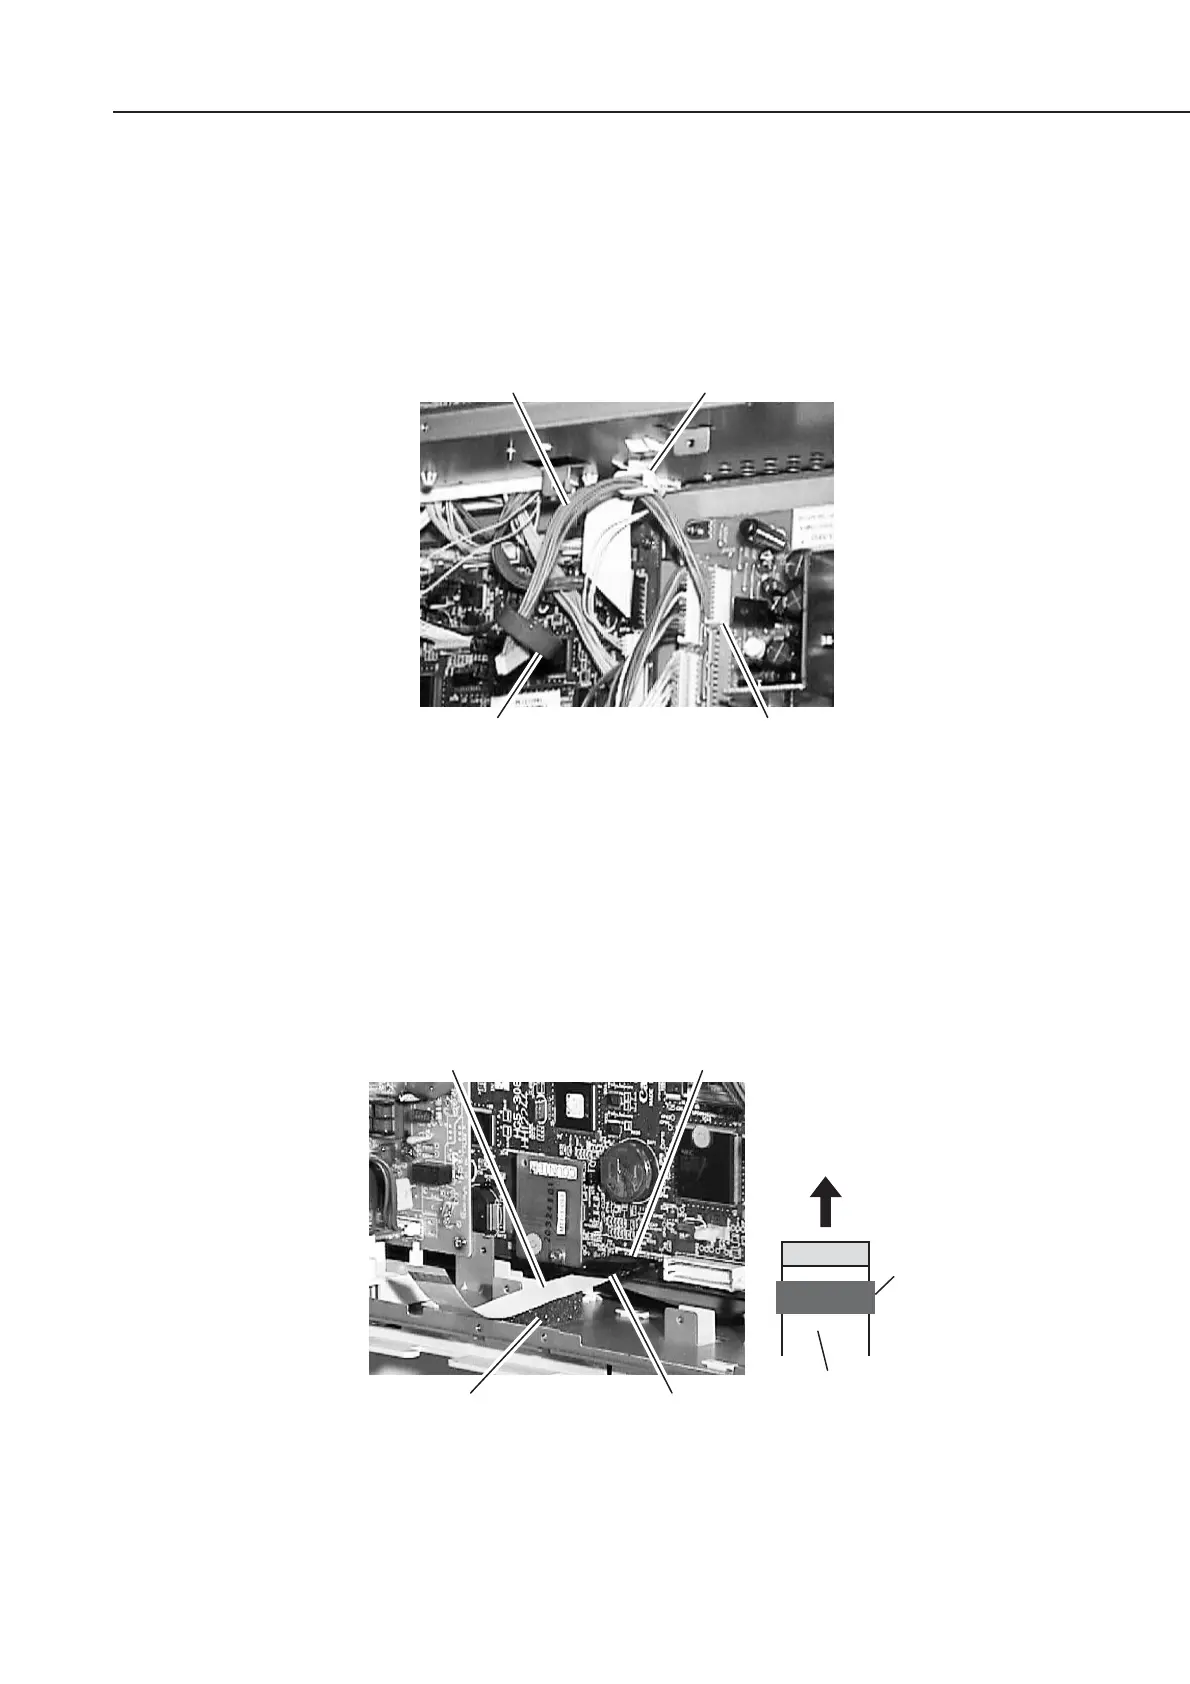
(10) Connect the flat cable included with the Printer Kit III to the connector J2 of the
SCNT board. At this time, face up the white flat cable surface, and connect the core
side of the flat cable to the SCNT board.
(11) Attach the air shield (sponge) included with the Printer Kit III to lower inside the
shield case, which is under the flat cable.
Figure 5-91 Preparation for Installation 5
Connector J205
Cable clipCable (10-pin)
Core
Flat cable Connector J2
To connector J2
Core
White surface
Air shield (sponge) Core