Basic Operating Tasks
AA2204_en | 2012-07-27 2–5
Imager Power
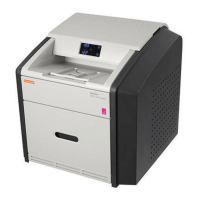
Power Switch Location
The power switch is on the lower back panel.
Start the Imager
1. Press the power switch on the back of the imager on.
2. Wait as the imager warms up.
The warm-up period might last up to 30 minutes. The display screen shows the
progress as the imager becomes ready to print.
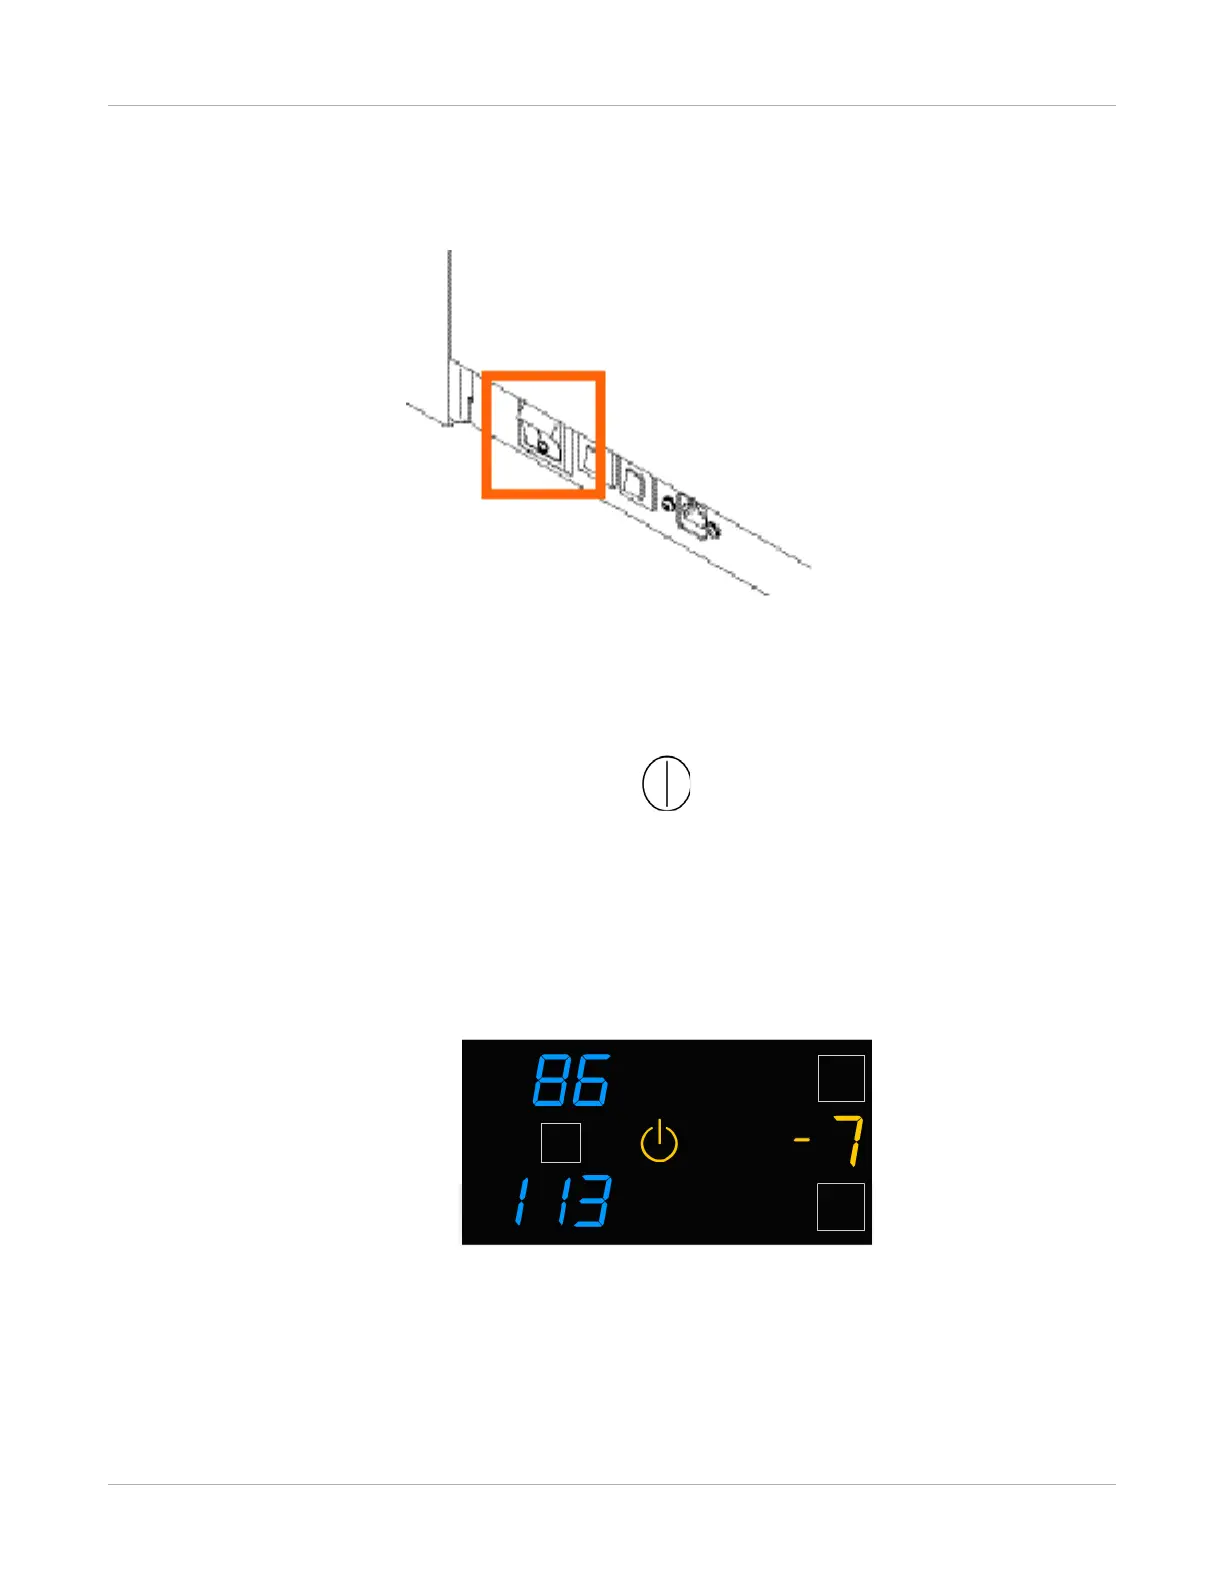
Figure 2: The imager counts up to zero (0) to indicate how soon the imager will be ready to
print. In this example, the imager will be ready to print in 7 minutes. The amber power symbol
also indicates that the imager is not ready to print.
The warm-up period varies depending on the amount of time the imager has been
off and the ambient temperature. During the warm-up period, the imager can
receive and store images but cannot print films.
When the imager reaches operating temperature, the display screen changes to show
that the system is ready to print, and the imager prints any images that were received
during the warm-up period.