107
OTHER RECORDING FUNCTIONS
4.
Use [왗] and [왘] to select the candidate you
want to correct.
5.
Use [왖] and [왔] to
select “Correct”, and
then press [SET].
• Selecting “Cancel” in
place of “Correct” stores
the original image as-is,
without correcting it.
IMPORTANT!
• The maximum Business Shot image size is 1600
×
1200 pixels, even if the camera is configured for a
larger image size. An image size setting smaller than
1600
×
1200 pixels records images at the specified
size.
Recording an ID Photo
You can use this procedure to record a portrait and then
print a variety of different standard size ID photos. Note
that you need to use the BEST SHOT mode (page 98) to
record an ID photo.
• Printing an ID photo produces a single sheet containing
five ID photos of the following sizes.
30
×
24 mm (1.2˝
×
0.94˝), 40
×
30 mm (1.6˝
×
1.2˝),
45
×
35 mm (1.8˝
×
1.4˝), 50
×
40 mm (2.0˝
×
1.6˝),
55
×
45 mm (2.2˝
×
1.8˝)
1.
In a REC mode, align the mode dial with “ ”,
and then press [SET].
2.
Use [왖], [왔], [왗] and [왘] to select the “ID
Photo” scene, and then press [SET].
3.
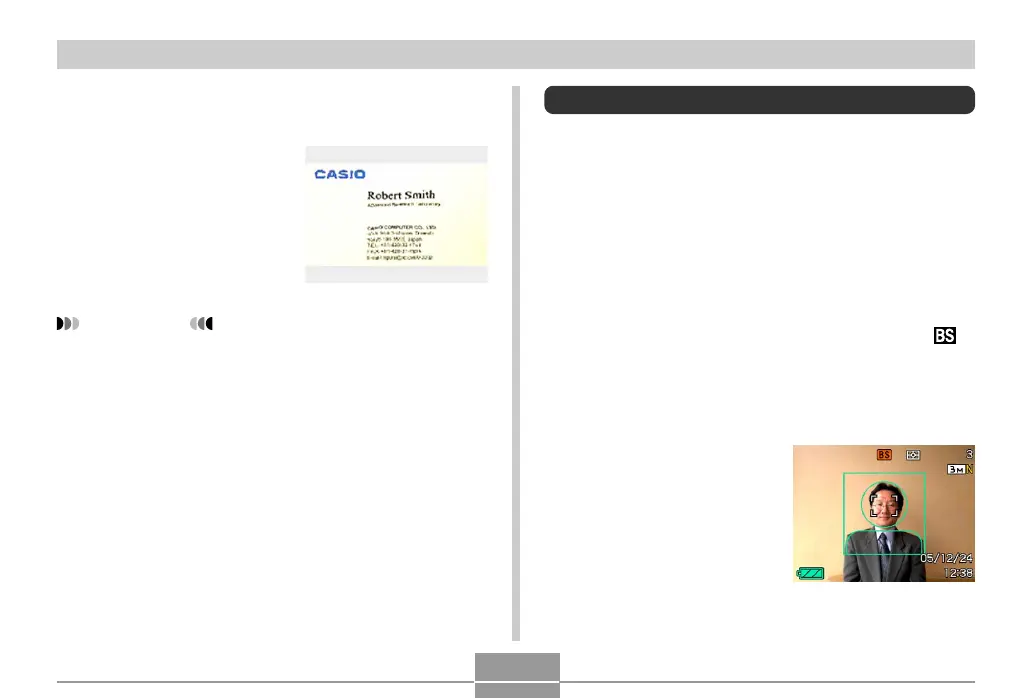
On the monitor
screen, compose the
image by positioning
the subject within the
on-screen frame, and
then press the shutter
button to record an
initial temporary
image.
 Loading...