EasyManuals Logo

Casio QT-6100 Service Manual

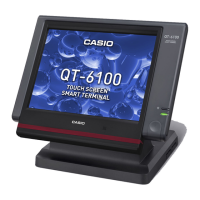
Casio QT-6100
139 pages
To Next Page IconTo Next Page
To Previous Page IconTo Previous Page
Page #21 background imageLoading...
Page #21 background image
— 19
QT-6060D
1. Assemble the LCD Unit in the FRONT CASE with seven screws.
2. Connect the connector and fix the HINGE with five screws.
Screw
×
7
Screw
×
5
3. After fixing the packing to the REAR CASE, assemble the REAR CASE and the FRONT CASE.
Hooks
4. Remove the LCD unit with four screws.
Position: under both packing
Screw
×
2
Screw
×
2

Table of Contents

Other manuals for Casio QT-6100

Questions and Answers:

Question and Answer IconNeed help?

Do you have a question about the Casio QT-6100 and is the answer not in the manual?

Casio QT-6100 Specifications

General IconGeneral
BrandCasio
ModelQT-6100
CategoryCash Register
LanguageEnglish

Related product manuals