— 15 —
4. ASSEMBLY
■
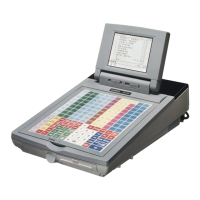
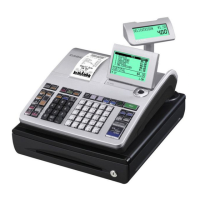
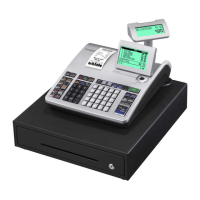
QT-6100
The photos show a similar model, QT-6000. Therefore the appearance may slightly differ.
▪ The number of COM ports has been changed from 6 to 3.
▪ The speaker has been deleted, and a buzzer has been added on the E819-S1 board.
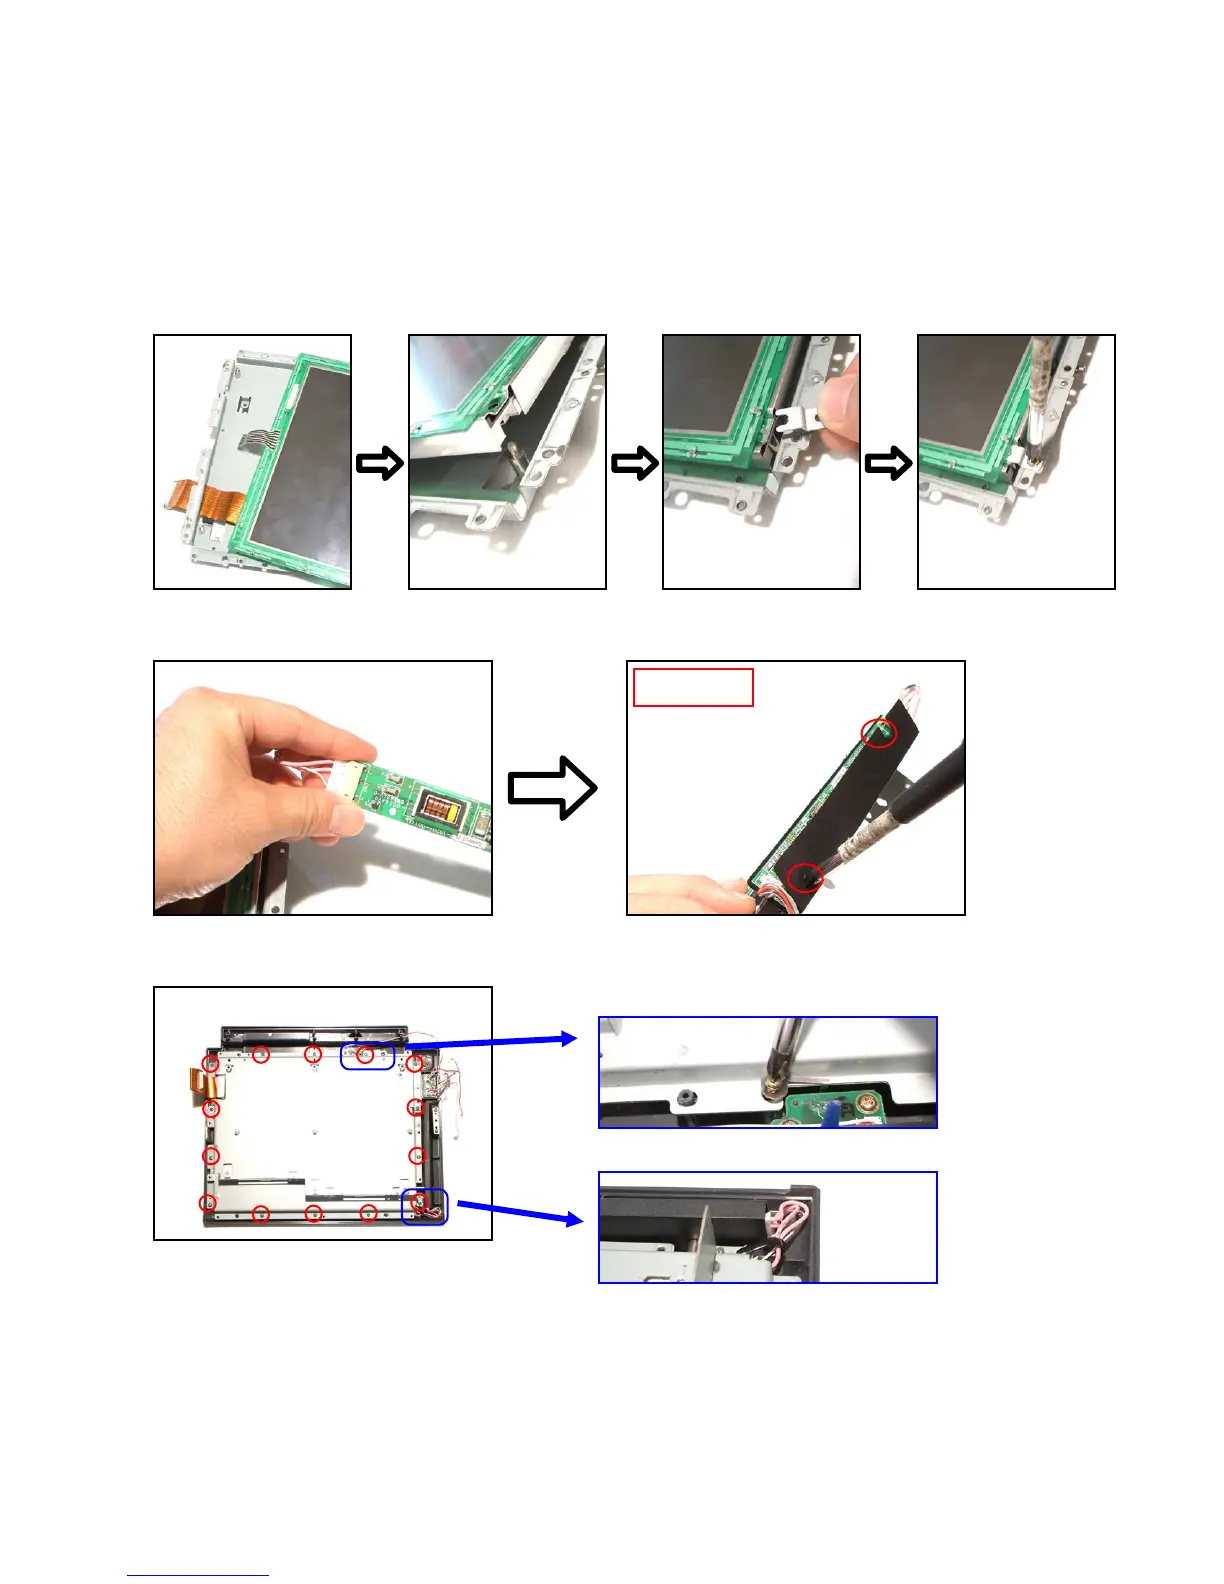
1. Place the LCD UNIT in the frame and fix it with four screws.
2. Connect the connector and fix the inverter PCB with two screws.
Screw
×
2
3. Fix the LCD UNIT to the FRONT CASE with 14 screws.
Fix the screws from above the earth plate.
Bind the wirings for the inverter.

 Loading...