Rack Mounting
18 | Check Point 4000 Appliances Getting Started Guide
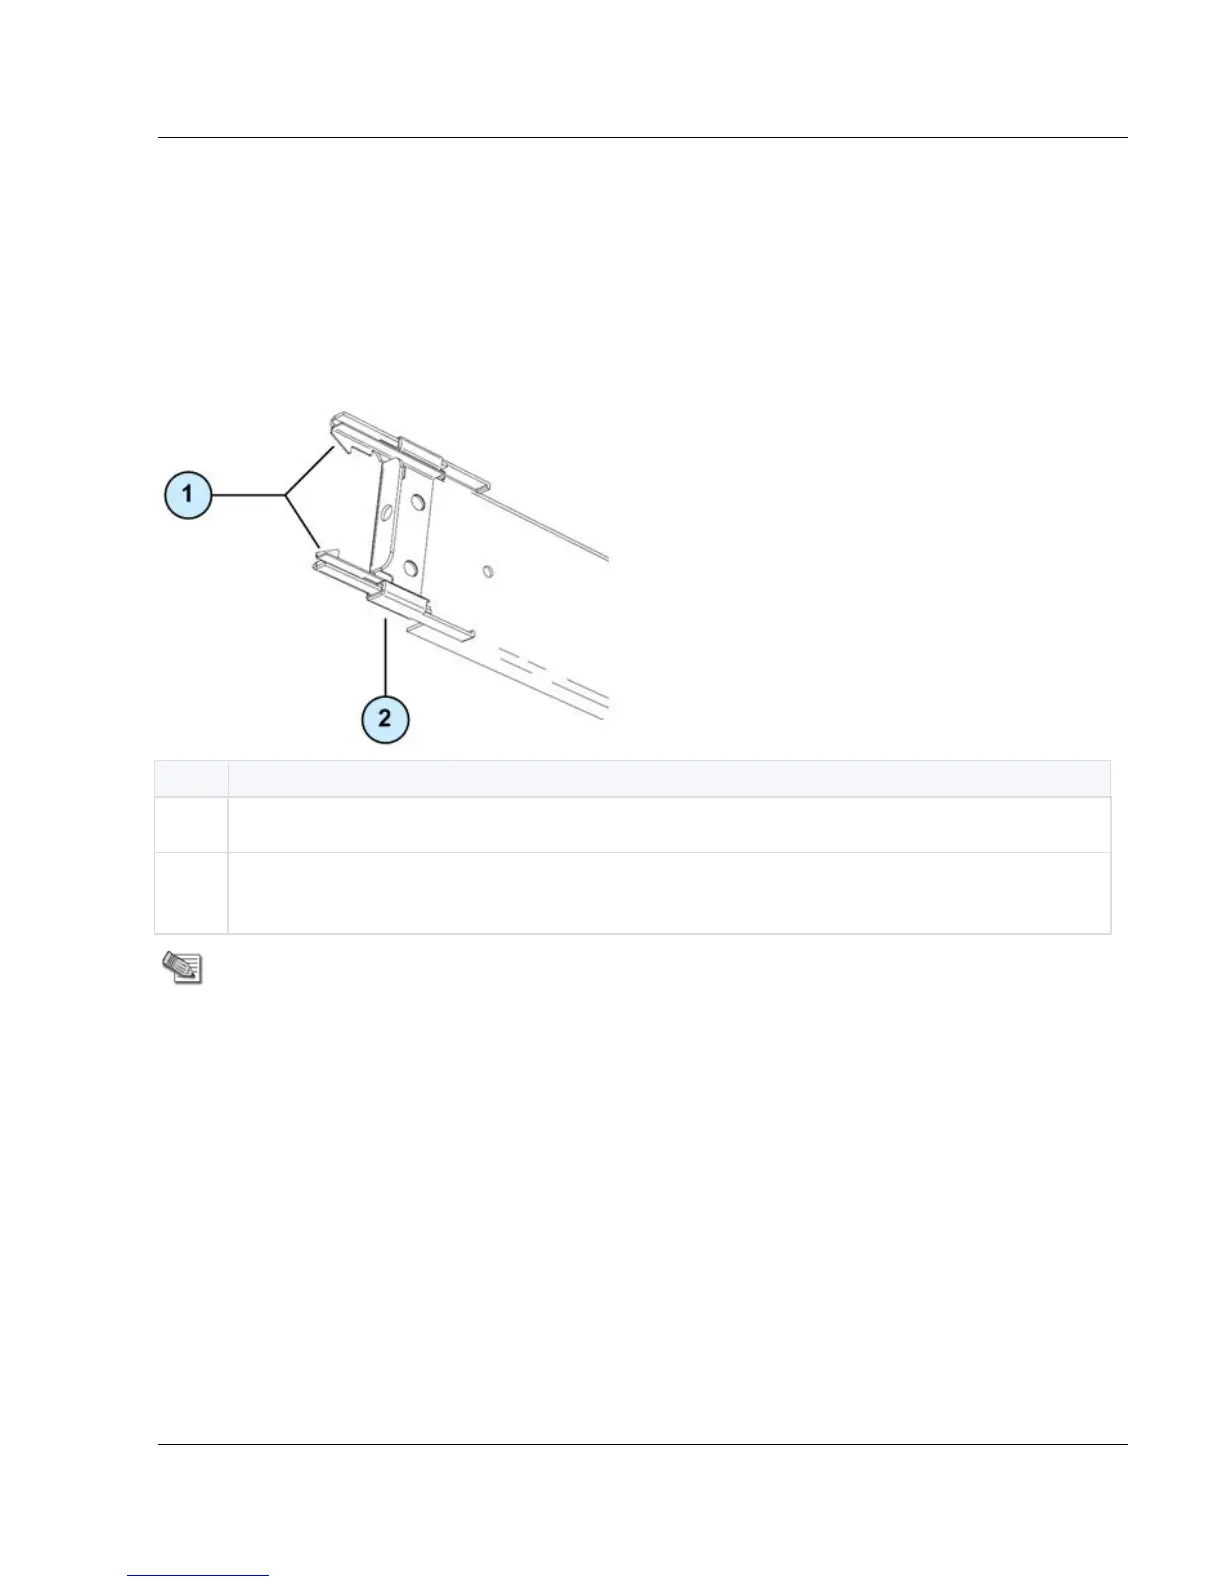
Attaching the Rack Rails
Attach the rack rails to the rack. If you are using round-hole racks, make sure that the round-
hole rack plates are attached. For more about attaching round-hole rack plates, see Preparing
Round-Hole Rack Rails (on page 17).
The rack rail for the left-side of the rack is marked LH.
The rack rail for the right-side of the rack is marked RH.
Inner clips. Press on these clips to detach the rack rail from the rack.
Yellow locking piece. When engaged, locks the front of the rack rail and you cannot
detach it from the rack.
Note - Disengage the yellow locking piece before you attach the rack rails to the rack.
When this piece is engaged, you cannot insert the front of the rack rail into the rack.
To attach the rack rails to the rack:
1. From the front left-side of the rack, align the front of the left rack rail with the rack number.
The front of the rack rail is marked with the word FRONT.
Make sure that the sliding rail faces the inside of the rack.
To detach the rack rail from the rack, use your thumbs to press the inner clips and
move the rack rail away from the rack.