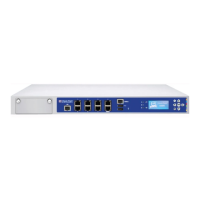
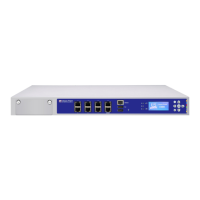
Check Point 4000 Appliances Hardware
44 | Check Point 4000 Appliances Getting Started Guide
Management IP address
Subnet netmask
Default gateway
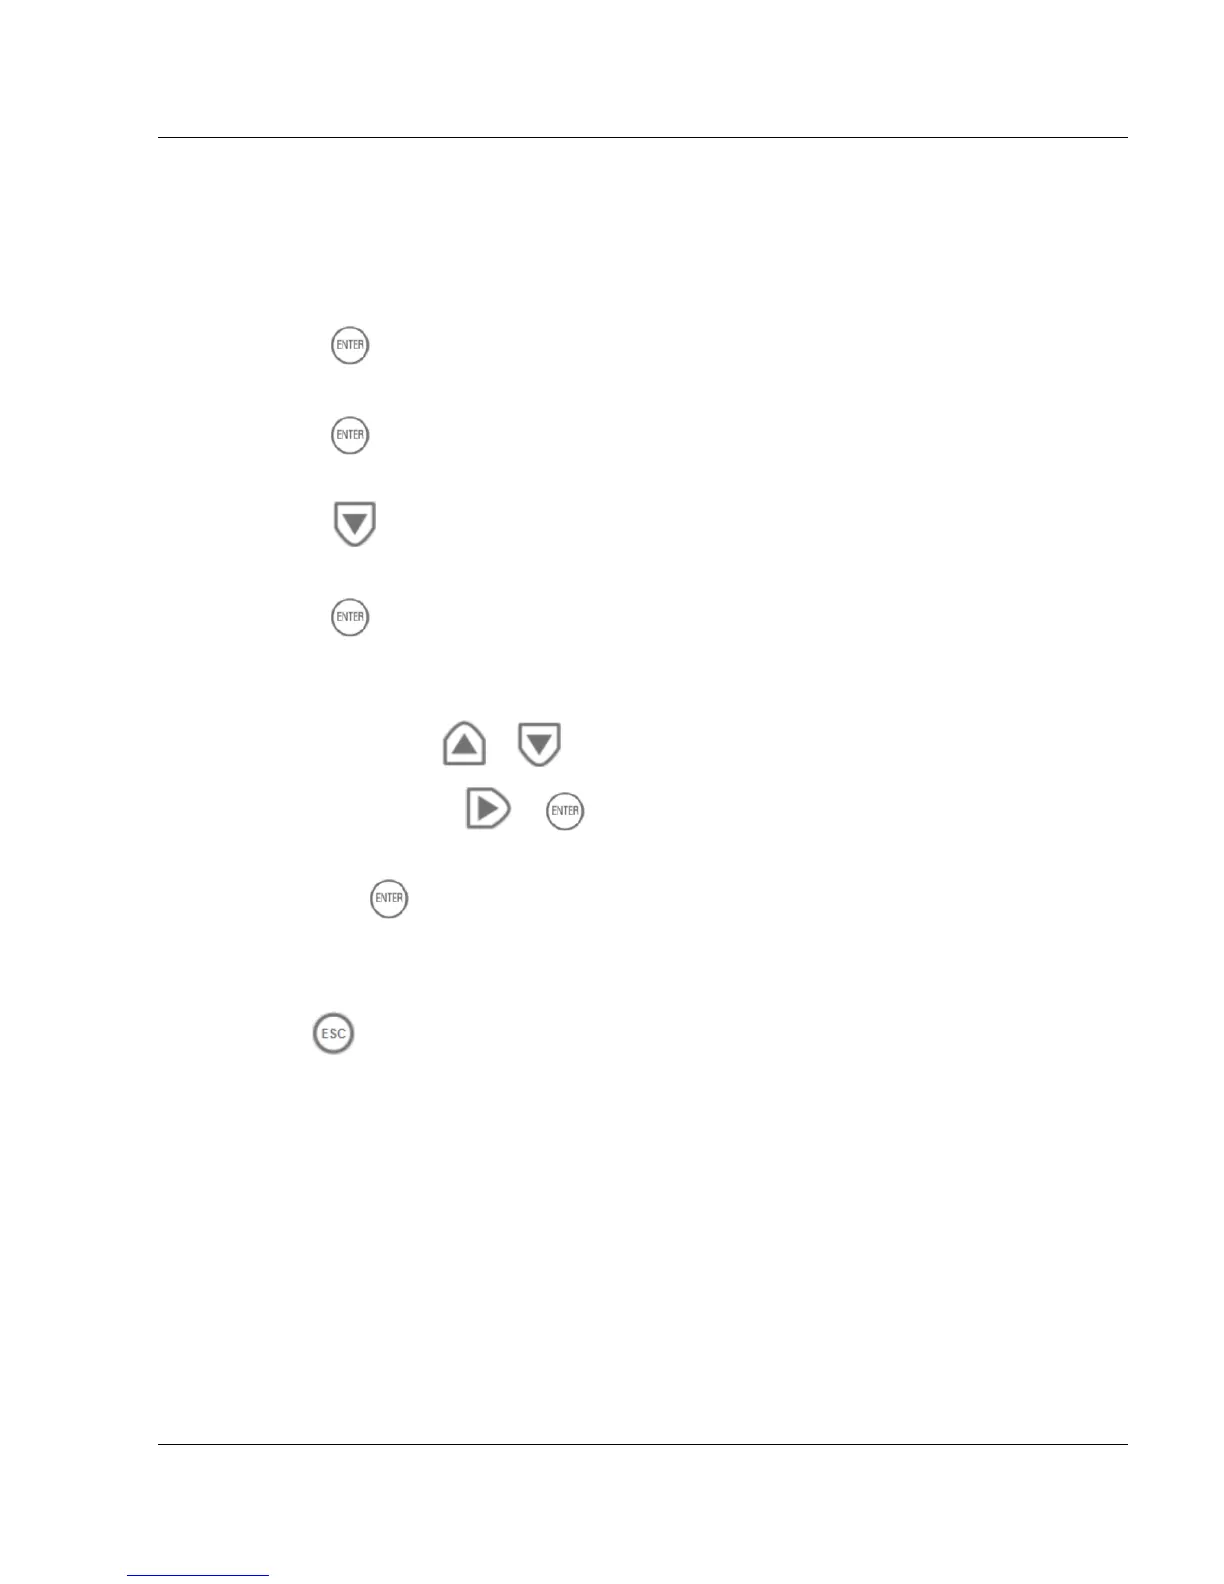
To configure the management IP address using the LCD panel:
1. Press Enter .
The panel shows Select > Network.
2. Press Enter .
The panel shows Network > DHCP.
3. Press Down .
The panel shows Network > Set Mgmt IP.
4. Press Enter .
The panel shows the management interface IP address.
5. Configure the management interface IP address.
a) Press Up or Down, or , to change the digit.
b) Press Right or Enter, or , to move to the next digit.
c) When the panel shows the correct IP address, move the cursor to the last digit and
press Enter .
The panel shows Network > Set Mgmt IP.
6. Do steps 3 - 5 again for the subnet netmask and the default gateway IP address.
7. Press Esc until the panel shows the appliance logo.
Expansion Line Cards
There are different expansion line cards that you can use with the appliance. For more about
the expansion line cards, see the Check Point 4000 Appliances home page
(http://supportcontent.checkpoint.com/solutions?id=sk68681).
Rear Panel Components
This section describes components located on the rear panel of the appliance.