Repair Edge/Edge Blanket
7-38
Photosensor Replacement
If a photosensor fails or is erratic, it should
be replaced immediately. All photosensors are
connected using a quick-release connector.
Required Tools
3/8” nut driver, screwdriver, scissors/
knife, plastic wire ties
Perform only when the unit is OFF
with power disconnected.
Make sure you have the correct type for
the photosensor to be replaced. For more
information on sensor location and type,
refer to the OPERATING PRINCIPLES
chapter, Electrical System section, Con-
trol System subsection.
Turn power OFF at the main disconnect
switch.
Locate the photosensor to be replaced.
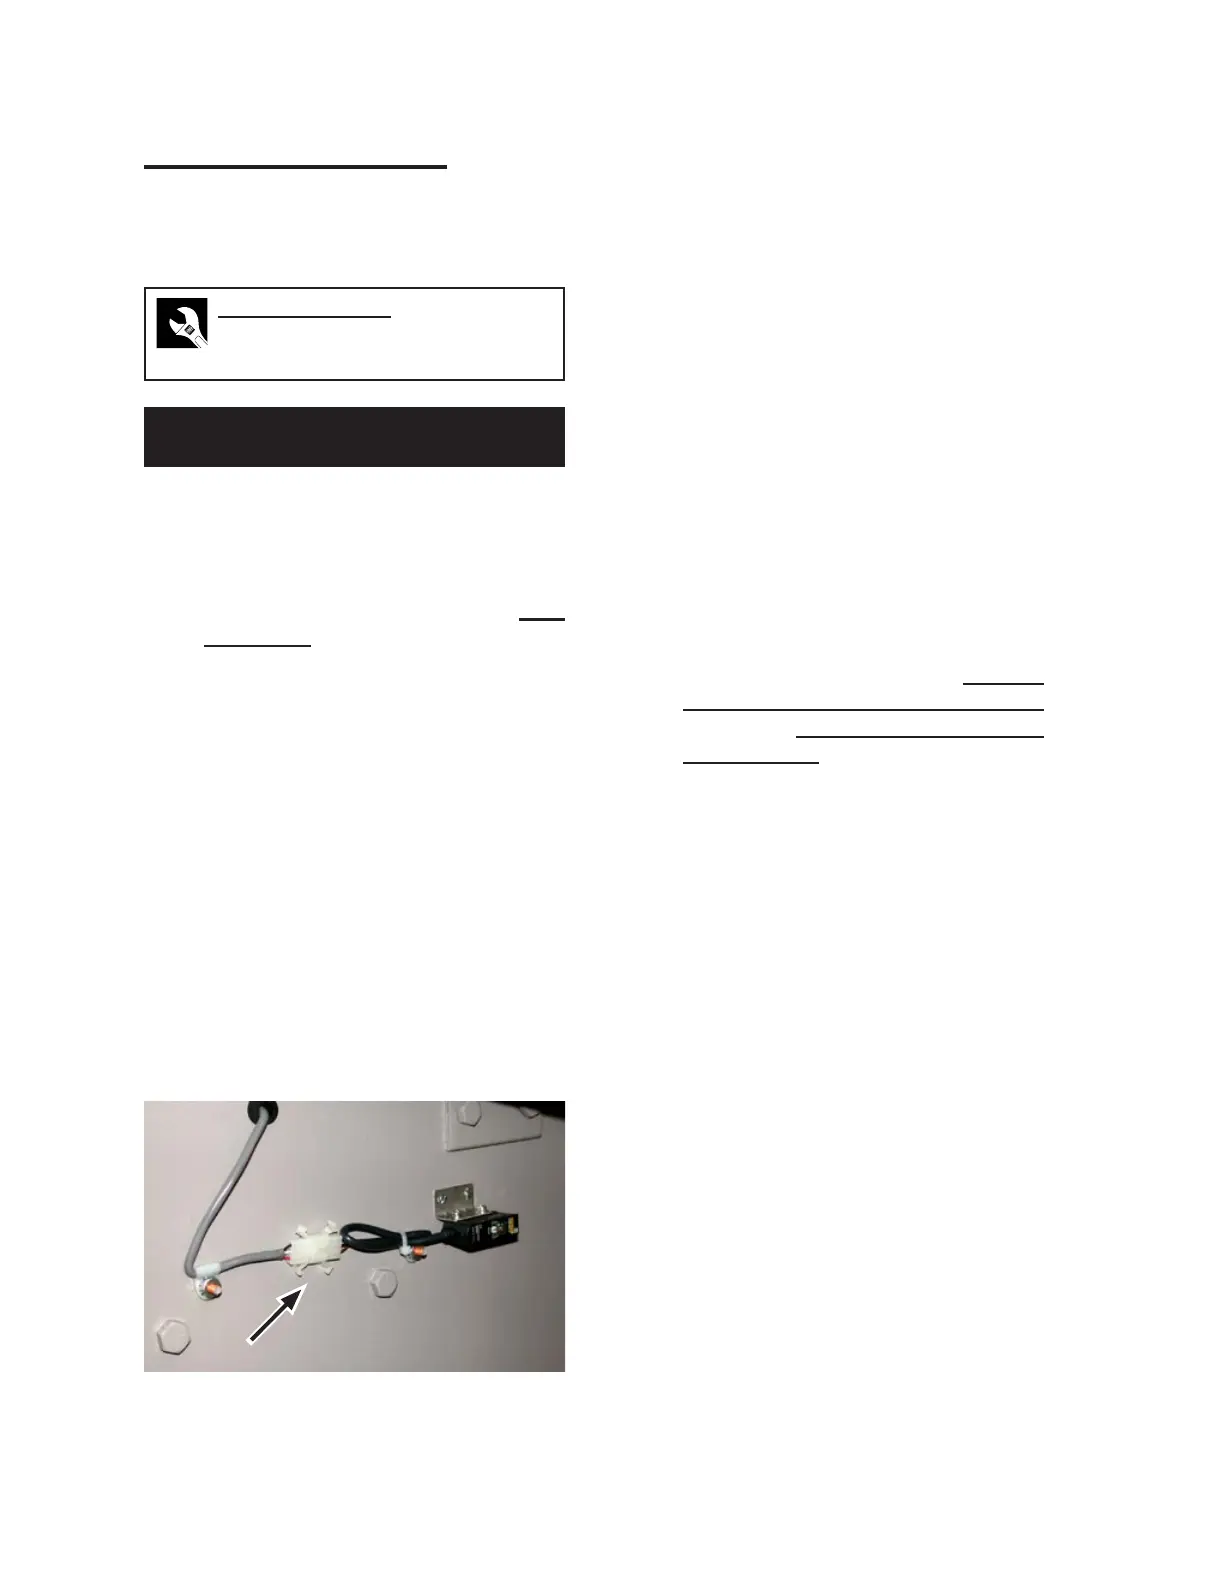
Trace its wiring to the sensor’s connector
plug (Figure 7-49) and disconnect.
Cut any plastic wire ties securing the sen
-
sor wiring along its path.
1.
2.
3.
4.
Unscrew the photosensor from the
mounting bracket. Be careful to save the
screws.
Using these screws, secure the new pho-
tosensor in position.
Plug the photosensor into its connector re
-
ceptacle. Secure the sensor wiring along its
path, using plastic wire ties as necessary.
Check that the new photosensor is posi
-
tioned properly by following the appropri-
ate sensor alignment procedure earlier in
this section.
Set to Dark Operate (DO) or Light Operate
(LO) as appropriate. Match the setting to
the sensor being replaced.
Properly set the new photosensor’s sen
-
sitivity following either the General
Photosensor Sensitivity Adjustment
procedure or Roll Photosensors Sensitiv
-
ity Adjustment procedure, as appropriate,
earlier in this section.
Start the unit and process several pieces of
flatwork to make sure the new photosensor
is working correctly.
5.
6.
7.
8.
9.
10.
11.
Figure 7-49: Photosensors are connected to the
unit using white connection plugs.
 Loading...