4-87
Cisco Aironet 1552 Series for Hazardous Locations Installation Guide
Chapter 4 Troubleshooting
Access Point Power Injector
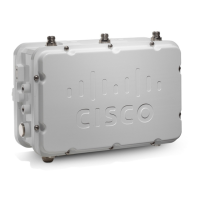
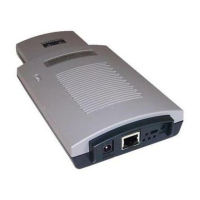
Figure 4-2 Console Port Location on Access Point Models (AIR-CAP1552SA/SD-x-K9 Shown)
Note The Cisco part number for the DB-9 to RJ-45 serial cable is AIR-CONCAB1200. To order a
serial cable, browse to:
http://www.cisco.com/pcgi-bin/marketplace/welcome.pl
Step 2 Set up a terminal emulator program on your PC to communicate with the access point. Use the following
settings for the terminal emulator connection: 9600 baud, 8 data bits, no parity, 1 stop bit, and no flow
control.
Step 3 When finished, remove your serial cable, and close the hinged cover (see the “Working with the Access
Point Hinged Cover” section on page 3-58 for instructions).
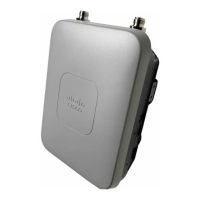
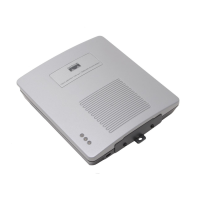
Access Point Power Injector
The power injector (AIR-PWRINJ1500-2=) has three LEDs on the front end of the case (see Figure 4-3).
For detailed information on the power injector, see the Cisco Aironet 1550 Series Outdoor Mesh Access
Point Power Injector Installation Instructions.
1 Console port
Note Not used for 1552WU. The
1552WU console is only available
by opening the device and
connecting to the internal console
port.
2 Not used
1 2
331097