3-51
Cisco Aironet 1552 Series for Hazardous Locations Installation Guide
Chapter 3 Installing the 1552 Series Access Points in Hazardous Locations
Mounting on a Wall or a Pole
Mounting the Access Point on a Pole
When installing an access point on a vertical pole, mast, or a streetlight pole, you should use the optional
Cisco pole mount kit. The kit supports metal, wood, or fiberglass poles from 2 to 16 inches in diameter.
Assembling the Pole Clamp Bracket and the Mounting Bracket
When installing an access point on a pole, mast, or a streetlight, you should use the optional Cisco pole
mount kit. The kit supports metal, wood, or fiberglass poles from 2 to 16 inches in diameter.
The pole mount kit contains several parts that you must assemble prior to mounting on a pole. First you
need to assemble two strap brackets on the pole clamp bracket that are positioned for the pole diameter
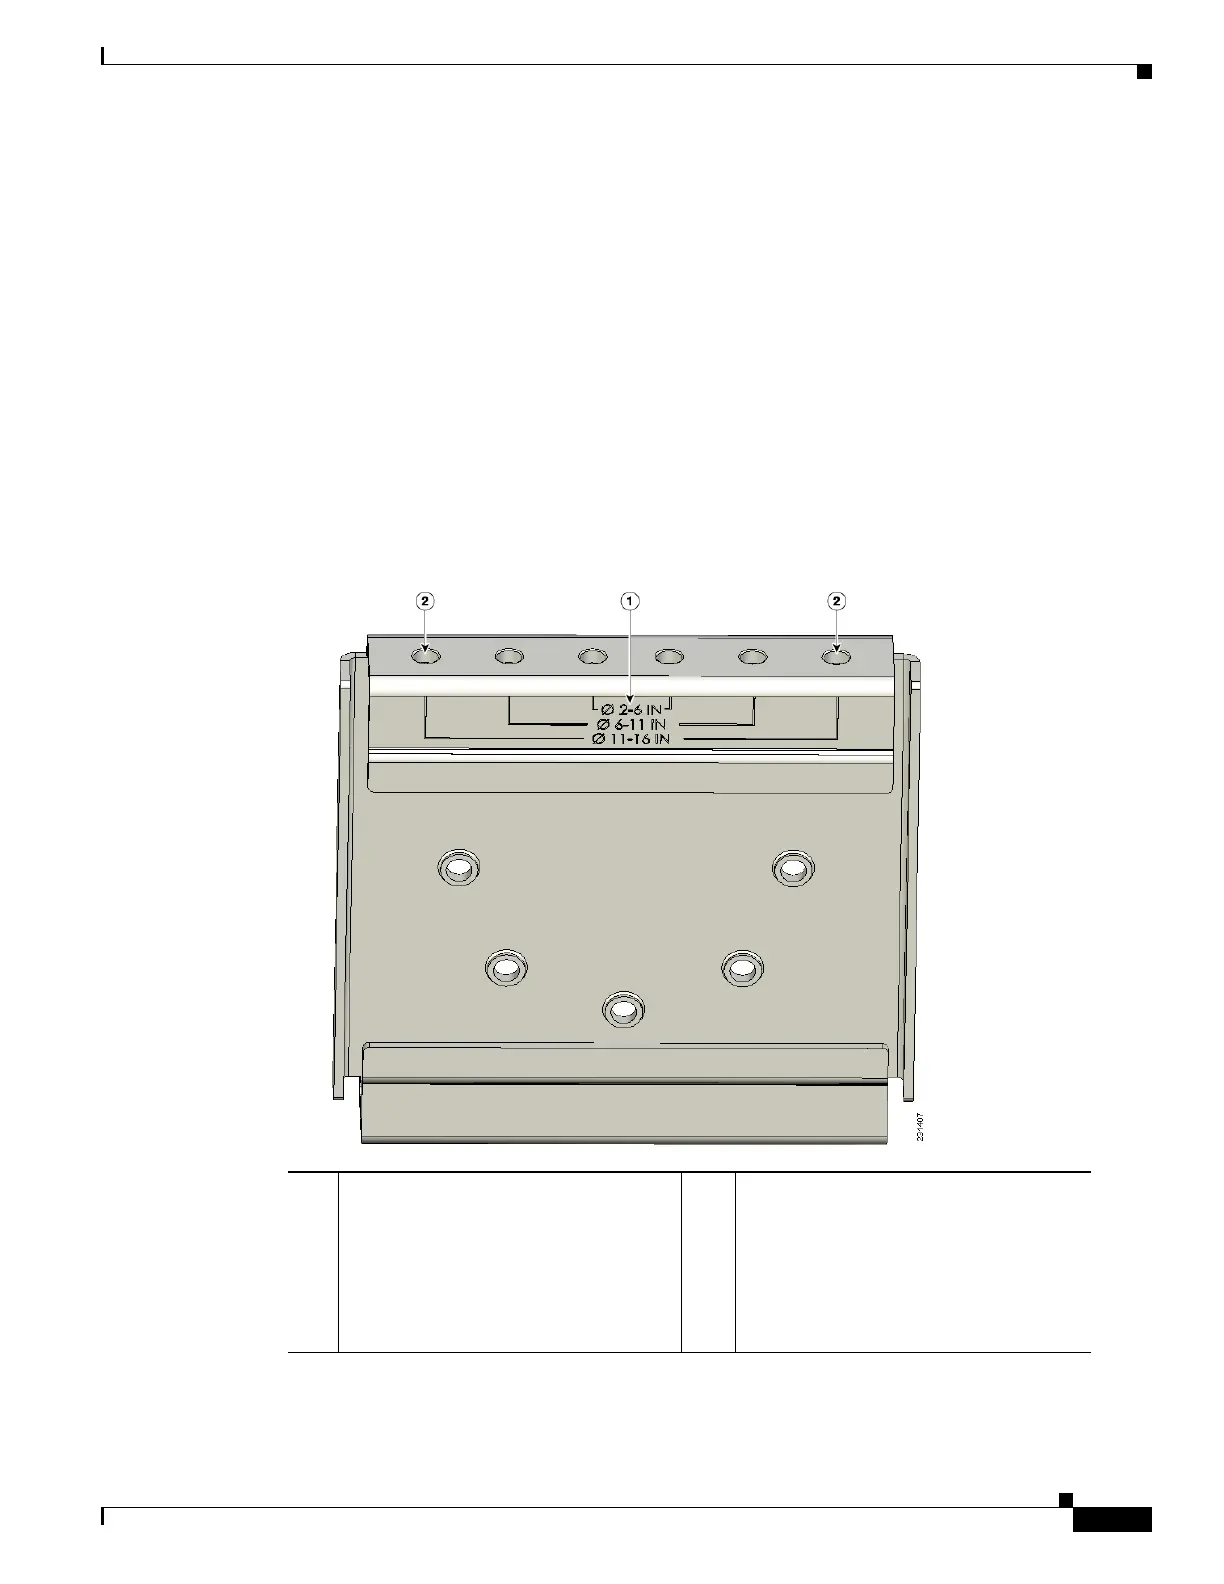
you are using to mount the access point. Figure 3-3 illustrates the pole diameter indicators and bolt holes
on the pole clamp bracket.
Figure 3-3 Pole Clamp Bracket Adjustment Hole Locations
To assemble the pole clamp bracket, follow these steps:
1 Pole size indicators
• 2 to 6 inches (5.08 cm to 15.24 cm)
• 6 to 11 inches (15.24 cm to 27.94
cm)
• 11 to 16 inches (27.94 cm to 40.64
cm)
2 Bolt holes for pole diameters
(11 to 16 inches (27.94 cm to 40.64 cm)
indicated)