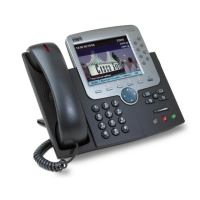
An Overview of Your Phone
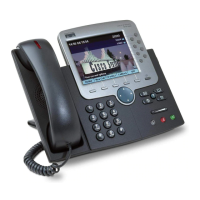
Cisco IP Phone 7970 9
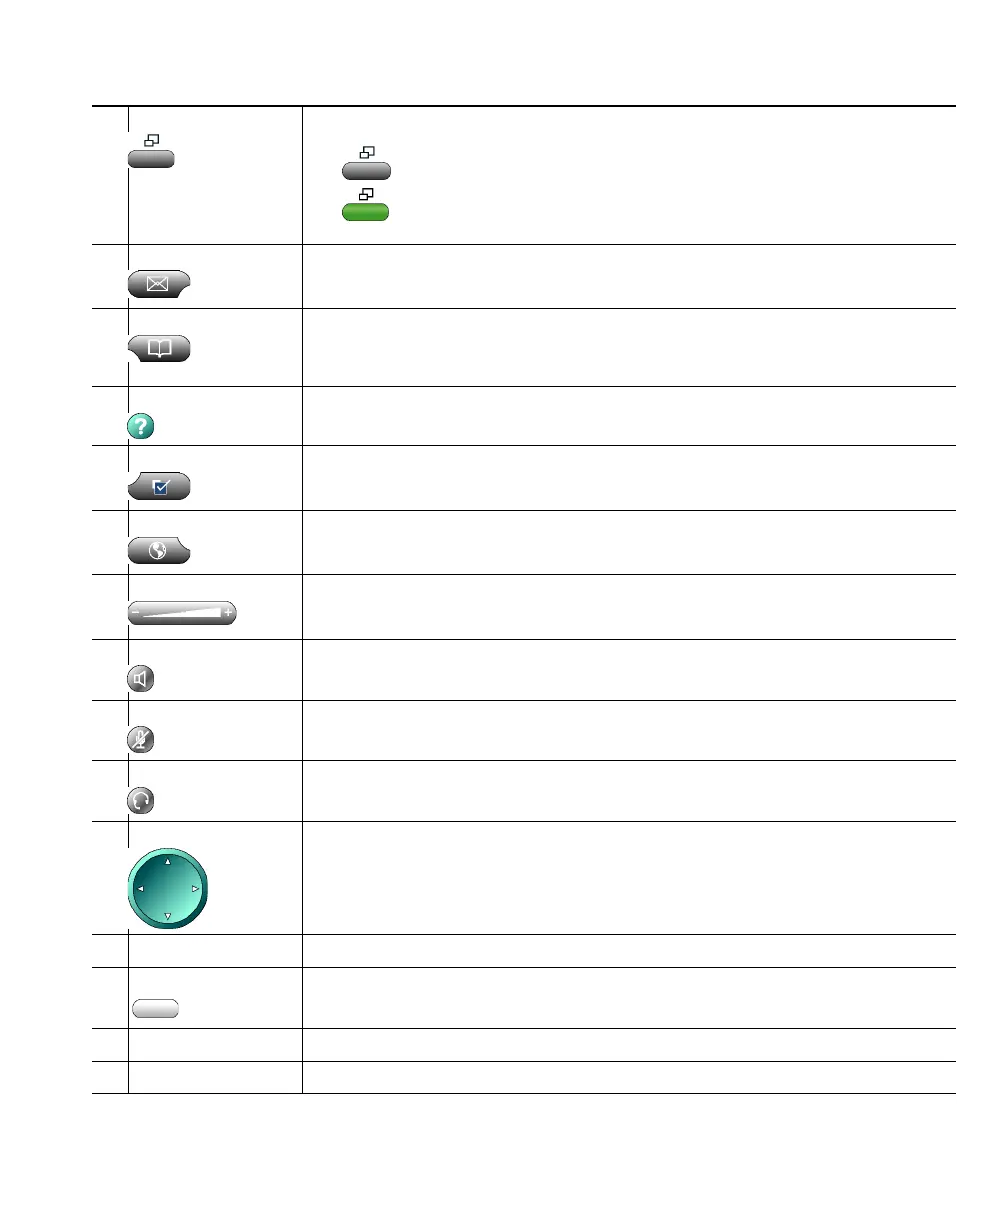
3
Display button Awakens the touchscreen from power-save mode or disables it for cleaning
No color—Touchscreen available ready for input
Green flashing—Touchscreen disabled
Green steady—Touchscreen and backlight disabled
4
Messages button Typically auto-dials your voice message service (varies by service). See the
“Using Voice Messaging, Call Logs, and Directories” section on page 34.
5
Directories button Opens/closes the Directories menu. Use it to view and dial from call logs
(Missed, Received, and Placed) and a corporate directory. See the “Using
Voice Messaging, Call Logs, and Directories” section on page 34.
6
Help button Activates the Help menu. See the “Getting Help on Your Phone” section on
page 15.
7
Settings button Opens/closes the Settings menu. Use it to control touchscreen appearance
and ring sounds. See the “Customizing Phone Settings” section on page 31.
8
Services button Opens/closes the Services menu. See the “Accessing Your User Options Web
Pages” section on page 35.
9
Volume button Controls the volume and other settings. See the “Customizing Phone
Settings” section on page 31.
10
Speaker button Toggles the speakerphone on or off.
11
Mute button Toggles the Mute feature on or off.
12
Headset button Toggles the headset on or off.
13
Navigation button Allows you to scroll through menus and highlight items. Use in conjunction
with softkeys to activate highlighted items. Also, while the phone is
on-hook, press the Navigation button to access phone numbers from your
Placed Calls log.
14
Keypad Allows you to dial phone numbers, enter letters, and choose menu items.
15
Softkey buttons Activates a softkey. You can also activate a softkey by pressing the softkey
label on the touchscreen.
16
Handset light strip Indicates an incoming call and new voice message.
17
Touchscreen Shows phone features. See the “Touchscreen Features” section on page 10.