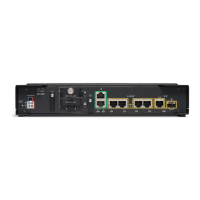
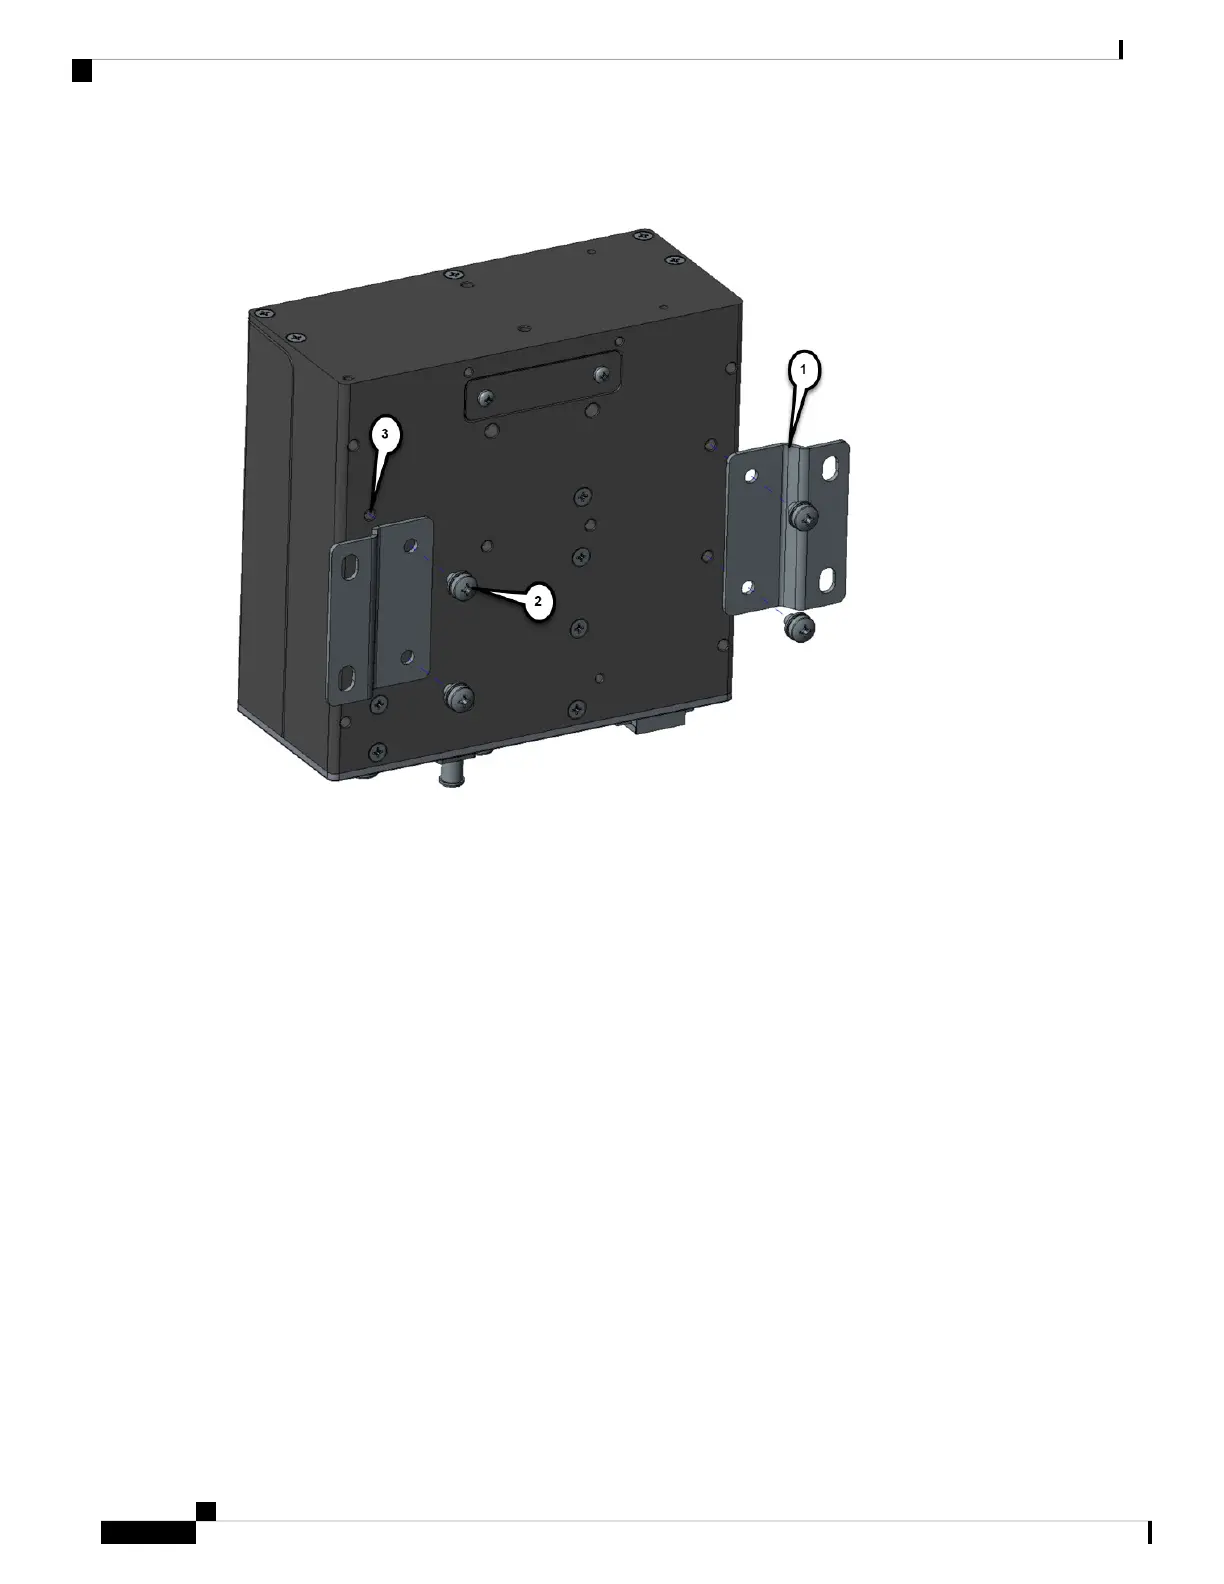
Figure 13: Cisco IR1101 Mounting Bracket
Step 2 Align the mounting brackets (1) over the mounting holes (3) so that the larger holes on the brackets extend out over the
router.
Step 3 Attach the brackets to the router with the 4 screws (2) provided using a Phillips head driver. Torque to 13-15 in. lbs.
Step 4 Mount the router with the attached brackets in a proper wall structure to carry the weight of the device. See Figure 14:
Wall/Floor mounting hole dimensions with mounting brackets attached, on page 31 and Figure 15: Wall/Floor mounting
clearance and overall dimensions with mounting brackets attached, on page 32 for the dimensions of the mounting holes
with the brackets attached to the router
IR1101 Industrial Integrated Services Router Hardware Installation Guide
30
Installing the Router
Mounting on a Wall, Table, or Other Flat Surface