1 2 3
52
Operating Manual
321
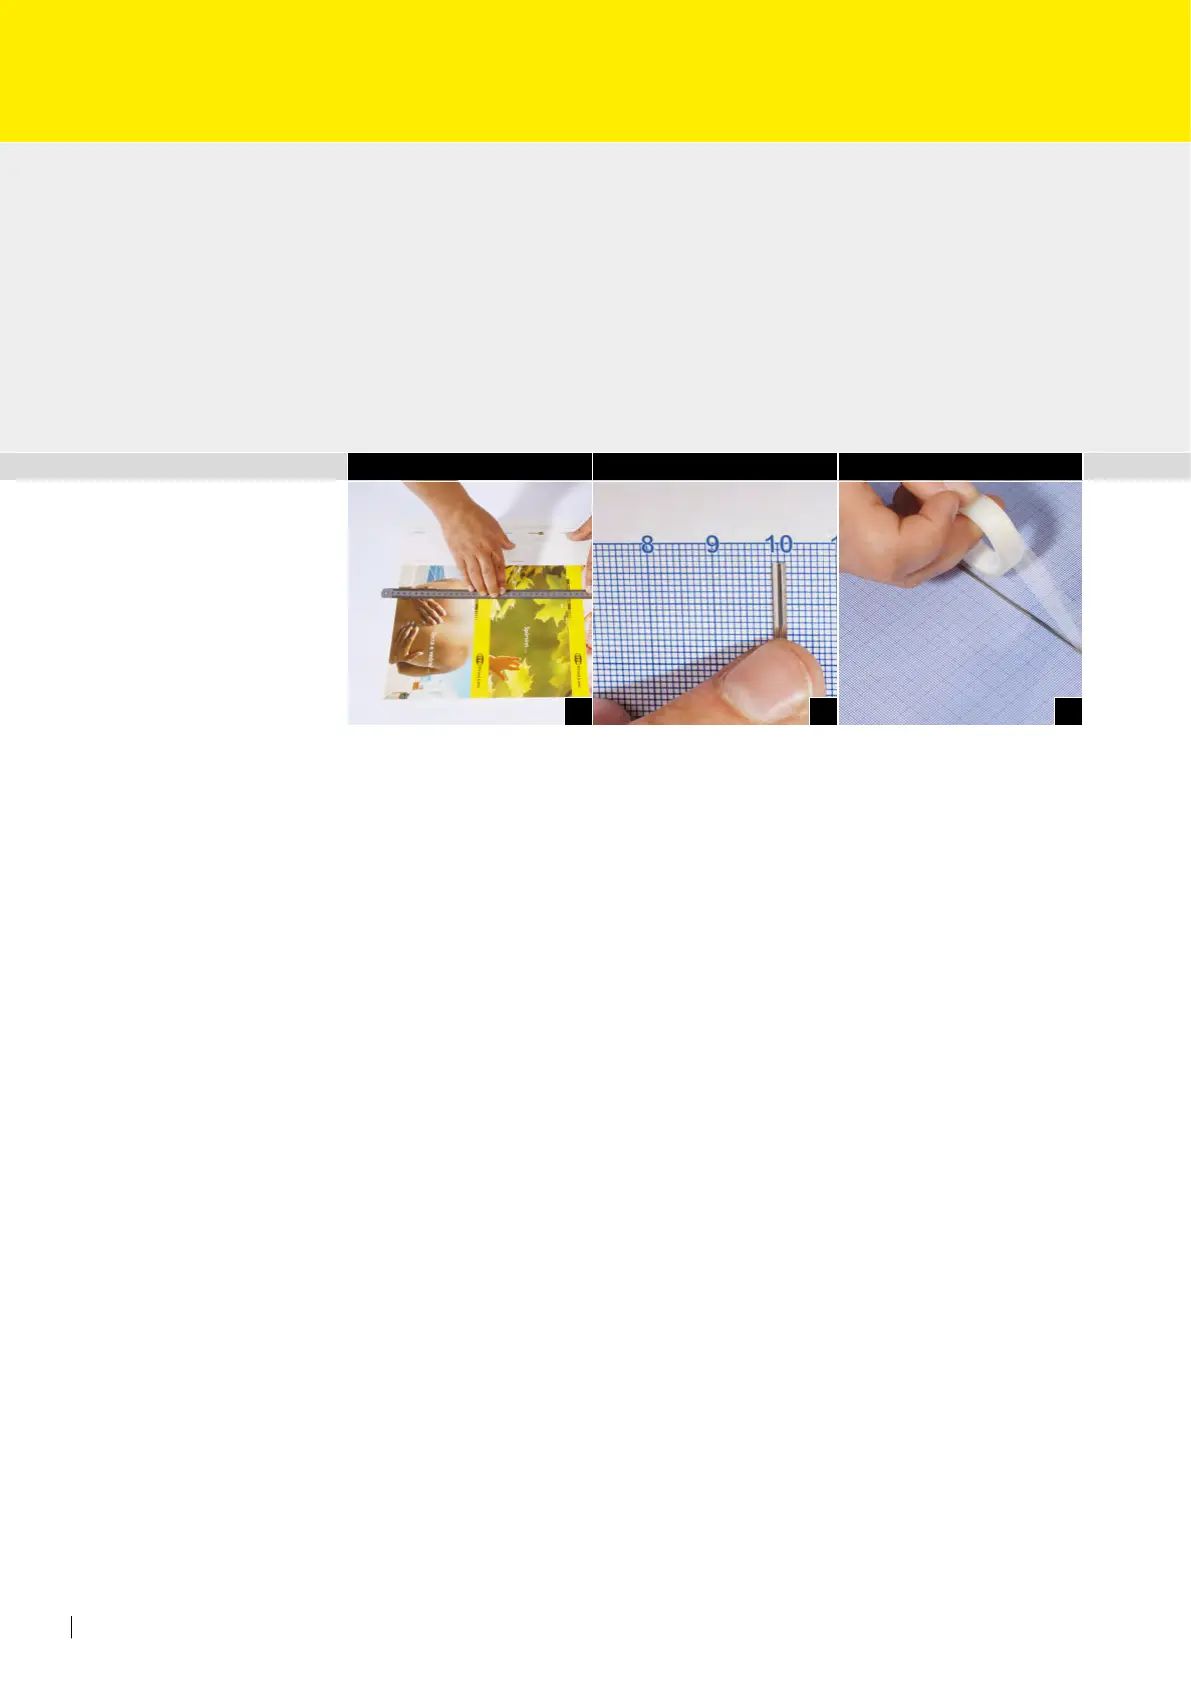
• Measure of the print sheet using of the layout sheet in order to determine the neces-
sary settings for making a creasing, diecutting and/or perforating form (Fig. 1).
• The horizontal “zero line” on the grid sheet corresponds with the front edge of the
print sheet (Fig. 2).
• Afx the processing rules or exible dies to the grid sheet in accordance with the pre-
determined values and secure them with the enclosed adhesive tapes (Fig. 3).
Attention: No processing rules or exible dies (exible die edges) may be glued to the
marked gripper edge.
Tip for mounting:
When creasing only, creasing rule R1 is used. When creasing and/or diecutting and/or per-
forating, however, creasing rule R2 has to be used.
Mount the RSP form laterally reversed
è “direct printing method”
Attention: Start of processing with RSP is possible from about 13 mm from the front edge
of the sheet.
2. Mounting of the RSP form / Assembling
the RSP direct t exible die