20 | P a g e
3. Set patch embroidery —— press to enter color-changing setting interface and set patch
embroidery of the pattern according to hints.
4. For border inquiry, border idling, pattern outline —— press to enter frame selection and
position operation.
5. Locate pattern at frame center —— press to enter frame selection and position operation. Please note
this function is to locate pattern at the frame center set by soft limitation.
6. Set cyclic embroidery —— press to enter other function operation. Press to enter
parameter management interface. Then press “Embroidery Assistant Parameters” and set cyclic
embroidery according to hints.
IV. Confirm Embroidery
1. After assistant operations, press to display a hint window, where user can select to
confirm and turn (cancel embroidery) to (confirm embroidery), which indicates
the machine has entered Embroidery Ready Status.
If user selects , the machine will stay at Embroidery Cancel Status. At this time, the machine will
not work even when user presses the start key. A hint window will display on the screen for user to
confirm the embroidery.
2. Set Color-changing and Start Mode
User can shift between (auto color-changing and auto start) and (manual color-changing
and manual start).
V. Manual Operation
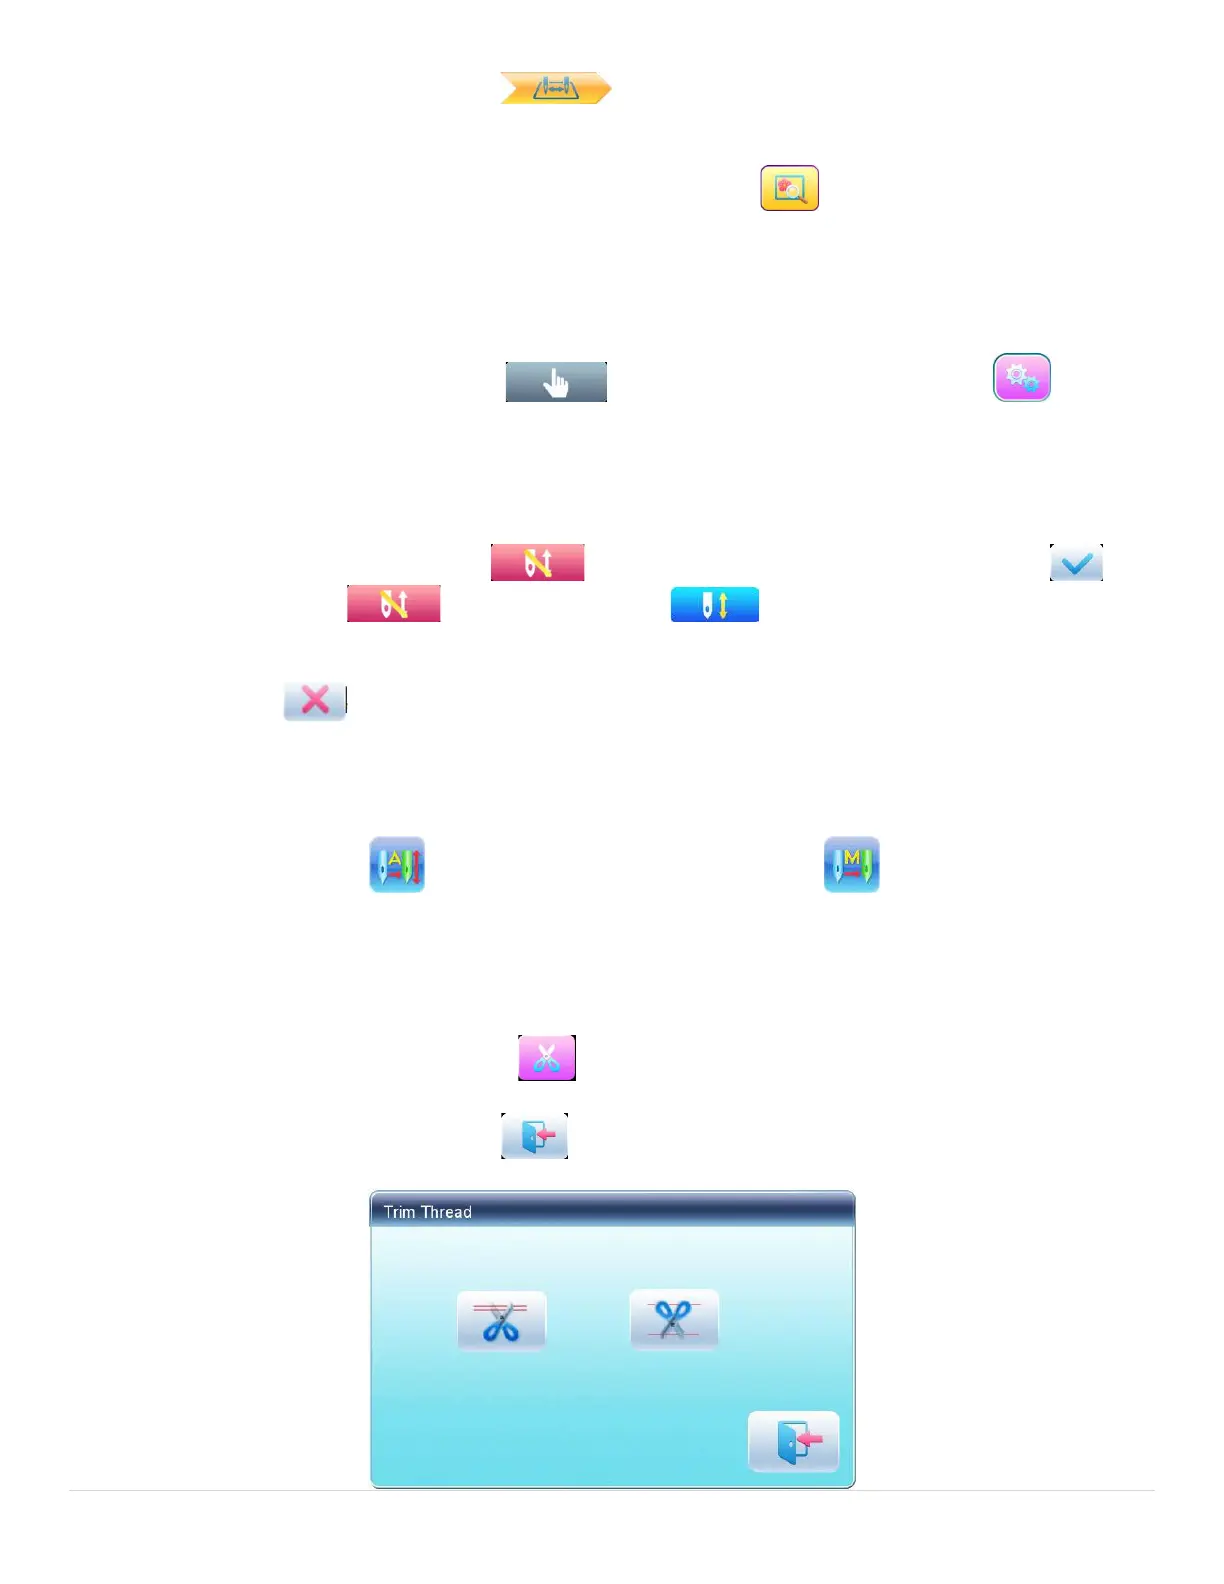
1. Manual Thread-trimming:
• When the machine stops, press in the main interface to display a hint window, where user
can press “Trim Upper&Bobbin Thread” to trim threads, or click “Trim Bobbin Thread” to trim
the bobbin thread only. Press to quit the thread-trimming operation.