MACHINE PREPARATION
22. BRUSH ASSEMBLY (BRUSH HEAD WITH SINGLE BRUSH)
Proceed as follows to assemble the brush:
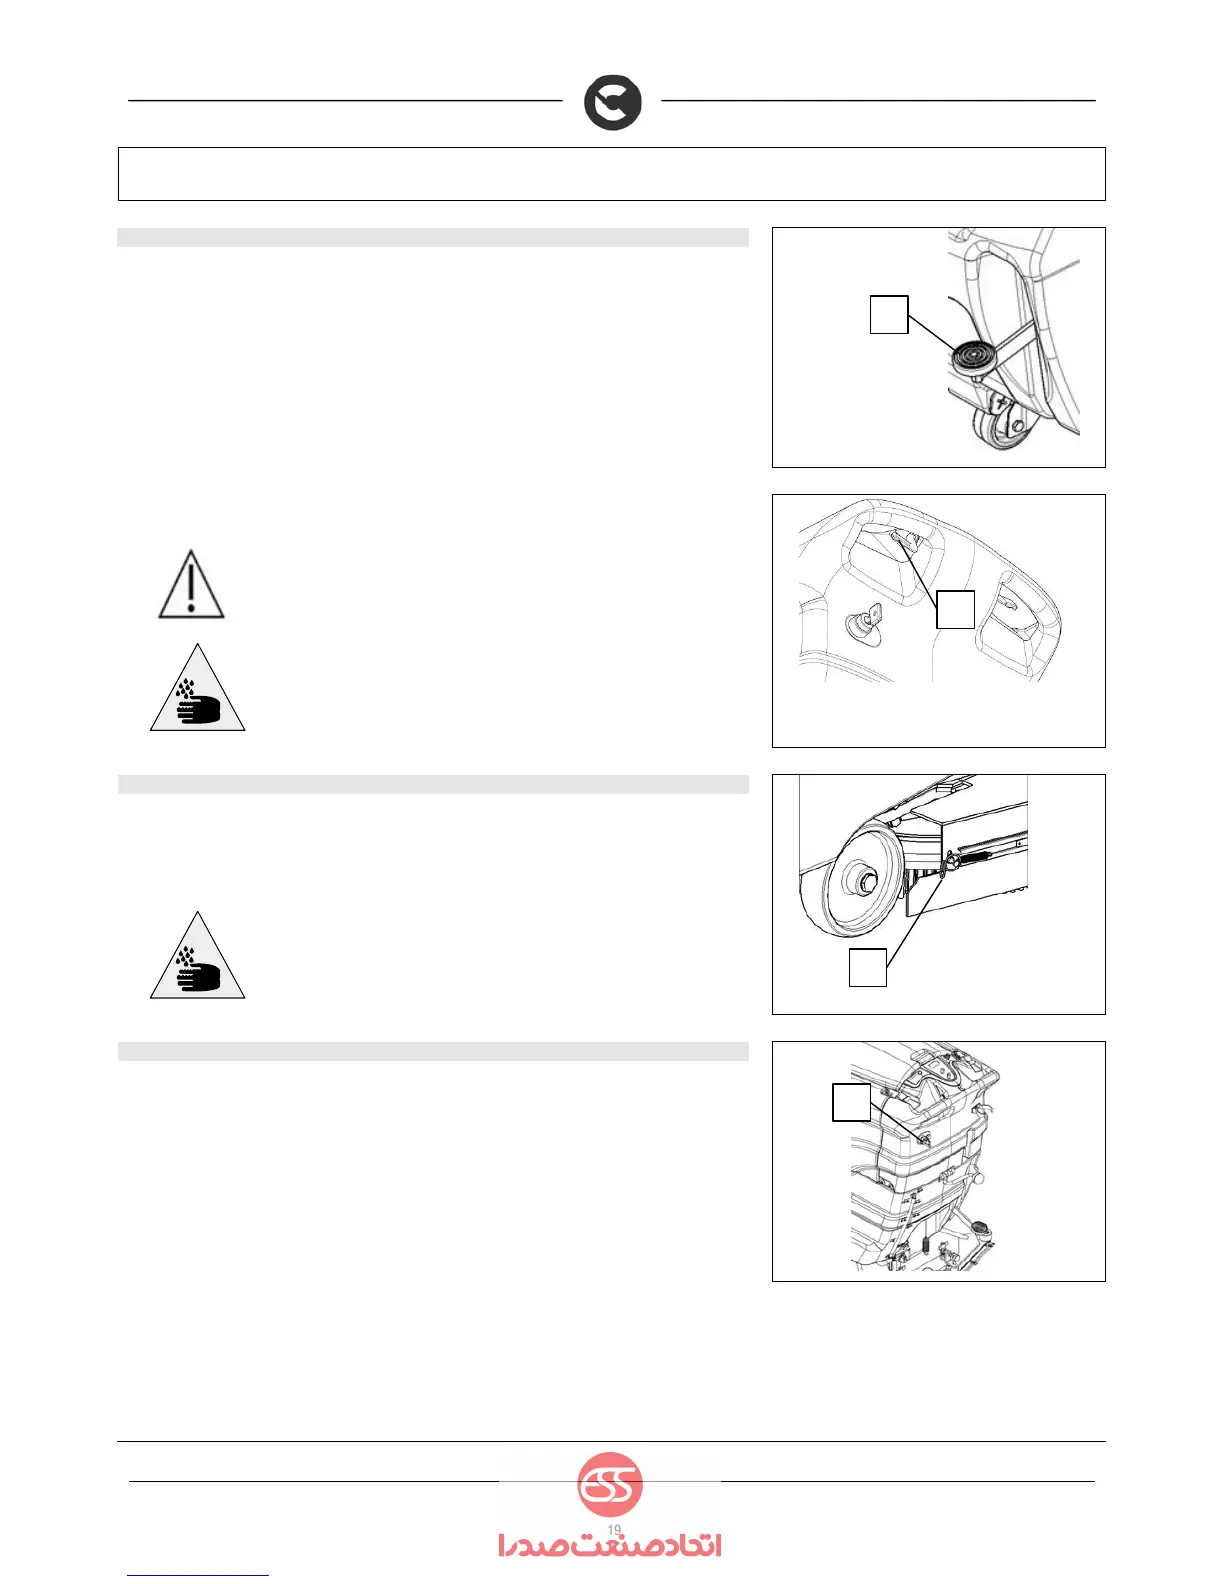
1. Raise the brush head by means of the pedal (1)
2. With the brush head up, position the brush in line with the coupling on the machine
3. Lower the brush head by means of the pedal (1) again
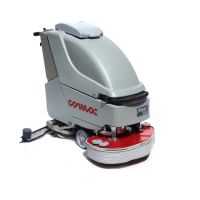
4. Turn the key to position "1"
5. Using the dead man's lever (2), the brush is automatically hooked up
ATTENTION: during this operation, check there are no people or objects near the
brush.
ATTENTION: Check the brush is correctly inserted. If this is not the case, the
machine could move in an irregular, sudden manner.
ATTENTION: you are advised to always wear protective gloves, to avoid the risk
of serious injury to your hands.
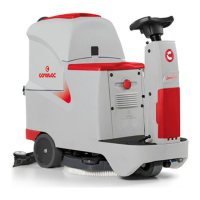
23. ASSEMBLY OF SINGLE BRUSH HEAD (SPLASH GUARD RUBBER)
For packaging reasons, the splash guard rubbers are supplied disassembled from the machine.
Remove the spring hook (1) from the connection screw on the right side of the brush head, wrap the
rubber around the brush head and position it so that it is symmetrical to the brush. Replace the
previously removed strip securing the spring hook (1) to the screw connection.
ATTENTION: you are advised to always wear protective gloves, to avoid the risk
of serious injury to your hands.
24. ASSEMBLING THE BRUSH (BRUSH HEADS WITH DOUBLE DISC BRUSH)
Proceed as follows to assemble the brushes:
1. Use the side parking brake lever to stop the machine
2. Raise the brush head by means of the appropriate pedal
3. Check that the key is in the "0" position (1).
4. With the brush head up, place the brushes into the plate housing beneath the brush head, turning
the brushes until the three pins enter the niches in the plate itself; turn until the pin is pushed
towards the coupling spring and is locked into place.