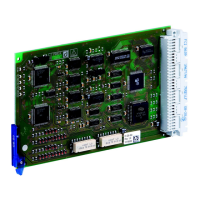
GE 300 5. Configuration CCT 800
3.3/0518 21
Setting the server ID in CCT 800
Configuration CCT 800
To set the server ID of a new added Intercom Server in CCT 800, follow the instructions below:
1. Go to: Intercom Server > Cards
The following dialogue appears:
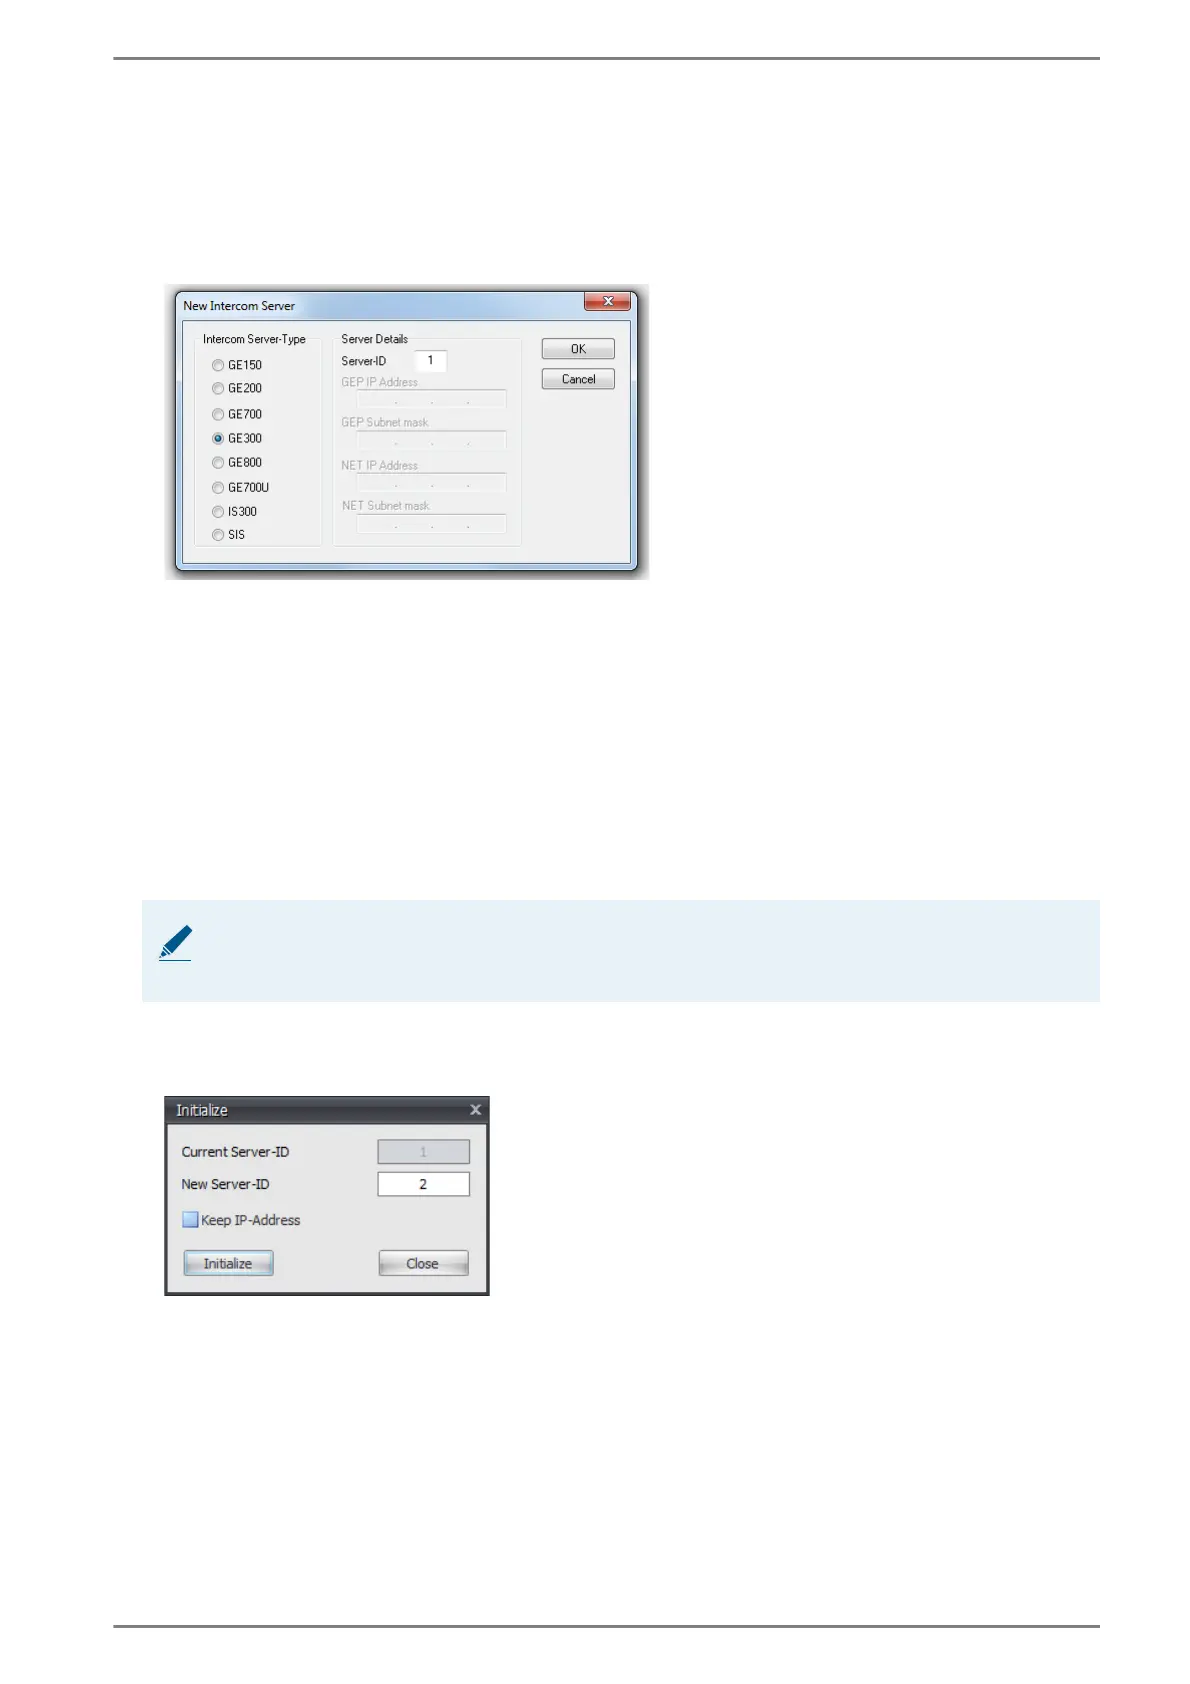
Dialogue “New Intercom Server”
2. In the server area, right-click and select “add Intercom Server”.
3. Activate the radio button GE 300.
4. In the field Server-ID, enter the desired server ID and click on OK. Repeat this steps for all further
housings.
5. Optional: In the field Description, enter a description for the housing.
6. Go to: Menu Intercom Server > Send
7. Send the configuration to the Intercom Server. Further information about the sending process can
be found in the manual “Intercom Server Configuration”.
Changing the server ID with CCT 800
To change the server ID of an Intercom Server with CCT 800, follow the instructions below:
1. Go to: Menu Intercom Server > Initialize
The following dialogue appears:
Dialogue “Initialisation”
2. In the field Current Server-ID, the current server ID is shown.
3. In the field New Server-ID, enter the new server ID and click on the button Initialize. When the
server ID has been changed, this ID is shown in the field Server-ID.
NOTE: Intercom Server must be connected to the computer
To change the server ID of an existing Intercom Server, the Intercom Server must be connected with
the computer, via which it shall be configured with CCT 800.

 Loading...