d. Li the UAP2 vercally and slide it into the locked posion.
21. If using a PSU, plug the AC power cord into an AC power source.
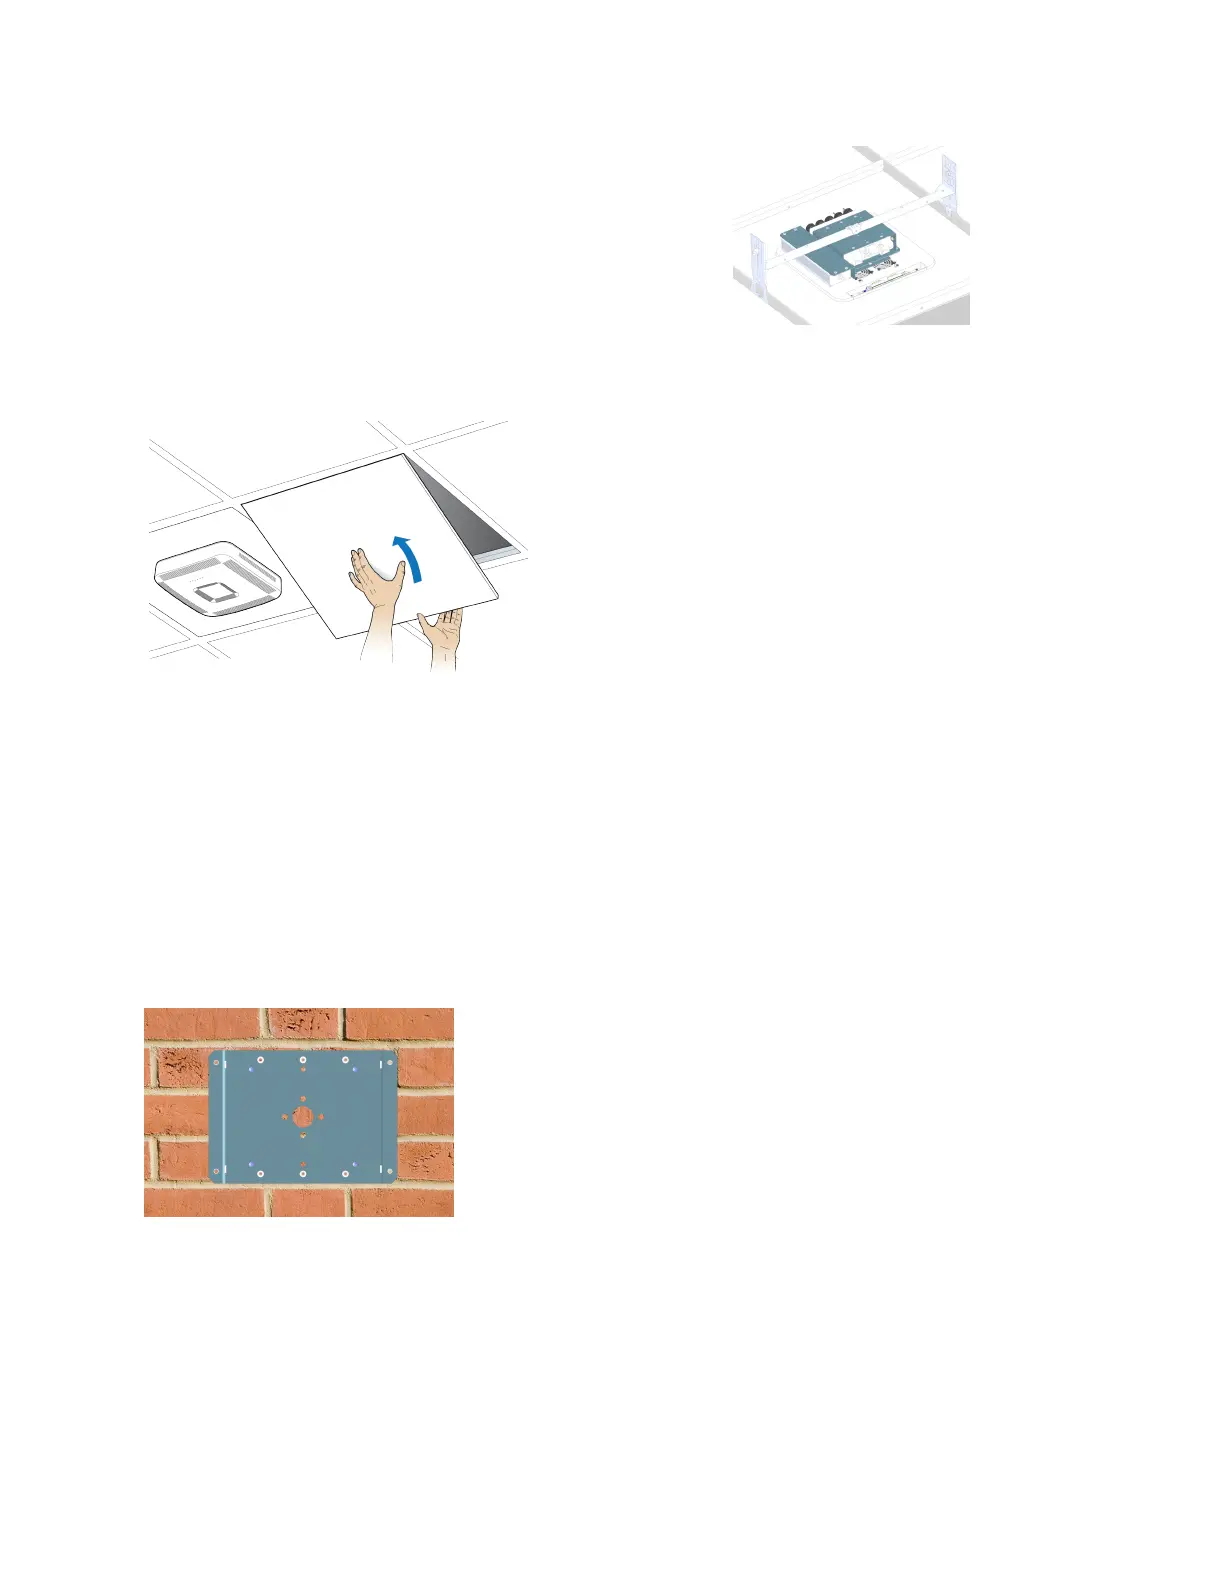
22. Replace the ceiling le next to the UAP2.
Mounting a UAP2 on a Wall
Before starng the UAP2 wall installaon, go to Connect the Fiber UAP2 to a Classic CAN or TEN.
1. Follow the steps in Unpack and Inspect the UAP2 and Accessories.
2. Refer to and observe all cauons listed in General Mounng Cauons.
3. Refer to UAP2 Dimensions to determine the mounng locaon, which must be able to support the
weight and dimensions of the UAP2 .
4. On the wall, use the U-bracket as a template to mark the holes at the locaon where you will mount the
UAP2.
DRAFT: CONFIDENTIAL
Chapter 4: Mount the Fiber UAP2
CommScope ERA
®
UAP2 with Fiber Interface Installaon Guide , Release
P/N M0203AB, DRAFT Rev D 34