. . . . . . . . . . . . . . . . . . . . . . . . . . . . . . . . . . . . .
5-50
ArmadaStation Removal and Replacement Procedures
5.14 Expansion Boards
The ArmadaStation provides two slots for 32- or 64-bit PCI expansion boards and two
slots for 16-bit, full-length ISA expansion boards. Any combination of two of these
boards can be installed in the ArmadaStation.
For additional information, consult the documentation included with the
expansion boards.
!
WARNING:
To reduce the risk of personal injury from hot surfaces, allow the internal
system components to cool before touching.
To install PCI and ISA boards in the ArmadaStation, follow these steps:
1. Prepare the ArmadaStation for disassembly (Section 5.3).
2. Remove the rear panel assembly (Section 5.5).
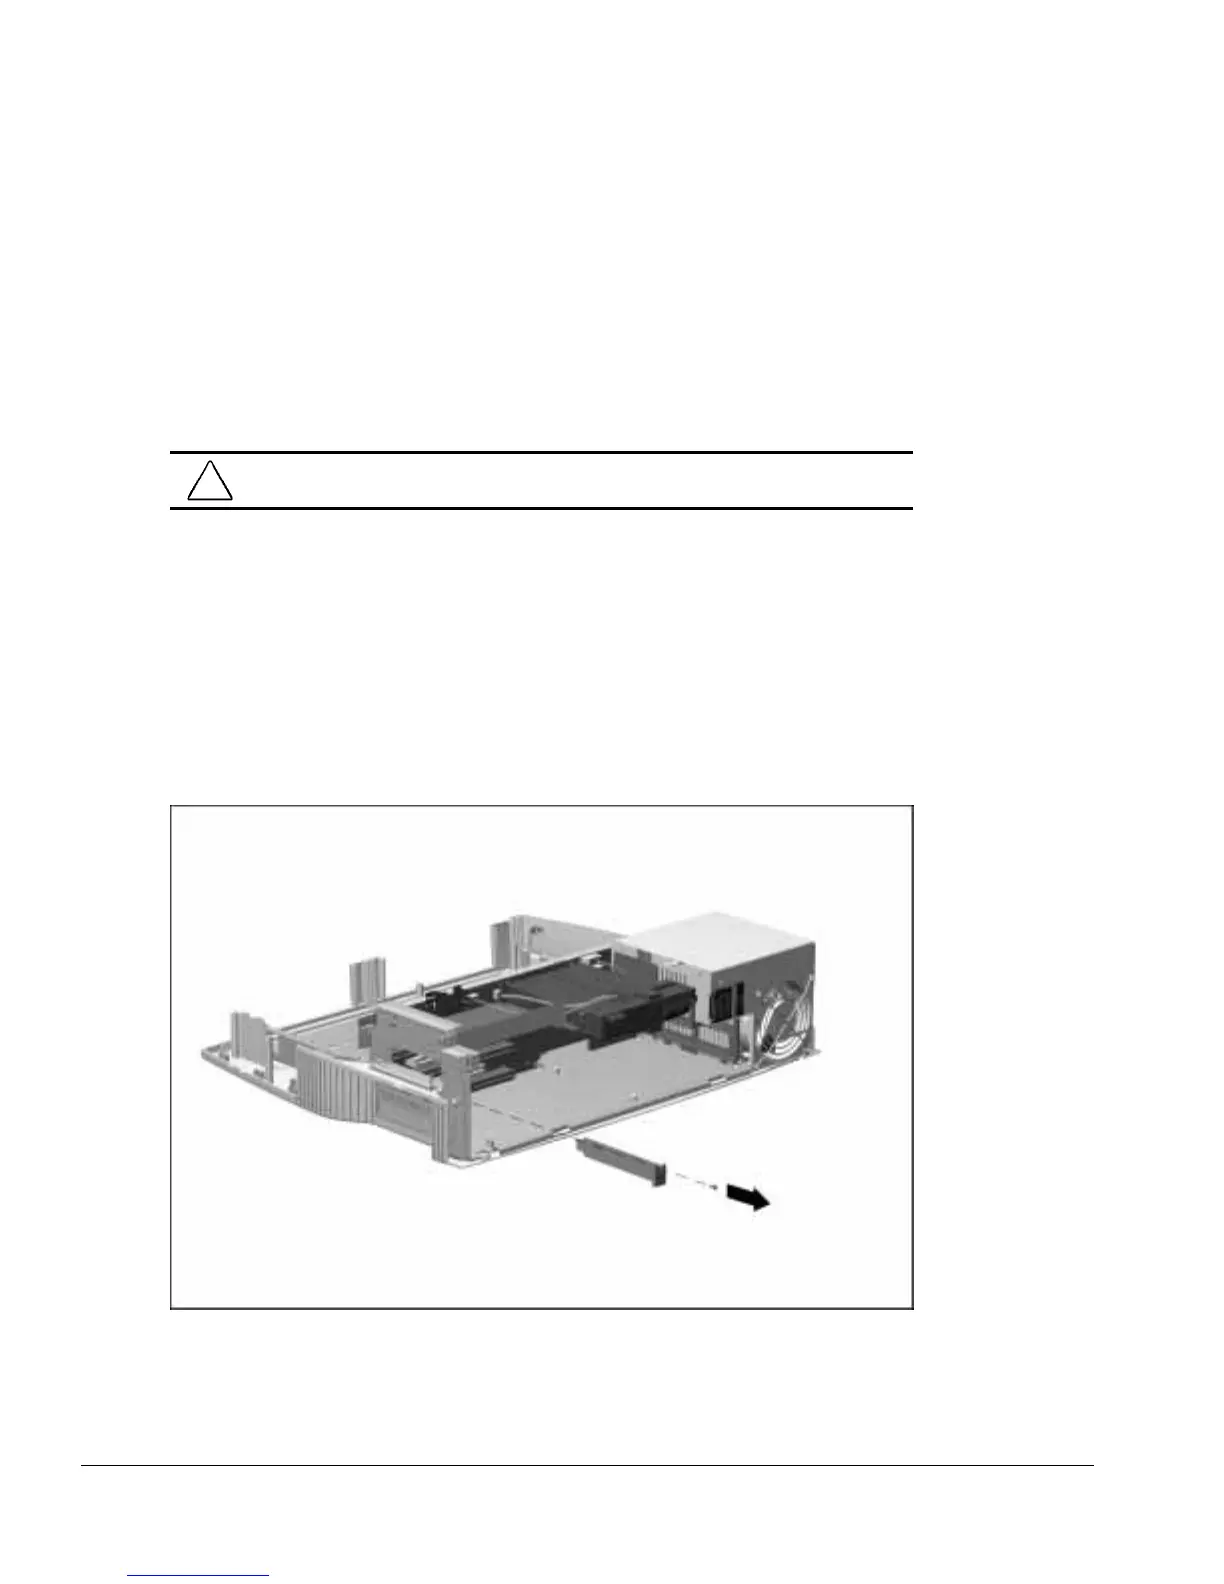
3. Remove the screw securing the expansion slot cover to the base assembly
(Figure 5-48). This screw is used later to secure the newly installed expansion board.
4. Remove the expansion slot cover.
Figure 5-48.
Removing an Expansion Slot Cover
NOTE: Retain the expansion slot cover. It will be needed if the expansion board is
removed from the ArmadaStation.