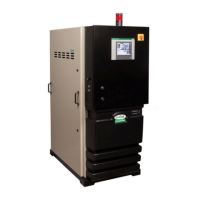
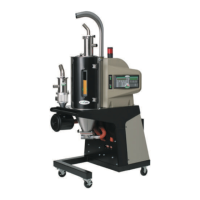
Checking for Proper Air Flow
IMPORTANT: This procedure is needed on non-conveying MDCW models 50, 75, and
100. This procedure is not required on the conveying MDCW 15 - 100 models because
phase detection is standard.
CAUTION: Checking for proper air flow must be performed before filling the hopper
with material. Performing this step after the hopper is filled with material could
cause damage to the dryer if the airflow direction is incorrect due to improper
phase connection. Material from the hopper can be pulled into the process heater,
causing permanent damage.
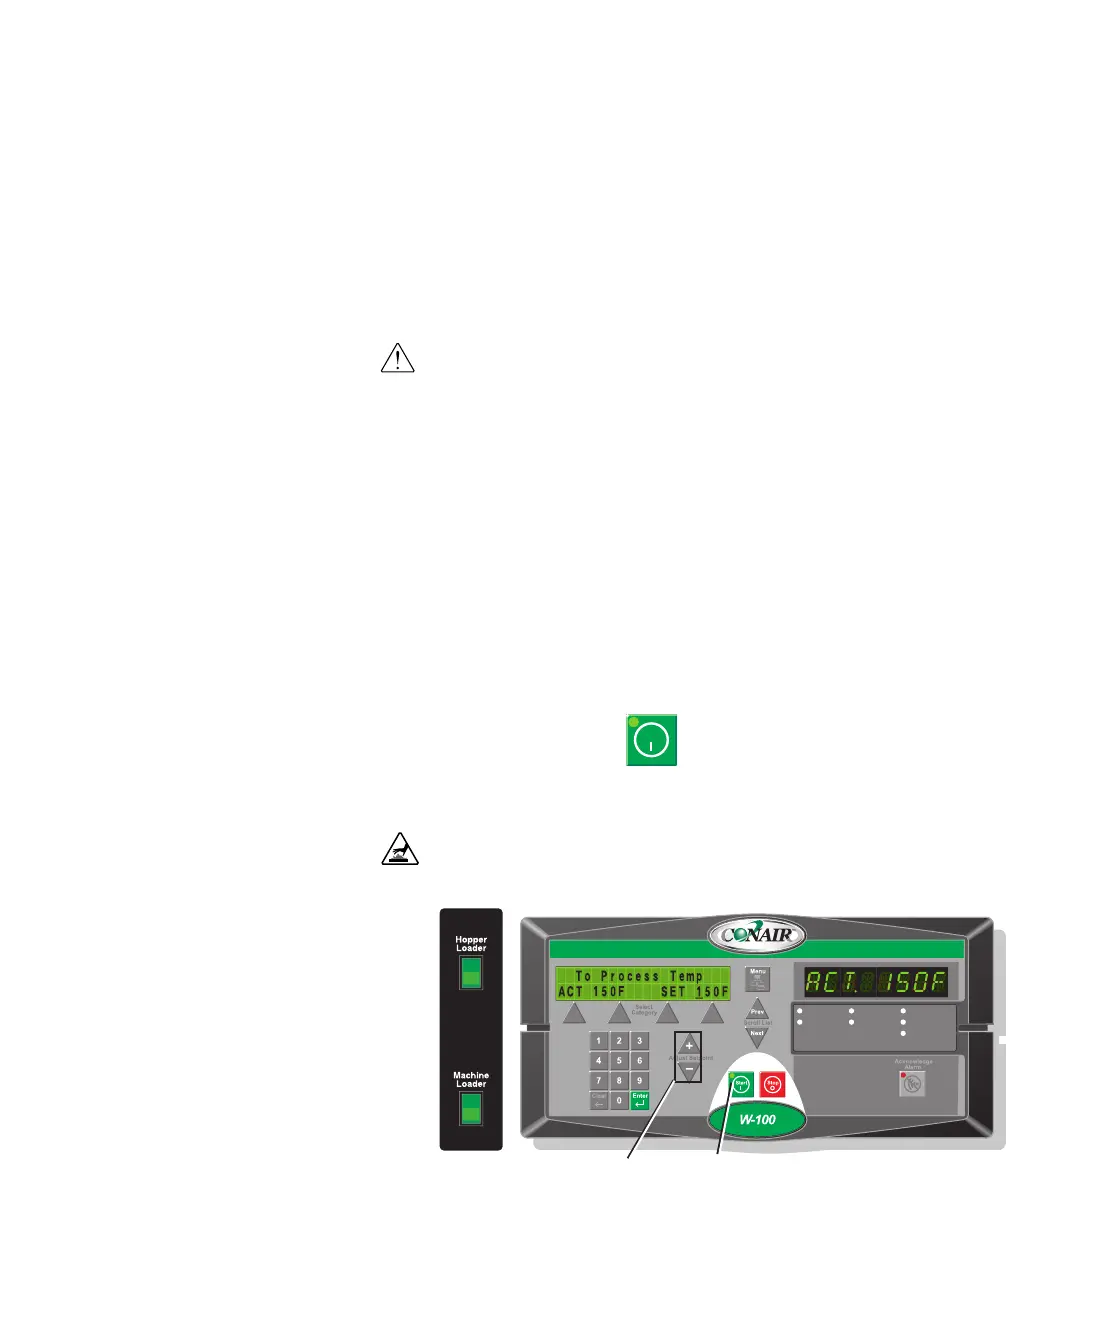
1 Turn on the main power to the dryer. Make sure the dryer's disconnect dial is
in the ON position. This powers up the control and the display lights will illu-
minate.
2 Set the drying temperature. Press the select category button under the set-
point value until it blinks then use setpoint adjust (+) or (-) buttons or enter the
low setpoint temperature (150ºF {66ºC}) on the numeric keypad and press
enter.
3 Press the START button. Disconnect the process filter and feel for
suction at the inlet to the filter. If the airflow is traveling in the correct direction
you should feel suction.
Auto Start
Dewpoint Control
Set-Back Temp.
Process Blower
Process Heater
Regen. Blower
Regen. Heater
Setpoint Adjust
Buttons
(continued)
3-12 l In sta ll ation
Start Button
CAUTION: Hot surface. Do not place your hand directly on the delivery air outlet.
The outlet and the air can get hot enough to burn your hand.