Installa tion l 3-15
3
Installa tion
Testing the Installation
You have completed the installation. Now it’s time to make sure everything works.
1 Make sure there is no material in the hopper. If you
have mounted a loader or vacuum receiver on the hop-
per, disconnect the material inlet hose at the source or
turn off the loader.
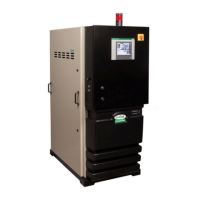
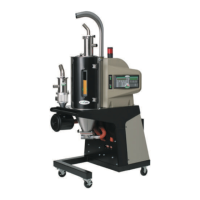
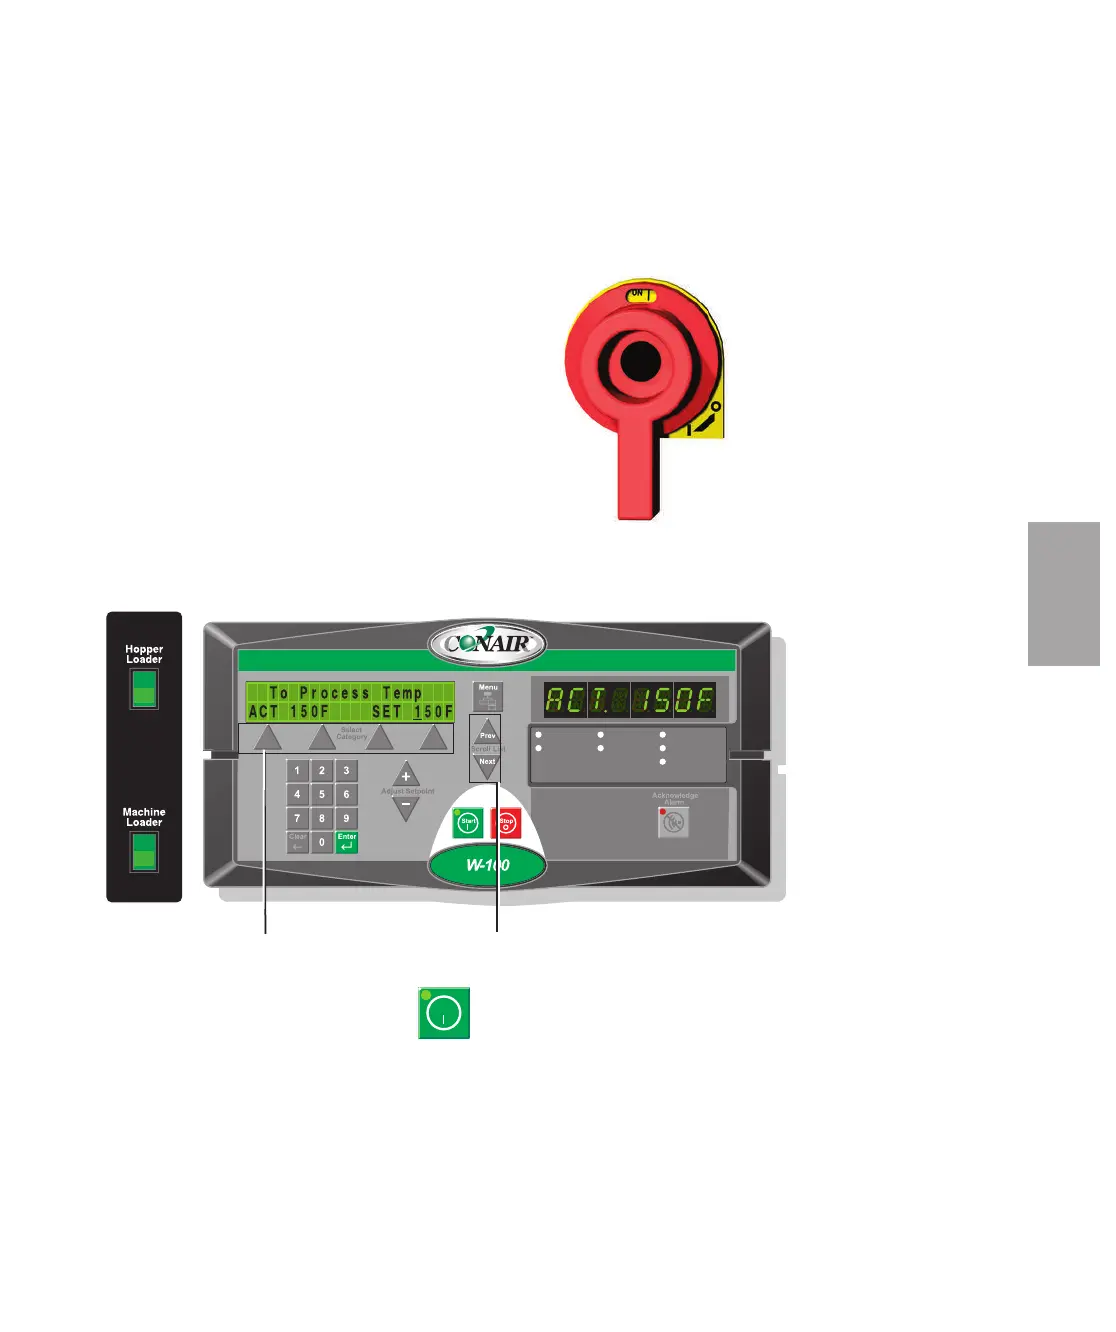
2 Turn on the main power to the dryer. Make sure the
dryer’s disconnect dial is in the ON position. This pow-
ers up the control and the display lights will illuminate.
3 Set the drying temperatures. Press temperature select
with the select category button, and then press the set-
point adjust (+) or (-) buttons or enter a low setpoint temperature
(150ºF {66ºC}) on the numeric keypad and press enter.
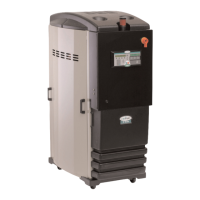
4 Press the START button.
If everything is installed correctly:
• The green light on the start button will illuminate.
• The process and regeneration blowers and LEDS will turn on.
• The process and regeneration heaters and LEDS will turn on.
Auto Start
Dewpoint Control
Set-Back Temp.
Process Blower
Process Heater
Regen. Blower
Regen. Heater
Select Category Buttons
Setpoint Adjustment Buttons