Snack - Based Troubleshooting and Repair Guide
1670065 Page 42 of 54 September, 2002
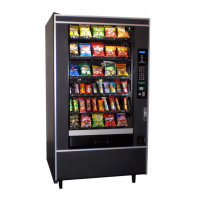
1. Make a note of the locations of all har-
nesses going to the display PCB.
Remove the harnesses (figure 12).
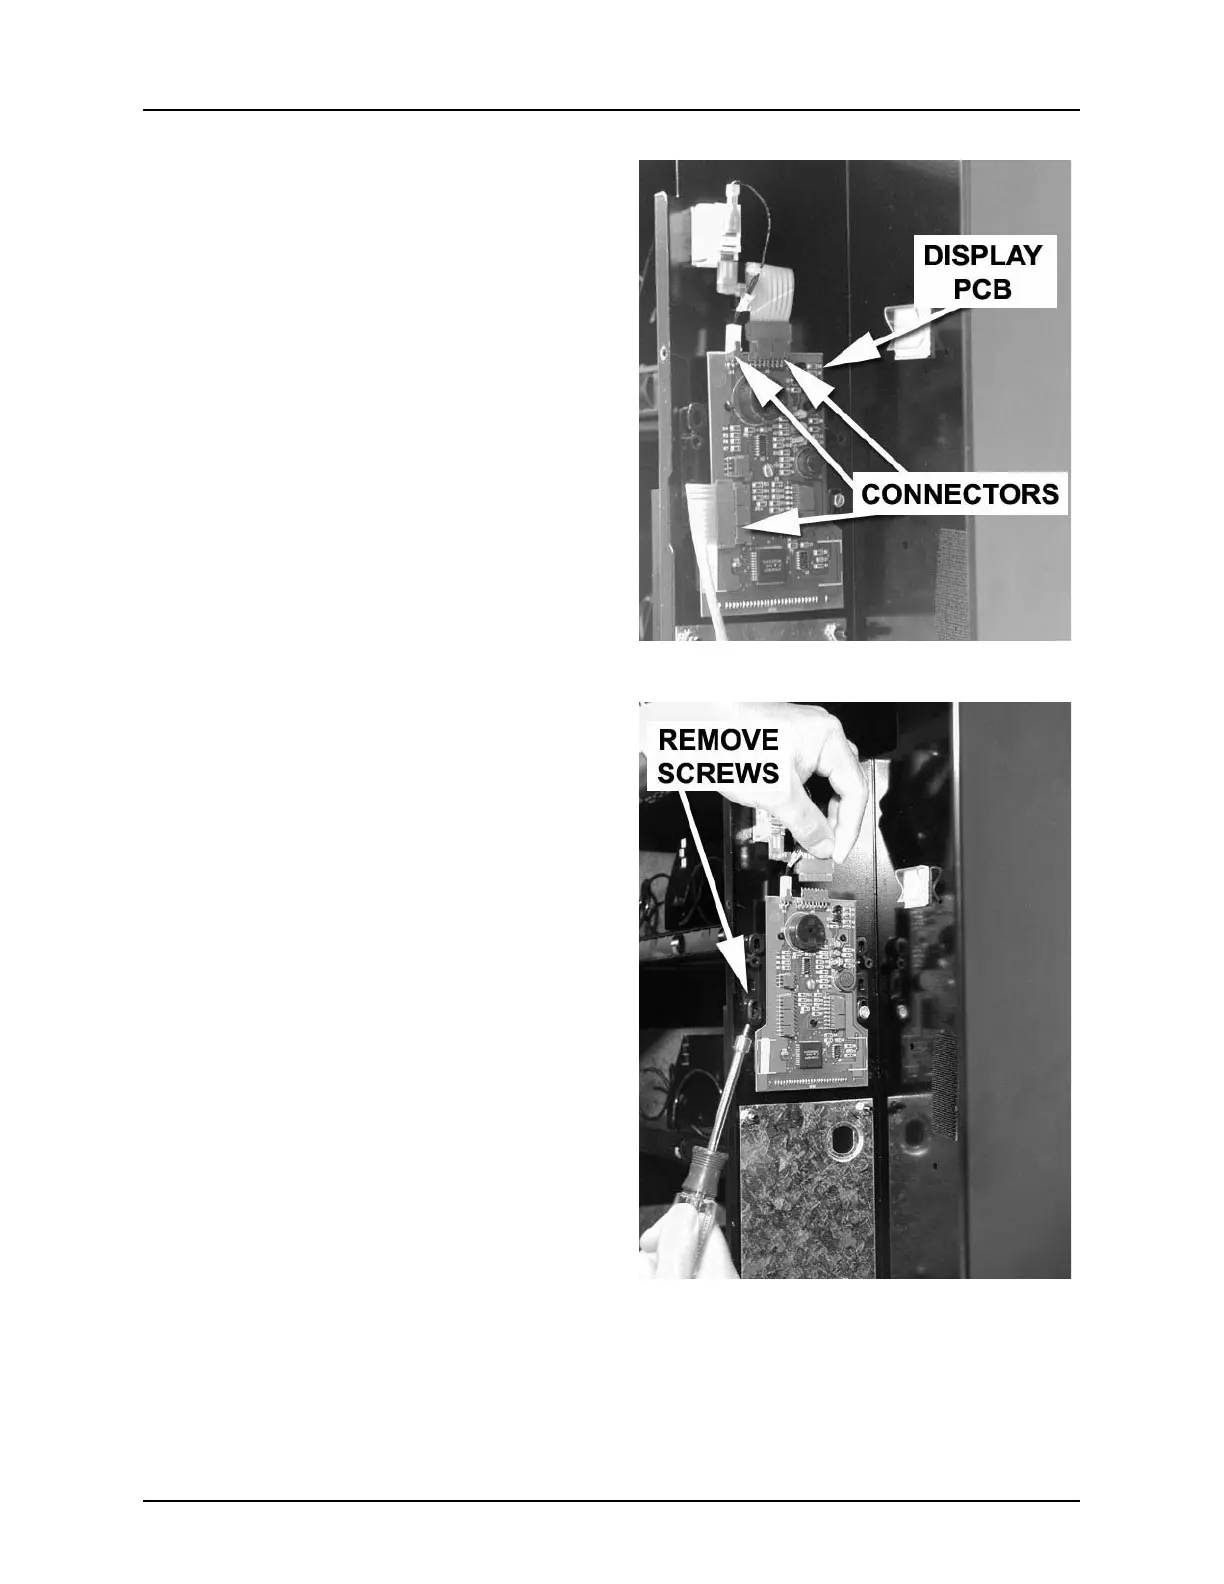
2. Remove two thread forming screws as
shown (figure 13). Save them for later
use.
3. Remove the display PCB.
Replacement
1. Position the new display PCB, and
lightly tighten the two screws removed
earlier.
2. Looking through the tinted display
cover, make sure the display is straight,
centered, and fully visible.
CAUTION:
The screws you are about to
tighten are in plastic, so
don’t overtighten them or
you will strip the threads in
the plastic.
3. When you are satisfied the display is
correct, fully tighten the two screws.
4. Connect all harnesses to the display
PCB.
5. Install the display PCB cover and
secure with the screw you removed
earlier.
Figure 12
Figure 13