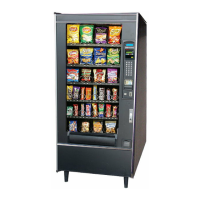
Snack - Based Troubleshooting and Repair Guide
1670065 Page 44 of 54 September, 2002
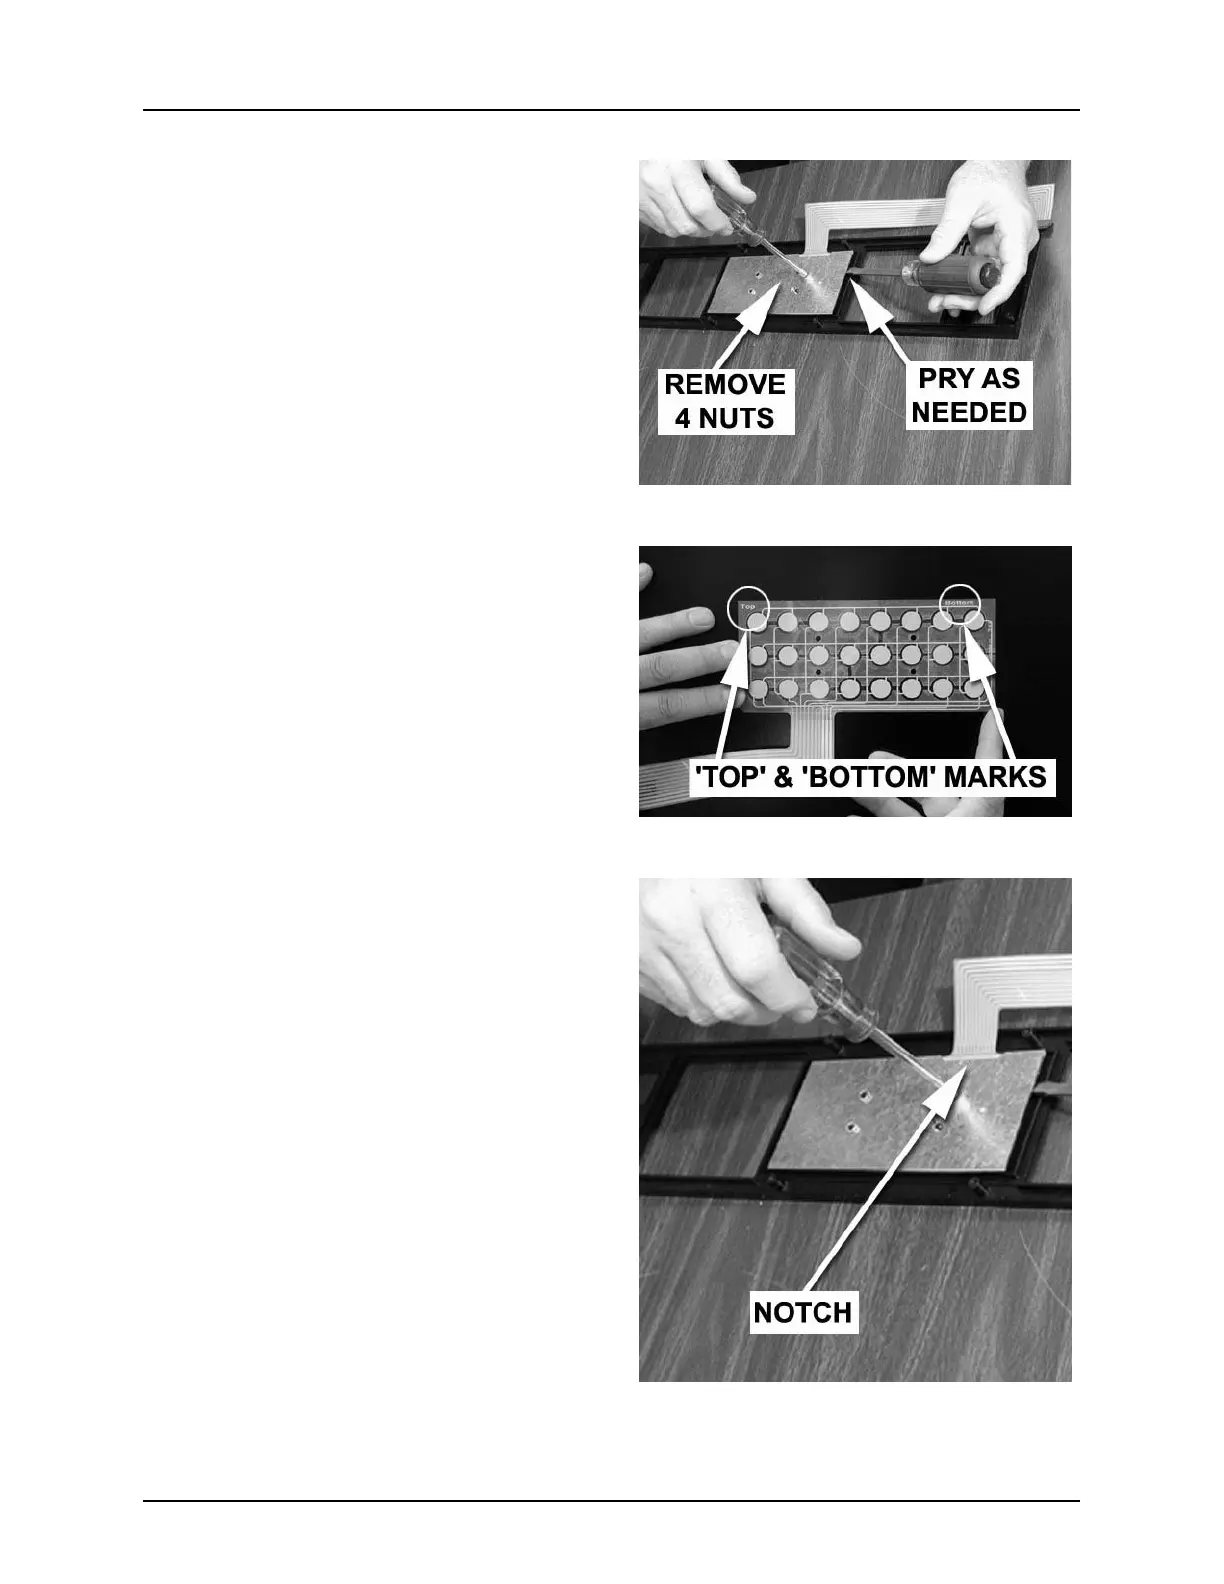
1. Remove 4 nuts from the rear of the
assembly ( (figure 16)). Save them for
later use You might need to gently pry
up on the metal backing plate as you
turn the nuts in case the plastic studs
are stripped.
NOTE:
You may need to gently pry up on the metal
backing plate as you turn the nuts in case
the plastic studs are stripped.
2. Lift the metal backing plate off the
assembly and set aside.
3. Remove the keypad membrane (figure
17).
Replacement
1. Install the new keypad membrane.
Observe that it is marked “TOP” and
“BOTTOM” (figure 17). Be sure you
have oriented it properly.
2. Install the metal backing plate, ensur-
ing that the notch in one side corre-
sponds to the keypad ribbon cable
(figure 18).
3. Secure the backing plate with the 4
nuts removed earlier, taking care not to
strip the plastic studs.
4. Feed the keypad ribbon cable through
the slot in the monetary door
(figure 15).
5. Tilt the bezel into place from the bot-
tom as shown (figure 15).
6. Secure the bezel with the 4 screws and
cup spacers you removed earlier. Take
care not to overtighten the screws, or
you will strip the plastic fittings.
7. Install the display PCB.
(see “Display PCB” on page 41)
Figure 16
Figure 17
Figure 18