Snack - Based Troubleshooting and Repair Guide
September, 2002 Page 47 of 54 1670065
CAUTION:
Observe proper ESD proce-
dures. See "Preventing Cir-
cuit Board Damage from
Electrostatic Discharge" on
page 1
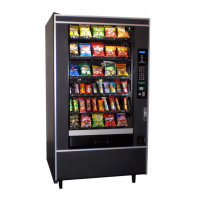
1. Remove 5 Phillips head screws, and
remove the receiver circuit board and
paper insulator (figure 20). Save for
later use.
2. Remove 2 screws securing the bracket
to the delivery pan and the door
(figure 20).
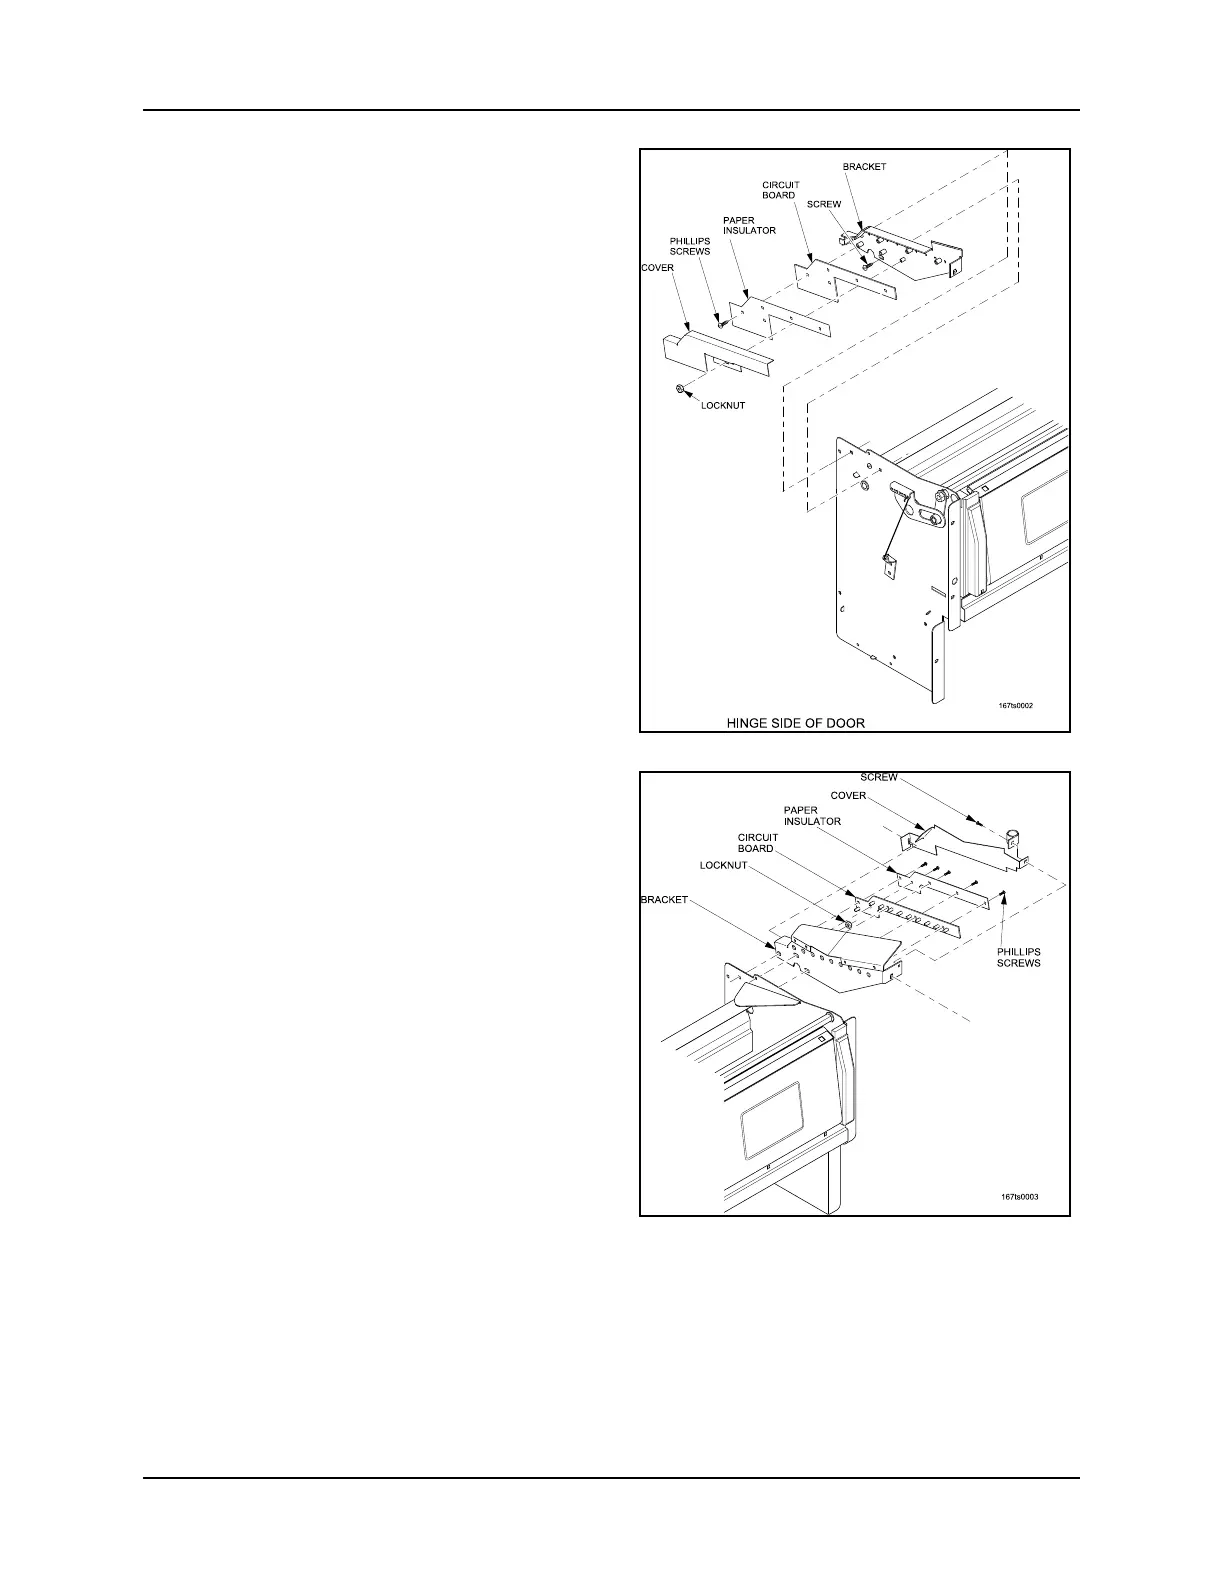
3. Remove 1 screw securing the emitter
cover to the emitter bracket (figure 21).
Remove the cover and save for later
use.
CAUTION:
Observe proper ESD proce-
dures. See "Preventing Cir-
cuit Board Damage from
Electrostatic Discharge" on
page 1
4. Remove 5 Phillips head screws, and
remove the emitter circuit board and
paper insulator (figure 21). Save for
later use.
5. Remove 2 hex head screws securing
the emitter bracket to the door and the
delivery pan. (figure 21). Save for later
use.
6. Remove the screw and locknut secur-
ing the emitter bracket to the delivery
pan (figure 21). Remove the bracket
and save for later use.
Replacement
1. Install the emitter bracket and secure
with 2 hex head screws, and one slotted
screw/locknut combination.
Figure 23
Figure 24