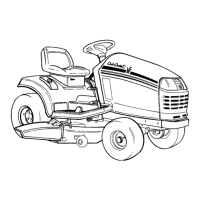
BODY PANELS
26
3c. Support the fuel tank.
3d. Remove the two screws that hold the bottom
of the wire form bracket to the dash support
brackets using a 3/8” wrench.
3e. Lift the fuel tank and bracket out of the trac-
tor. See Figure 4.39.
NOTE: The fuel line may be left connected to the
fuel tank, and the fuel tank supported next to the
tractor in a position that will not allow fuel to spill.
See Figure 4.40.
4. Disconnect the harness plugs from the following
electrical devises under the dashboard:
See Figure 4.41.
• Hour meter
• Key switch
• RMC module
• PTO switch, if so equipped
5. Use a phillips head screwdriver to remove the
throttle control grip. See Figure 4.42.
6. Carefully peel-off the throttle control label.
• Gentle application of heat will help loosen the
adhesive.
• Use wax paper to preserve the adhesive.
Figure 4.39
Figure 4.40
Figure 4.41
Hour meter
RMC Module
Key switch
PTO switch
Figure 4.42
Throttle grip
Throttle control
label
 Loading...
