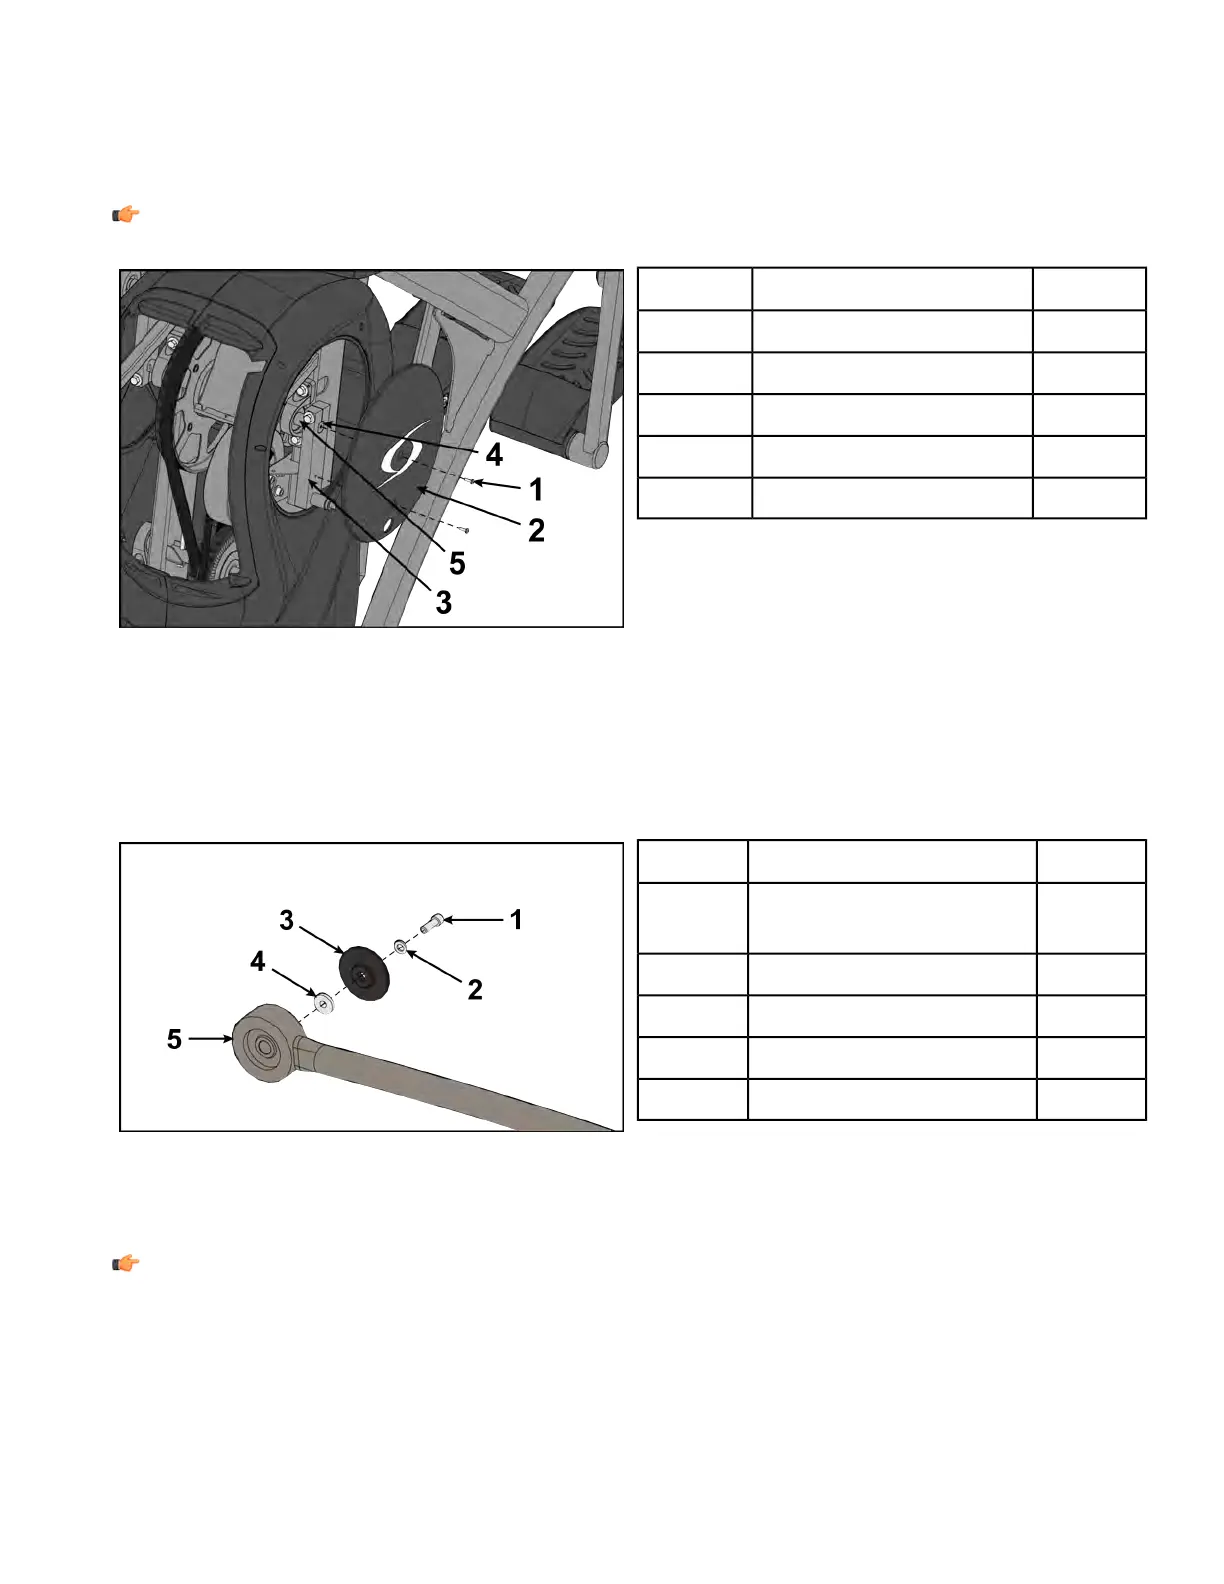
Install crank covers
1. Inspect crank arm mounting. Crank arm should be flush with crank shaft. Adjust with 9/16” socket
wrench if needed.
NOTE: Crank shaft bolt must be tightened to 30 lbs-ft.
Qty.DescriptionItem
2Screw1
1Crank cover2
1Crank arm3
1Flush mount4
1Crank shaft5
2. Place each crank cover in position.
3. Place Loctite
®
#242 on screws securing crank covers.
4. Install screws securing each crank cover in place using a Phillips screwdriver.
Install linkage rods
1. Install linkage rod on crank arm.
Qty.DescriptionItem
1
Screw, SHCS .250-20 x
.75
1
1Flat washer2
1Cap3
1Spacer4
1Linkage rod5
2. Place a drop of Loctite
®
#242 on SHCS and place another drop of Loctite
®
#242 into the threads of
the shaft.
3. Install SHCS, flat washer, cap and spacer using a 3/16" Allen wrench.
NOTE: SHCS must be tightened to a minimum of 90 lbs-in.
4. Repeat steps for other linkage rod.
Complete Installation
Operate the unit at all levels to verify proper operation.
Page 126 of 202
Cybex 772A, 772AT Arc Trainer Part Number