Installing the Gauge
GAUGE ASSEMBLY & DISASSEMBLY
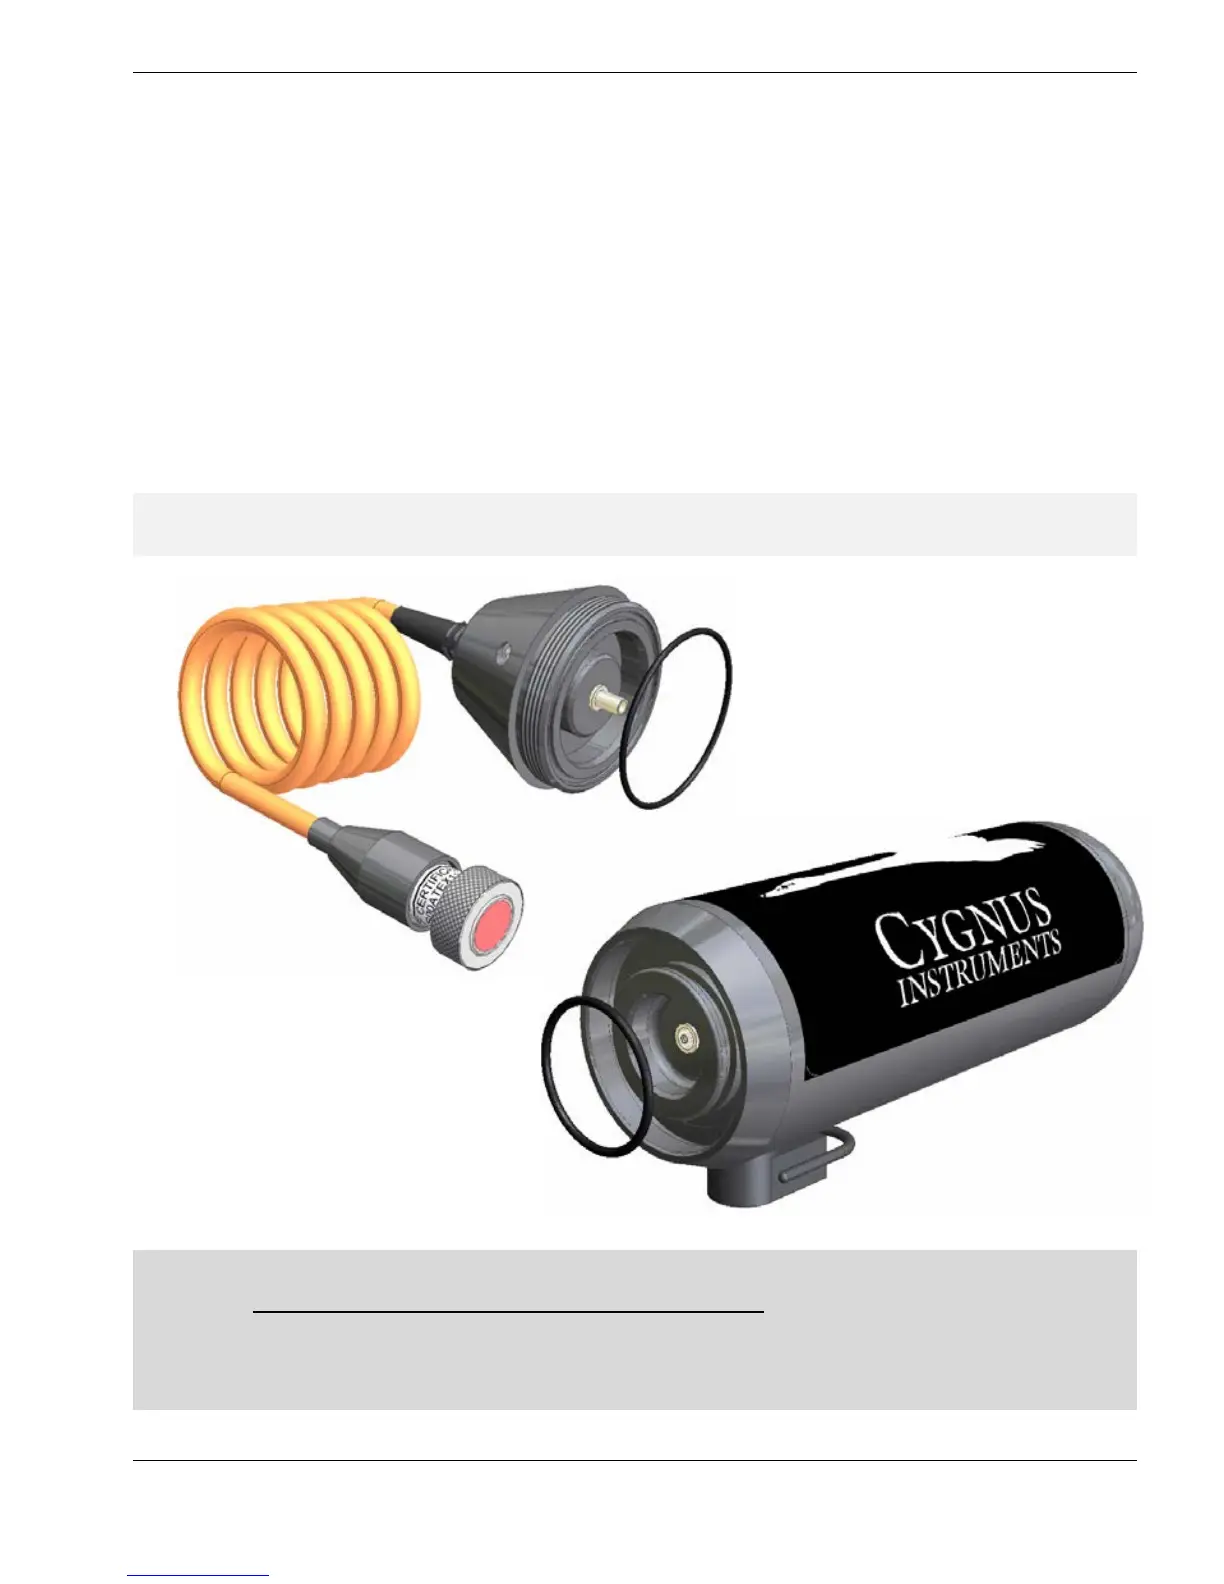
Fitting the Probe-module
Fit the two O-Rings, A and B, then attach the Probe-module to the Gauge-body :
Ö Cover both O-Rings with a light coating of Dow Corning Molykote, then fit as shown in
the diagram below
¾ A is fitted into the O-Ring groove in the Nose-cone housing
¾ B is to be fitted in the O-Ring groove at the front of the instrument
Ö Ensure that the O-Rings are properly located
There is no need to stretch or force the O-Rings into their locations
Ö Screw the Probe-module onto the Gauge-body, hand tight.
Do not use the Nose-cone torque bar to tighten.
L Only use the torque bar to undo the Nose-cone after a dive : both O-Rings should be
discarded after each dive.
U Both O-Rings must be replaced after every dive
See : Care of the Cygnus 1 ROV Underwater Gauge section on page 81
U All parts are designed to ensure a good water-tight fit : incorrect fitting will result in
the instrument leaking.
18