EasyManuals Logo

D-Link DNS-313 User Manual

D-Link DNS-313
92 pages
To Next Page IconTo Next Page
To Previous Page IconTo Previous Page
Page #91 background imageLoading...
Page #91 background image
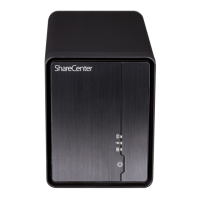
88D-Link DNS-313 User Manual
Section 2 - Installation
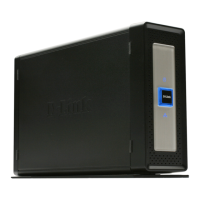
1. Move the Direct Attached/Network Storage Mode
switch to the Direct Attached Storage Mode position..
2. Connect the power adapter to the power receptacle
on the DNS-313, then connect the USB cable into the
USB port on the back of the DNS-313.
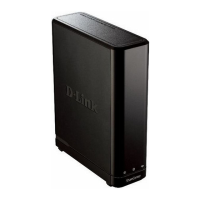
The DNS-313 features a built in Direct Attached Storage function that allows the DNS-313 to function as a USB
2.0 Portable Drive. Just plug it into your computer and it installs automatically with Windows 2000, Windows XP, Windows
Vista, or Windows 7 computers.
Note: Before using the Direct Attached Storage function, make sure you have congured the DNS-313 using the Click n’ Connect
Utility. Refer to the “New Hard Drive Install” section on page 13 for further information.
To use the DNS-313 Direct Attached Storage function, refer to the steps below:
Direct Attached Storage Function

Other manuals for D-Link DNS-313

Questions and Answers:

Question and Answer IconNeed help?

Do you have a question about the D-Link DNS-313 and is the answer not in the manual?

D-Link DNS-313 Specifications

Device Interfaces IconDevice Interfaces
Gigabit Ethernet port1 10/100/1000
USB port1 USB 2.0
Power socketexternal power adapter
Operating Environment IconOperating Environment
Operating temperature0˚ to 55˚ C (32˚ to 131˚ F)
Storage temperature-20˚ to 70˚ C (-4˚ to 158˚ F)
Operating humidity5% to 90% (non-condensing)
Weight and Dimensions IconWeight and Dimensions
Dimensions200 (L) x 124 (H) x 49 (W) mm
Weight1.29 Kg
Supported hard drive type3.5-inch internal SATA

Related product manuals